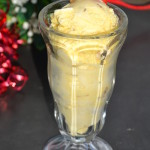
In search of a sweet treat without any food dyes or chemicals? This Unreal Moose Tracks Frozen Yogurt will blow you away!!

*This post is sponsored by Stonyfield Yogurt and Unreal Candy. I was compensated for my time commitment but I was not paid to publish positive reviews. All opinions expressed are my own.*
My oldest has been begging me to make frozen yogurt for about a year now. The only reason I haven’t obliged is because three out of five of us can’t eat it. And I have so many other things to make from scratch to keep us fed.
I don’t often take the time to make a special treat for just one child.

The Right Time.
But when we got some Unreal candy to try I decided it was the perfect time for both – frozen yogurt as a special treat just for my daughter (well…my husband has been getting plenty of it too).
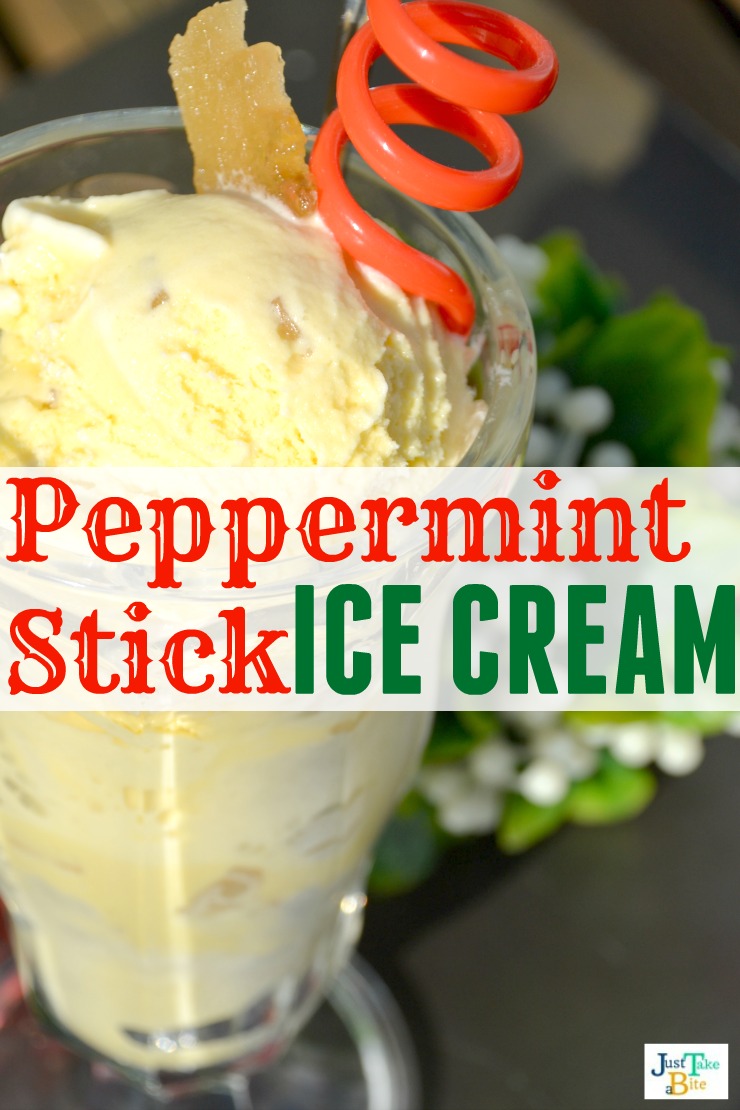
This is an easy, healthy version of traditional moose tracks ice cream.
I used Stonyfield plain whole milk yogurt combined with some of our fresh raw milk cream as the base. Pastured egg yolks added extra creaminess. And a healthy dose of maple syrup and vanilla for a sweet flavor. Don’t forget the unrefined sea salt to really bring out the sweetness.

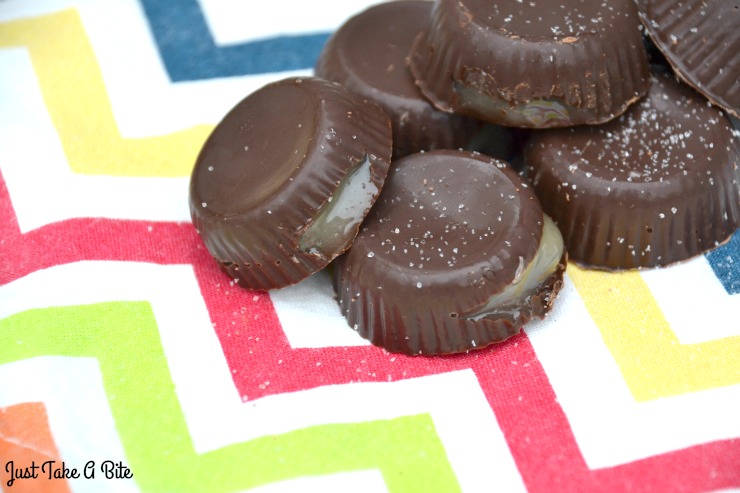
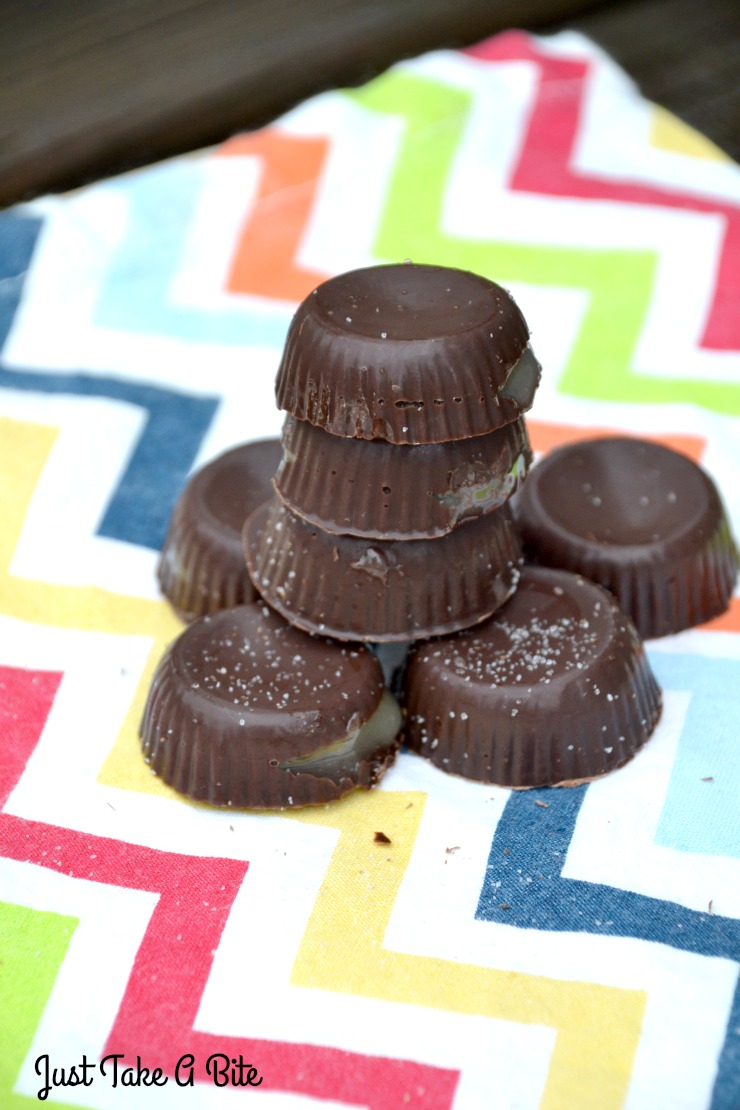
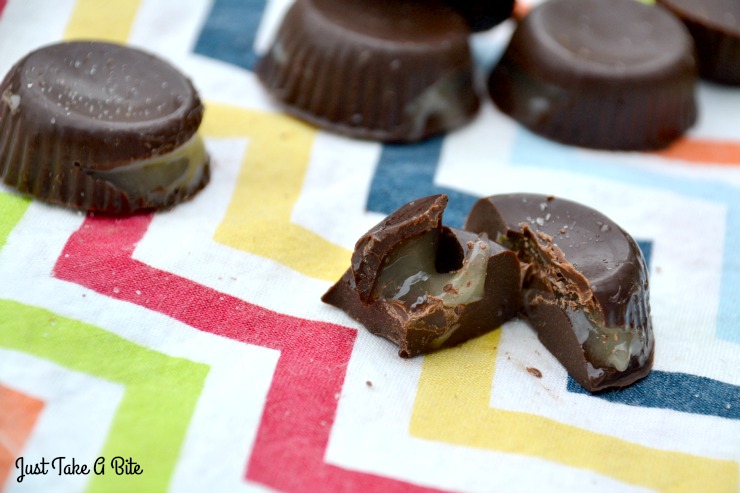
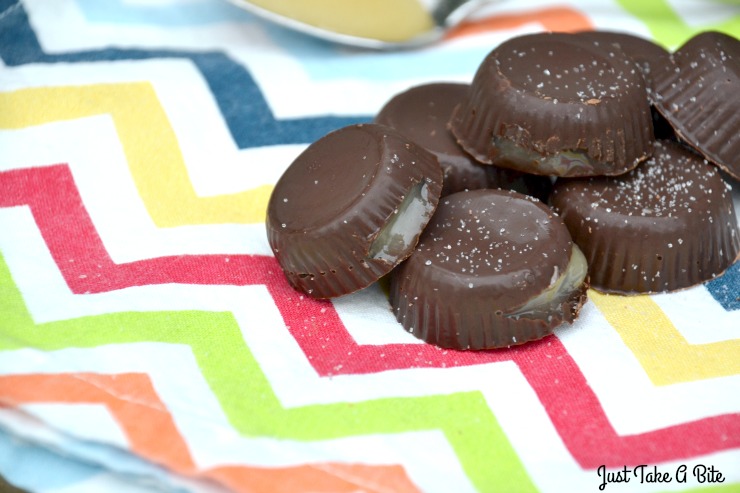
Then comes the star of the show – bits of Unreal dark chocolate peanut butter cups. I also added some mini chocolate chips for extra chocolate (because you can never have too much!).
There is no cooking involved. You can have the frozen yogurt in the mixer (this is the one I use) in about five minutes. I actually let my eight-year old make it herself!

Unreal moose tracks frozen yogurt maintains a little tang from the yogurt. But it is nicely balanced with the sweetness of the maple syrup and candy.
It makes the perfect treat any time of year!

More To Love.
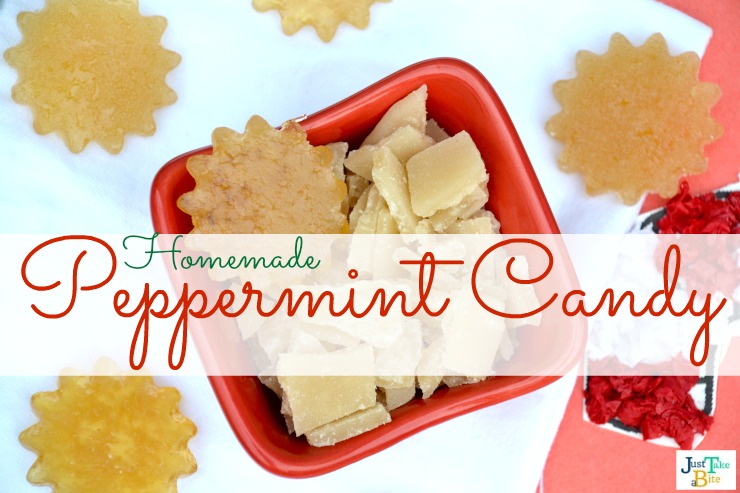
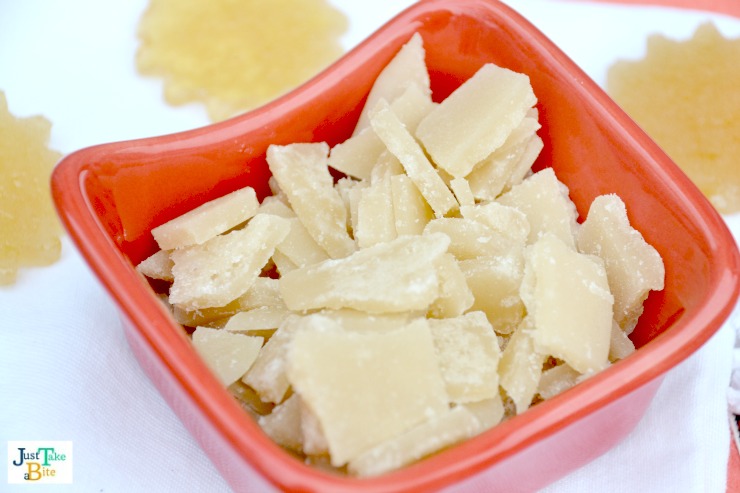
Unreal candy has some other great options besides the peanut butter cups. I think my favorite is the basic – candy coated chocolates. But these aren’t colored with dyes that will make my kids go crazy. They are colored with foods like cabbage and beets!
If you’re craving something sweet and a bit indulgent but want to skip the processed junk food, make a batch of Unreal moose tracks frozen yogurt. Use peanut butter cups, almond butter cups or whatever candy you like.
What is your favorite flavor of frozen yogurt?

- 1 1/2 cups plain, whole milk yogurt
- 1/2 cup whole milk
- 1/2 cup cream
- 3/4 cups maple syrup and/or organic cane sugar
- 2 pastured egg yolks (optional)
- 1 Tbsp. vanilla
- 1/2 tsp. unrefined sea salt
- 5 - 8 Unreal dark chocolate peanut butter cups, cut into pieces
- 1/4 cup mini chocolate chips
- Combine the yogurt, milk, cream, syrup, yolks, vanilla and sea salt in a blender.
- Blend on high for 30 seconds to mix well.
- Process in an ice cream mixer according to manufacturer's directions (this takes about 20 minutes using my Kitchen Aid attachment).
- Transfer the frozen yogurt to a freezer-safe container.
- Gently fold in the candy and chocolate chips.
- Cover and freeze until firm.