Home » Archives for Mary | Just Take A Bite » Page 103

Author: Mary | Just Take A Bite

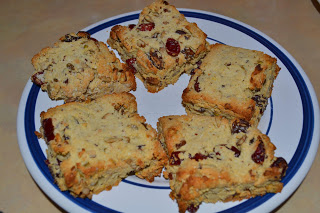
Grain Free Muesli Scones

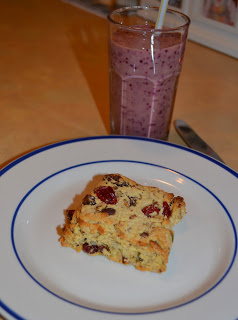
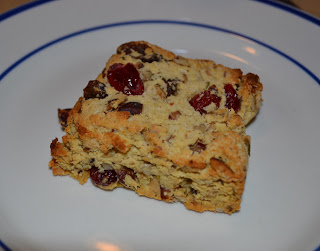
I tried another grain free breakfast recipe from Elana’s Pantry this morning (she has lots of great looking recipes!). Muesli scones. Yum!!! I LOVE anything like museli/granola. And I love scones too. Put them together…and make them grain free…awesome! These are super easy to make. And they taste great. Justin and I both really like them. They are even better when you pile butter on top 🙂  I served them with blueberry, cherry, strawberry kefir smoothies. A wonderful, nutritious combo to start the day. Again, I substituted ingredients a little (I personally don’t think agave is healthy at all, so I use honey). And I used what nuts/seeds/fruit I had on hand. I ended up with a combo of raisins, cranberries, crispy sunflower seeds, crispy pistachios, crispy peacans and crispy haszelnuts. Also, the recipe says it makes 16 scones…those would be pretty tiny scones. I made 9…and they still weren’t that big. I baked 5 this morning and froze 4 to have on hand for an easy breakfast some other time. You can prep the dough ahead and stick it in the fridge to bake later too (I prepped it early and then baked them just before breakfast so they were fresh out of hte oven). LOVE this recipe. I will for sure make these again.
Grain Free Muesli Scones

2 cups blanched almond flour
½ tsp. celtic sea salt
½ tsp. baking soda
——————————————-
¼ cup dried cranberries
¼ cup dried apricots, cut into ¼-inch pieces
¼ cup sunflower seeds
¼ cup sesame seeds
¼ cup pistachios, coarsely chopped
——————————————–
**whatever combo you like, preferably with crispy nuts/seeds – I used raisins, cranberries, crispy sunflower seeds, crispy pistachios, crispy peacans and crispy haszelnuts.**
———————————————
1 large egg (size does matter as dough will not hold together with a small or medium egg)
2 Tbsp. raw honey (I used a bit more than this.)

1.In a large bowl, combine almond flour, salt and soda.
2.Stir in dried fruit, seeds and nuts.
3.In a small bowl combine egg and honey.
4.Stir wet ingredients into dry.
5.Use your hands to form dough.
6.Shape dough into a 6 ½ x 6 ½ square that is about ¾” thick.
7.Cut dough into 9 squares.
8.Bake at 350° on a parchment paper lined baking sheet for 12 minutes.

Peanut Butter Cups (grain free, dairy free, egg free, gluten free)

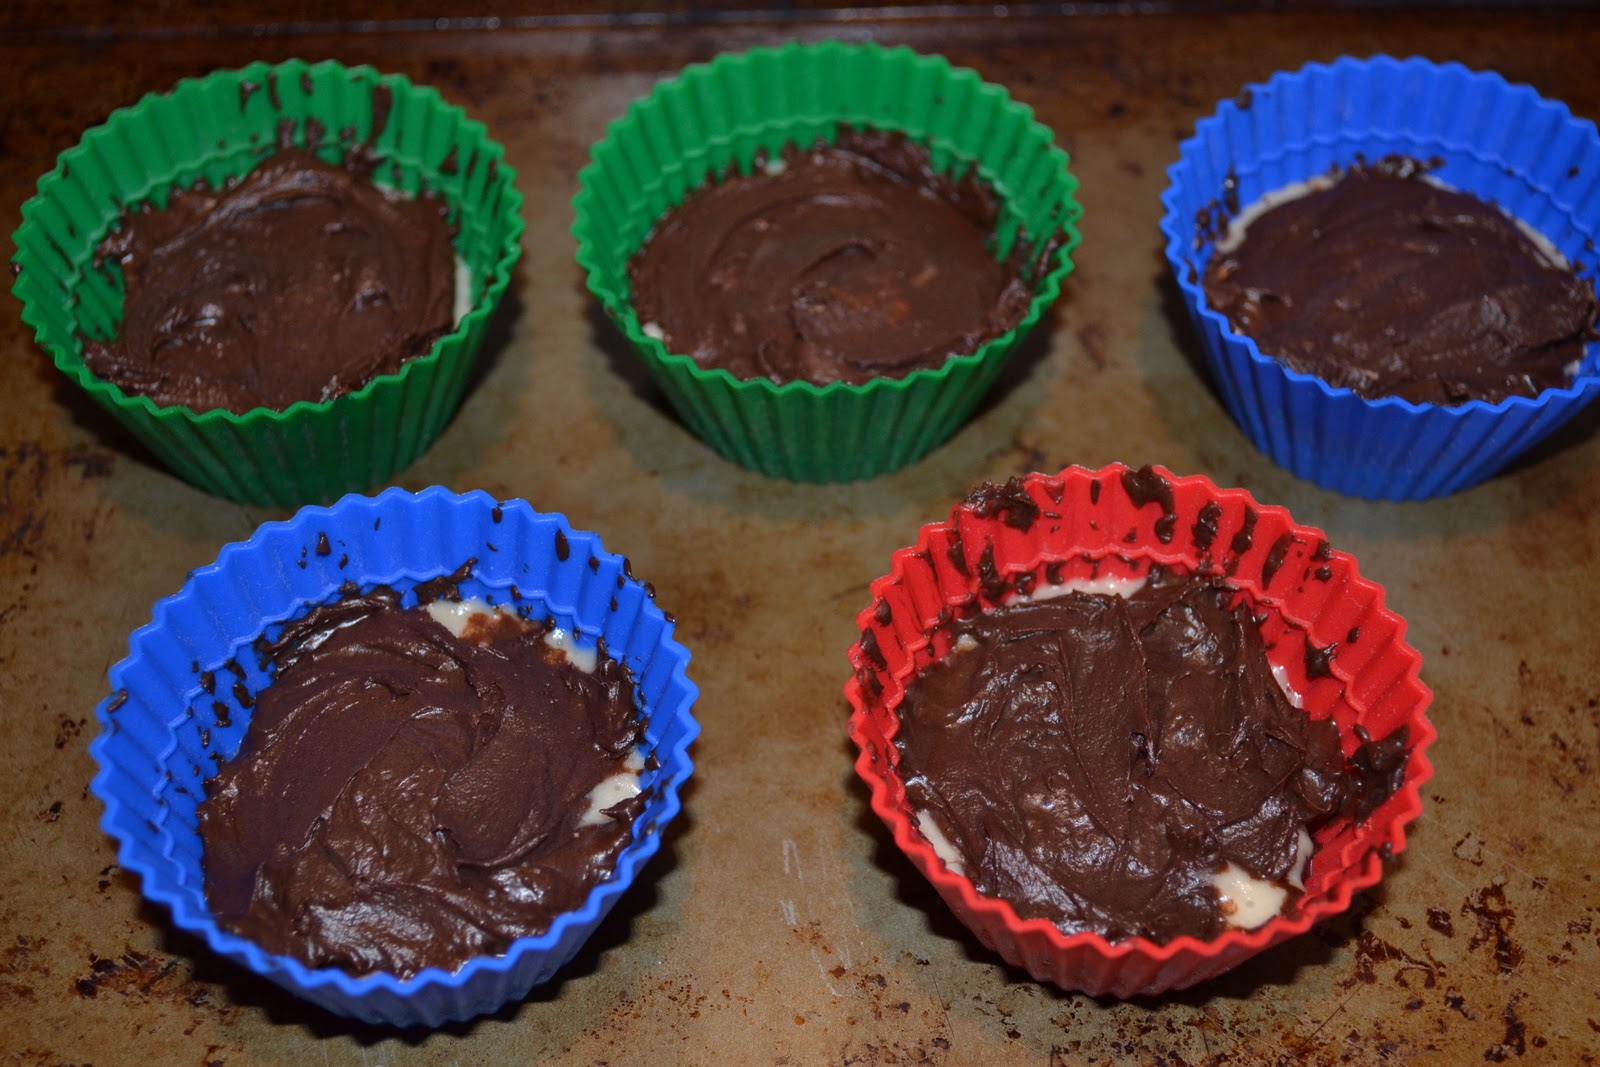
Yesterday I wanted a fun, easy baking project for Rebecca and me. A while back I had seen a recipe for homemade peanut butter cups on The Coconut Mama. They sounded so easy and so good. So we gave them a try yesterday. YUM!!! These are very good. Who knew it was so easy to make your own peanut butter cups that are so much healthier? It’s not something I’ll make all the time since it’s not a cheap treat. It uses quite a bit of coconut oil…and it only made 5 pb cups. But definitely a fun indulgence once in a while. Rebecca helped me put the ingredients in the processor. Then I did the rest…while she helped lick spoons 😛  I made one subsitution (that would make mine not dairy free). I used regular butter instead of coconut butter since I don’t have any. Still worked great. I also used my homemade peanut butter that I already had on hand. Which made this a very quick project. You could use boughten natural pb too. They aren’t the prettiest pb cups, especially on the first try. But they sure are good. Quite messy, but that’s what you get when you don’t add a bunch of hydrogenated oils, etc. to make them shelf stable. Mine don’t look exactly like the kind you buy…I probably added a little too much pb…but is that really possible? 🙂

Chocolate Peanut Butter Cups

Chocolate

3 Tbsp. organic cocoa powder
2 Tbsp. coconut butter (or regular butter, softened)
1/4 cup + 1 Tbsp. of coconut oil
Sweeten with raw honey or maple syrup (I used a few Tbsp. of raw honey)

Blend well in blender of food processor.

Peanut Butter (this is my recipe…for a full batch of pb, way more than you need for the cups)

2 cups crispy nuts, such as peanuts, almonds or cashews
3/4 cup coconut oil
2 Tbsp. raw honey
1 tsp. sea salt

Place nuts and sea salt in food processor and grind to a fine powder. Add honey and coconut oil and process until “butter” becomes smooth. It will be somewhat liquid but will harden when chilled. Store in an airtight container in the refrigerator. Serve at room temp.

To assemble pb cups:

Scoop chocolate, 1 Tbsp. at a time, into muffin paper cups (I used my silicon muffin cups) until the bottom is covered with chocolate. Add 2 tsp. of peanut butter. Then cover peanut butter with more chocolate.

Freeze peanut butter cups 4-6 hours before serving (mine only took about 1 hour…then I let them set on the counter for a few minutes before eating them).

Carob Brownies/Cake

I have a bunch of buttermilk to use up. And I wanted to do some baking with Rebecca yesterday. So I did a quick flip through Nourishing Traditions and found a recipe for carob brownies that sounded good. I did not plan ahead, so I didn’t soak this batch. And I used some cocoa instead of all carob. But they still turned out great! I would not call these brownies, though. Definitely more like cake. Very moist. Only mildly sweet. Maybe sometime I’ll try using this for a layer cake. It will be nice to have an option for a soaked, whole wheat chocolate cake.

This post is linked to Real Food Wednesdays at Kelly the Kitchen Kop.

Carob Brownies

3 cups freshly ground flour (I used wheat…right out of the grain mill:)
2 cups buttermilk, kefir or yogurt
3/4 cups butter, softened
1 1/2 cups rapadura/sucanat
4 eggs
1 Tbsp. vanilla
1 Tbsp. chocolate extract (I used a little less than this since I used some cocoa)
1 tsp. sea salt
3/4 cups carob powder (I used a little less than 1/2 cup cocoa and a little more than 1/4 cup carob)
1 Tbsp. baking powder
1 cup chopped crispy pecans (optional) (I didn’t add any nuts)

Soak flour with buttermilk, yogurt or kefir for 12 to 24 hours in a warm place. Cream butter with sugar. Add eggs, extracts, salt, carob powder and baking powder. Blend in soaked flour. Fold in nuts. Pour into a greased 9×13 pan. Bake at 350 for 40 minutes. Allow to cool. Cut into squares.

Grain Free Breakfast Bars

I’m just starting to experiment with some alternative/grain free flours. So far I’ve only used almond flour. And only to make grain free fish sticks and salmon cakes. This morning I used it for some actual baking. I made a batch of grain free breakfast bars. I got the recipe from Elana’s Pantry. I modified it a bit to use healthier ingredients. These are really easy and really good!!! Justin and I both like them. And it’s nice to have something grain free that isn’t just a huge pile of chopped nuts 😛  I’m anxious to keep experimenting with almond flour. I also bought some coconut flour to try. These bars were a tiny bit crumbly. I’ll probably add a little more honey and/or oil next time to hold them together better. Very excited to have a breakfast bar that I can eat. And it even kind of tastes like I’m eating my beloved/forbidden oats 🙂

*Edited 4/9/11 – I made a 2nd batch today. I used a little more coconut oil and honey. And I added a little bit of coconut flour. They turned out great!! Less crumbly. A little more bar-like. 18 minutes in the oven seemed to work well.

Grain Free Breakfast Bars

1 ¼ cup blanched almond flour
¼ teaspoon celtic sea salt
¼ teaspoon baking soda
¼ cup melted coconut oil or butter (I used coconut oil)
¼ cup raw honey or pure maple syrup (I used honey)
1 tsp. vanilla extract
½ cup shredded coconut
————————-
½ cup pumpkin seeds
½ cup sunflower seeds
¼ cup almond slivers
————————-
**I used 1 1/4 cups of whatever crispy nuts/seeds I had on hand/sounded good. Today I used crispy sunflower seeds, chopped crispy almonds and chopped crispy walnuts.
¼ cup raisins

In a small bowl, combine almond flour, salt and baking soda. In a large bowl, combine the oil, honey and vanilla. Stir dry ingredients into wet. Mix in coconut, seeds, nuts and raisins. Grease an 8×8 baking dish with butter or coconut oil. Press the dough into the baking dish, wetting your hands with water to help pat the dough down evenly (I didn’t need to use water). Bake at 350° for 18-20 min. Let cool. Cut into squares.

Sourdough Breakfast Cookies

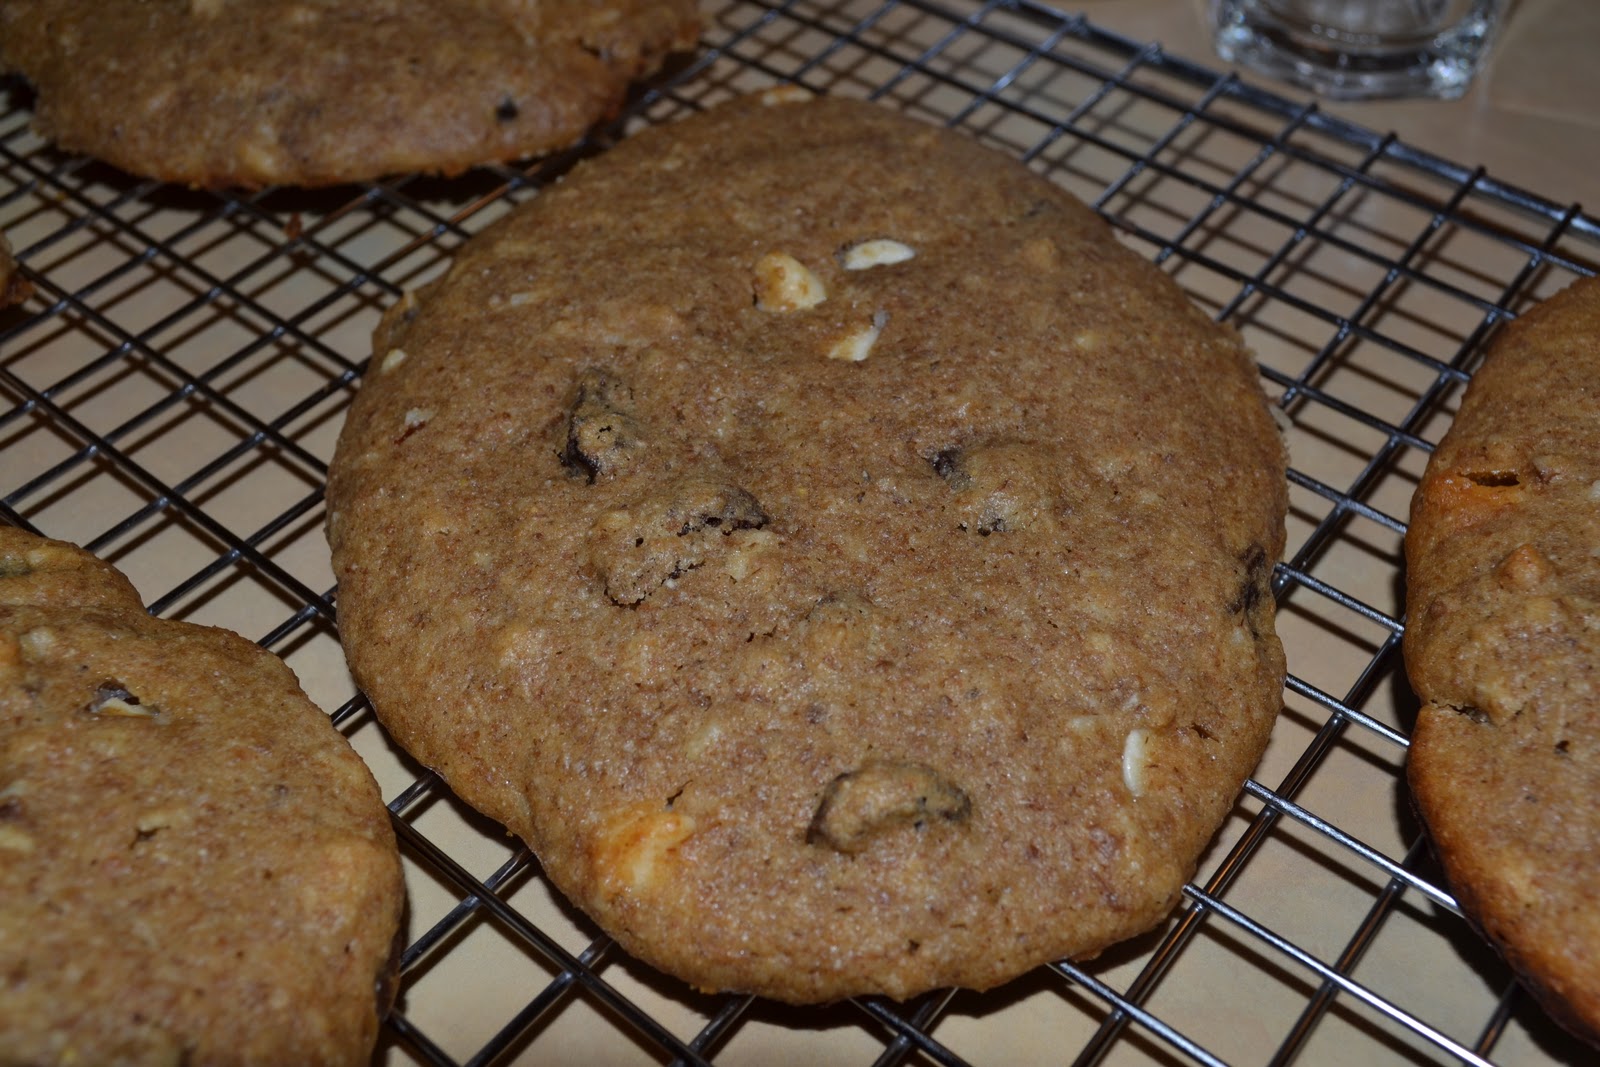
As I try to figure out what grains I can or can’t handle I’m currently only eating wheat that is sourdough, soaked or sprouted. So I decided to try modifying my breakfast cookie recipe to make it with sourdough, sprouted wheat flour and no oats. I tried it this morning…turned out great!!!! You’d never know they are sourdough. And I honestly like this version better than the original. Justin loved them too. They spread out more when they bake than the original version…almost more like a regular cookie. I’ll probably still play around with ratios a little bit when I make them in the future. But for the first attempt/experiment I’d say these turned out awesome. I only made a half recipe to try them out. I’ll post it as I made it. You can easily double the recipe. This made 11 LARGE cookies. If you don’t have sprouted wheat flour you can use regular flour. You could soak it in the buttermilk the night before if you’re using unsprouted.

Sourdough Breakfast Cookies

1 cup sprouted wheat flour (you can use regular wheat flour if you don’t have sprouted)
1 cup sourdough starter
1/2 cup (1 stick) butter, melted
1/4 cup buttermilk
1/2 cup raw honey
1 egg
1/2 tsp. salt
1 t. cinnamon
1/2 tsp. baking soda
1 t. vanilla
1 cup add-ins (raisins, chocolate chips, chopped nuts, shredded coconut)

The night before, feed your sourdough to make sure you have enough.

In the morning, combine flour, sourdough, butter and buttermilk in large bowl with wooden spoon. Mix well. Add remaining ingredients. Mix well. Drop into large mounds on baking sheet, with plenty of space inbetween cookies. Bake at 350 for 20 minutes.

This post is linked to Real Food Wednesdays at Kelly the Kitchen Kop and Fat Tuesday at Real Food Forager.

Homemade Deodorant

I’ll admit it…I sweat…a lot 😛  I’m not a big person…and I’m cold all the time. BUT I also have severe anxiety. And right now I’m pregnant. Not a great combo 😛  I haven’t used regular deodorant in a long time. I’ve been using a couple different natural deodorants for well over a year. They work fine most of the time. But when I’m really nervous. And especially right now they just don’t seem to be all that effective. I’d rather be sweaty than go back to conventional chemical deodorants. But I’d still like to have something that works. I finally got around to making my own deodorant last week. And tried it out yesterday. I’ve only used it for one day. But the verdict so far is very positive! Even with a big outing yesterday, that would normally cause me to sweat a bunch, I stayed dry. And there was no sweat odor. Pretty amazing for me. I still have to test the limits of this stuff, but so far I’m loving it. And I love that I know exactly what’s in it. Sometimes even the “natural” deodorants make me nervous. So this is great.

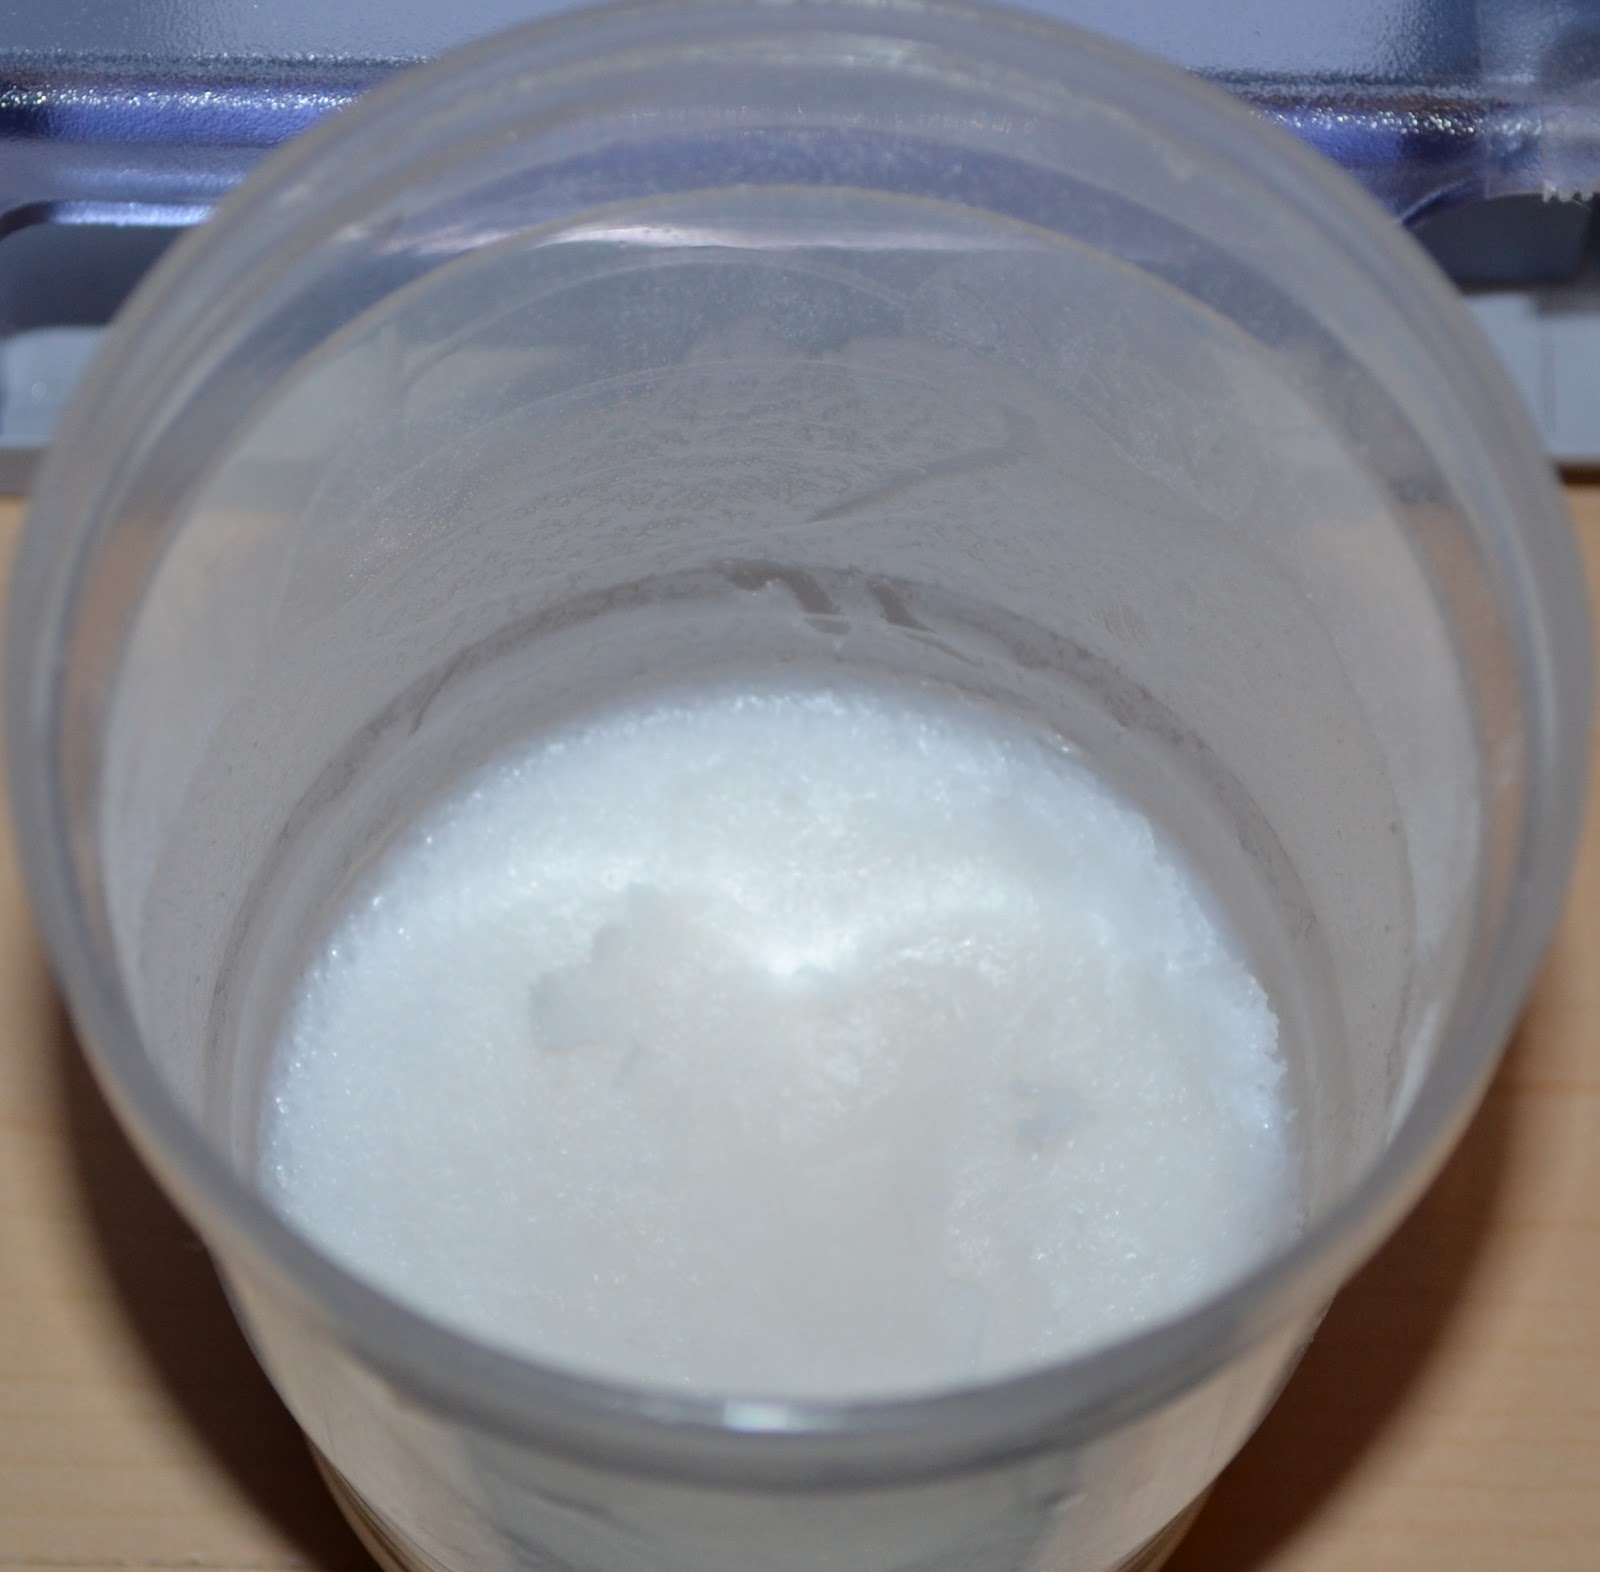
I got the recipe from Donielle at Naturally Knocked Up. I don’t have any old deodorant tubes to use. So for now I just put it in a small container and apply it with my finger. No big deal. It goes on very easily. No mess, no residue, nothing on my clothes. And it smells good too. I used peppermint oil since that’s all I have. Maybe I’ll have to try tea tree oil sometime. I only made a half recipe to try it out. It’ll still last a while. So glad I finally tried this. I just wish I had done it sooner! So easy. And hopefully very effective. And Donielle even mentioned that she sweats less/needs less after using it for a while. I hope that’s the case for me too. Not much of a picture…but it’s deodorant. You can’t expect much 😛

Homemade Deodorant

1/4 cup baking soda
1/4 cup organic cornstarch or arrowroot powder (I used arrowroot)
5-6 tablespoons coconut oil
5-10 drops tea tree oil (I used peppermint)

Mix all ingredients together and press into an old deodorant container. To use, let it rest against your skin for a couple seconds to soften the coconut oil, do one slow swipe under each arm and use the palm of your hand to spread it around.

Homemade Buttercream Frosting

February through April (and soon to be May) are birthday months for us. So I’m always baking cakes. I am continually trying to make them healthier and experiment each time. My birthday is next week, so I’m using my cake as another experiment for both recipes and decorating practice for Rebecca’s cake. Yesterday I finally got around to trying homemade frosting (usually between the cake baking and decorating I’m just too strapped for time to worry about frosting). Every time I use the boughten stuff I cringe because of the hydrogenated oil. And even though we rarely eat it, I still don’t like it. So now that I’ve been working with palm shortening for a while I wanted to try using that for frosting. I did a search for recipes. Most of them are very similar. This is what ingredients/ratios I decided on. The verdict…AWESOME!!! I admit, I love frosting 🙂  I don’t really care about the cake…I just like the frosting. And I am picky when it comes to frosting. I know I’m crazy, but I like the thick, sweet stuff. I don’t care for the light/fluffy stuff at all. So I wasn’t sure what to expect. But this turned out great. Rebecca loved it too…and didn’t mind at all licking the spoon afterwards 🙂  I crumb coated my cake with it this morning. So far so good.

I have to admit that I still used regular powdered sugar for this attempt. I had some on hand to use up. And I’m still experimenting. Next time I’ll try the organic stuff. I just wish it wasn’t so expensive! Even with the processed sugar I feel much better about using this frosting than something out of a jar.

Hopefully with a little more experimenting on Justin’s cake, by the time I get to Rebecca’s cake/party I’ll have a pretty healthy and good looking treat 🙂

I’m mostly posting this recipe so I don’t forget it 🙂  Can’t wait to try the cake tomorrow.

Buttercream Frosting

1/2 cup butter, softened
1/2 cup organic palm shortening
3 cups powdered sugar
1-2 Tbsp. milk
1 tsp. vanilla

Cream butter and shortening until fluffy (I used my stand mixer to make this…I’m sure a hand mixer would work fine). Add powdered sugar, 1 Tbsp. milk and vanilla. Beat until well combined. Add more milk if too stiff. If it gets too thin add extra sugar. Use right away or store in the refrigerator. Let come to room temp (for a couple hours) before using if it has been refrigerated.

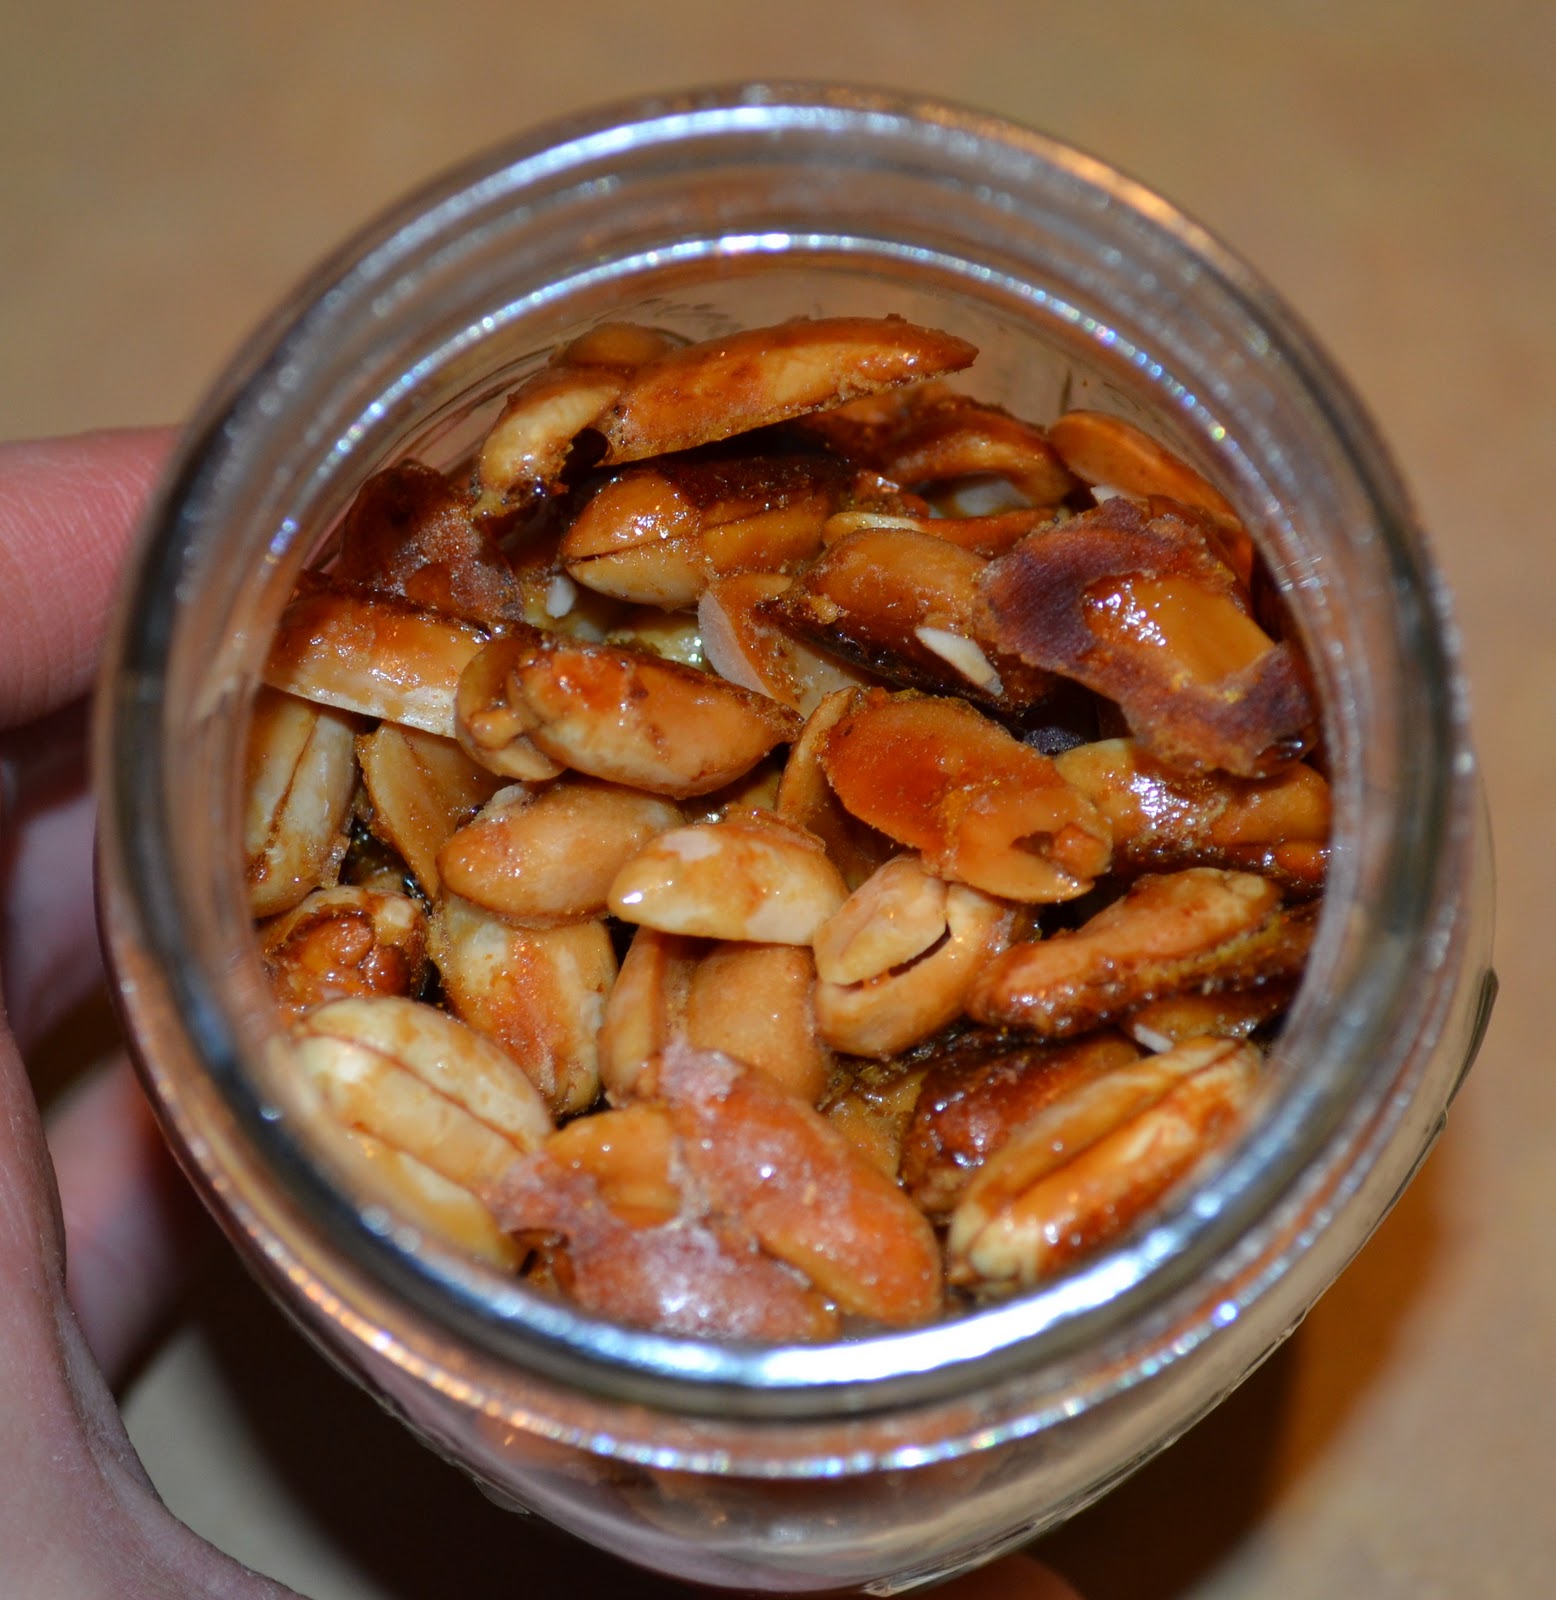
Honey Roasted Peanuts

Back in high school and college I ate honey roasted peanuts all-the-time. Like every single day. I haven’t had them in a long time now. I know any kind of nut in a jar from the store would kill my tummy (MSG anyone?).

But this week I was making some crispy peanuts. And I thought it might be fun to try to make honey roasted peanuts. They turned out well.

This is another fun grain free snack to munch on that is GAPS friendly. They would also be good mixed in with regular popcorn, caramel corn or kettle corn.

Honey Roasted Peanuts

2 cups crispy peanuts
raw honey to coat (2-3 Tbsp.)
sea salt to taste (1-2 tsp.)

Mix nuts, honey and salt. Spread on parchment lined baking sheet. Bake at 250 for 10-15 minutes (check on them to make sure they don’t burn). Let cool completely. Break apart. Store in sealed container.

Cheese Crisps (gluten/grain free)

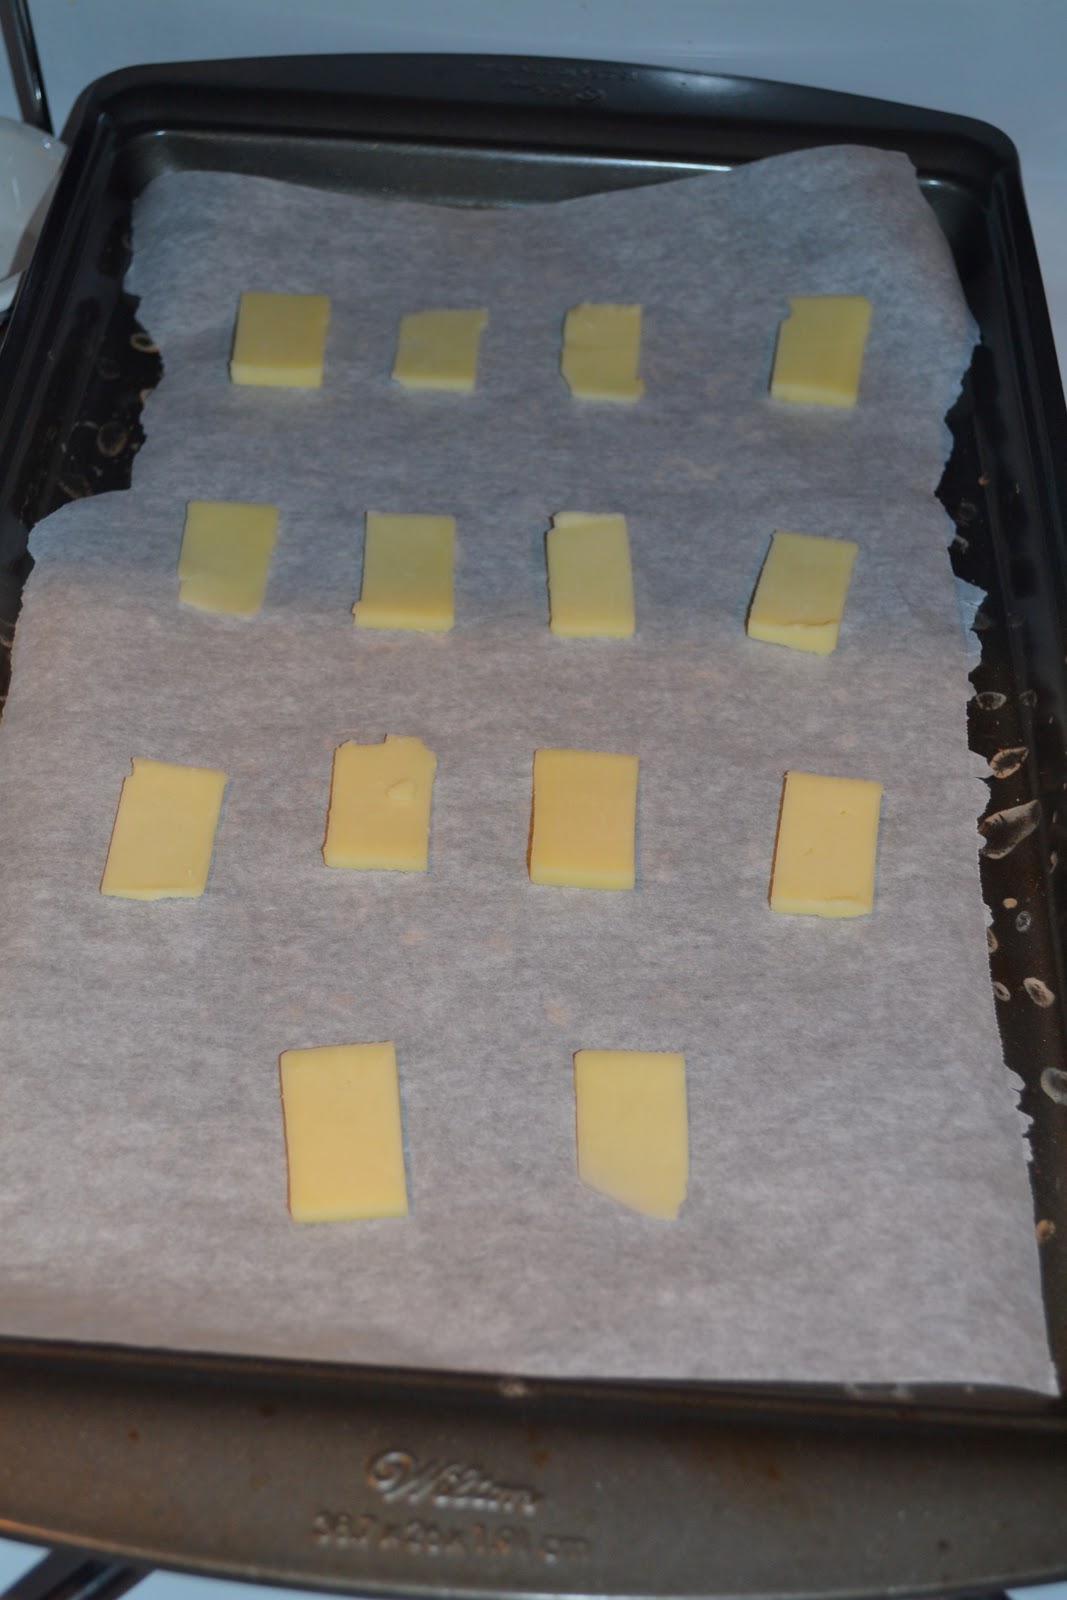
My SIL posted a recipe this week for cheese crisps. And I knew I had to try them right away! Eating gluten free/mostly grain free I miss things like crackers. These are a great substitute. I just made a very small batch last night to try them out as I was making dinner. So easy. And very good! Rebecca kept sneaking up to the counter and grabbing another one 😛  I love that these are easy and fast enough to make while you’re cooking dinner. So you can have a fresh batch whenever you need. I used mild white cheddar last night…happened to be the cheese that was opened. I’ll have to try it with other kinds as well. Looking forward to having some with our soup tonight. Maybe I’ll try sliced cheese on my cheese crackers 😛  I didn’t add any seasoning. I thought they were great as is. But I’ll have to try that sometime.

Edited 3/11/11 – I tried these with marble cheese and parmesan cheese last night. LOVE the parmesan.

Cheese Crisps

your favorite block of cheese OR your favorite shredded cheese
seasonings of your choice (optional)
parchment paper

Preheat your oven to 350. Put some parchment paper on a cookie sheet.

I used a block of cheese, but you can use shredded cheese if that’s what you have, or what you prefer. If you’re using shredded cheese, toss it together in a bowl with any seasonings you feel like using. You can try lots of different seasoning options. Just don’t use salt… cheese is already salty enough on its own. Once you have the shredded cheese and seasoings mixed, place about a teaspoonful of cheese in little mounds all over the parchment-lined cookie sheet, spaced out because they will spread.

If you’re using a block of cheese, slice it thinly and cut it into little squares. About an inch square is good. Again, they will spread out, so place these on the parchment-lined cookie sheet with some space between them.

Bake for 5-7 minutes. Then take a peek. The cheese will be all bubbly. If the edges are starting to crisp up or brown a little, take them out. If you’re not sure, leave it in for another minute or two. I had to leave mine in for about 9 minutes. If you take them out too soon, you won’t get crisps… you’ll just have rubbery melted cheese.

When you remove them from the oven, you’ll need to let them cool. I just pulled the parchment off the cookie sheet and placed it on my counter. If you don’t have cool to the touch counters, then place the crisps on a cool plate. After a few minutes, they’ll be crisp.

Homemade Cereal Bars

One of the few packaged items I keep on hand is cereal bars. Rebecca eats them once in a great while (like maybe once every few weeks). Although we don’t eat them often, they are handy for when we’re traveling or need a really quick/no prep breakfast. They are natural/organic. But I’d still rather have them come from my kichen 🙂  The last box we bought was cherry flavored. And I thought…I wonder if I could make my own cherry bars? So I gave it a try yesterday. They turned out great! I still need to experiemnt with size/ratios/assembly but overall a great first attempt. We all like them. I decided to use my vanilla cookie recipe as the base since they stay quite soft. And I used our homemade cherry jam for the filling. I only made a small batch since I was experimenting. And I got 5 good size bars (will make them a little smaller next time). I’ll post the recipe for a full batch. You can probably make 12 or so bars from a full batch. It’ll be a handy treat to keep stocked in the freezer/cupboard. And they really are super easy to make. Love that. You can use any flavor filling you like. I just happened to have homemade cherry jam to use up. I’ll have to experiment sometime with sprouted flour and soaking. This time I just used regular whole wheat flour. I don’t have the  method down pat for forming the bars. But it worked pretty well to just spread some dough, top it with jam and top it with more dough.

Before baking.
After baking.

Homemade Cereal Bars/Cherry Bars

1 1/2 cups whole wheat flour
3/4 cup sucanat
1/2 tsp. baking soda
1/2 tsp. salt
2 tsp. vanilla extract
2 eggs
1/4 – 1/2 cup milk (enough to moisten dough)
homeade or organic jam/preserves for filling

Mix all ingredients except jam in a large bowl until well combined. On a parchment or silpat lined baking sheet spread bar size amounts of dough. Spread 1-2 Tbsp. jam on top. Top with a little more dough and spread. Bake at 425 for about 10 minutes. Let cool.

This post is linked to Monday Mania at The Healthy Home Economist.
 and Fat Tuesday at Real Food Forager.