Home » Archives for Mary | Just Take A Bite » Page 104

Author: Mary | Just Take A Bite

Gluten Free…Is It For Me? Or Maybe Even Grain Free?

I’m starting to realize it’s just not worth it. The momentary pleasure of eating something made with wheat is just not worth the pain and suffereing that comes after. Over the last couple months I’ve been making big steps towards becoming “mostly” grain free. But this month I started out a little more strict. And I think it was what I needed to shed some light on the next steps in my journey towards healing my gut. I had 2 days in a row of eating completely grain free. And I was feeling quite good. Then Wednesday I had sourdough muffins in the morning and burritos on whole wheat tortillas in the evening. This was a great experiment and told me a lot. I know my body well enough by now to know that foods usually impact me about 24 hours after I eat them (give or take). So if I’m not feeling well I can usually have a pretty good idea of at least what meal the offender came from. Yesterday was a great example. I felt great in the morning. Which means the sourdough muffins didn’t seem to cause much harm (they were made only with sourdough and sprouted wheat flour). But in the afternoon…it hit. The intestinal distress. And I knew right away it was the whole wheat tortillas (boughten) I had eaten the evening before. And it was like a light went on. I’ve gone back and forth for a long time about trying to eat completley gluten free or grain free. But I never go all in. But yesterday it just clicked. I saw how good I could feel. And how bad I could feel just from one meal with wheat. And I thought it’s just not worth it.

The crazy thing is that as usual I see God’s perfect timing. I am 9 weeks away from having baby #2. And it weighs heavy on my mind often about how I am going to handle 2 kids while not feeling well so often. But I had a glimpse of how I could feel earlier in the week. And it just seemed like God was clearning things up this week about what direction to take…just in time.

I don’t know for sure how far I’ll need to take this. But I am thankful to at least have a starting point and some direction. So I’m going to do a montly goal update now instead of waiting until April. My plan for this month is to start with only eating wheat that is soaked, sprouted or sourdough. And aside from that eat gluten free (and oat and potato free). I know it won’t be easy, but I’m anxious to see how much it helps. I’m sure I will have slip ups, but hopefully not many. I will make one exception to have a piece of my birthday cake 🙂  Depending on how I do I may go totally gluten free next month. And depending on how that goes I may try totally grain free at some point. And down the road I think I want to go even farther and do GAPS. But for now this is where I’m starting. I hope it will be a big help. I feel very good about this decision and am excited to see how I feel. God has given me a sense of peace about this path. All in his perfect time 🙂

I’ll have to make more of an effort this month to make sprouted flour. And I’ll have to start experimenting with recipes using sprouted flour. See how I handle it. One step at a time. Odd to say, but I was actually quite thankful for a bad day yesterday since it made things seem so clear. But hopefully the bad days will be fewer and fewer 🙂  I just wish the recovery period from eating wheat didn’t last so long. As I said before, it’s just not worth it. A few bites of food for a couple days of misery. No thanks.
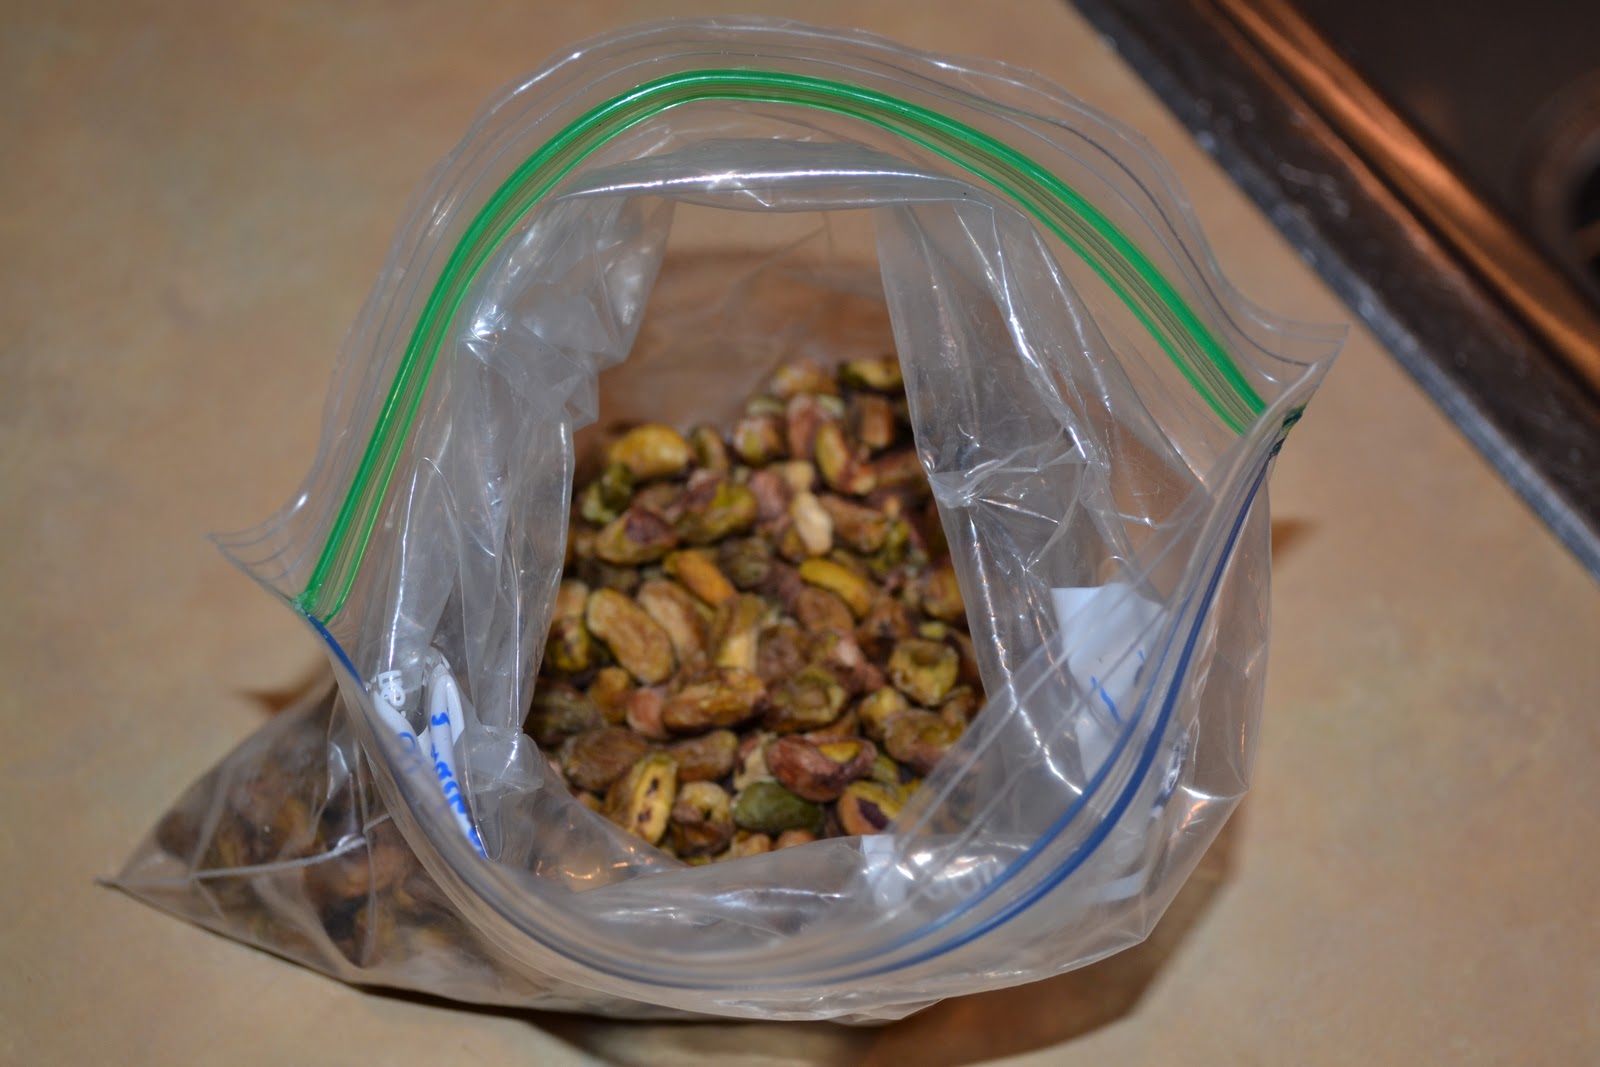
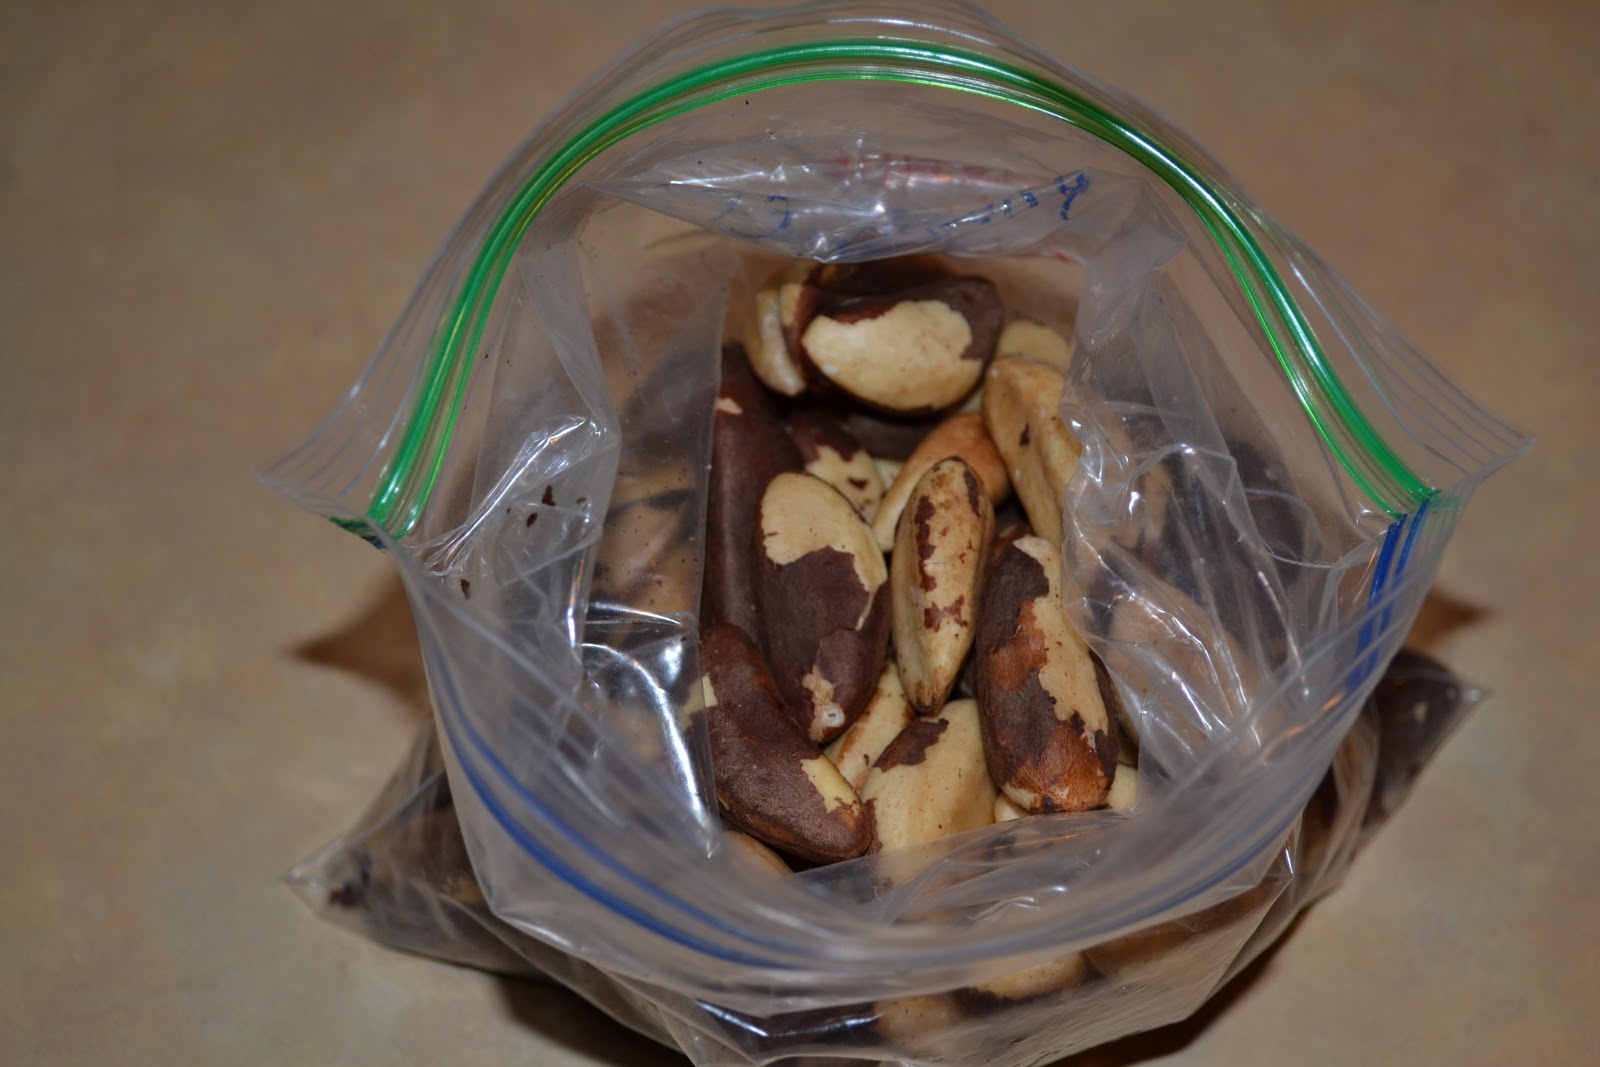
Crispy Brazil Nuts

I’ve been on a nut frenzy lately 😛  I’ve been trying all different kinds of nuts. Right now we have crispy walnuts, almonds, pecans, cashews, brazil nuts, hazel nuts, pistachios, macadamia nuts and sunflower seeds in our house. I love having a big variety to snack on and use in recipes. And it’s fun to try new kinds. I figured I’d update my cirspy nut recipes with the ones I’ve made recently. Same method as usual.

Crispy Brazil Nuts

4 cups raw brazil nuts
1 Tbsp. unrefined sea salt
filtered water

Soak nuts in salted water for at least 7 hours. Drain. Dry in dehydrator or oven set to 150 for 12 – 24 hours. I found that the brazil nuts took longer than 24 hours because they are so big/thick.

Almond Crusted Tilapia

I’m still trying to eat fish once a week and come up with new ways to prepare it. I saw a recipe on Angela’s blog (Healing My Body Through My Tummy) for almond crusted tilapia. It sounded easy, healthy and good! So I made a version of it last night. I used Angela’s recipe more for the concept than the full recipe. I used ground crispy almonds and sunflower seeds. And I used homemade mayo instead of olive oil. Turned out great!!! Justin and I loved it. Rebecca…you just never know. Some nights she devours fish, some nights she won’t touch it. Doesn’t mean she doesn’t like the recipe. This was so easy to make. And a very healthy dinner. I will defintely make it again and play around with what kinds of nuts/seeds I use. I’ll post the recipe the way I made it. Check out Angela’s blog for the original version.

Almond Crusted Tilapia

2 tilapia filets
1/4 cup homemade mayo
1/4 cup ground crispy almonds and sunflower seeds (or whatever kind of nut/seed you like)
salt to taste

Heat oven to 425. Grind/pulse nuts/seeds in food processor until they resemble bread crumbs. Place a small amount of mayo in glass baking dish. Rub it on the bottom to grease. Place tilapia filets in pan. Spread remaining mayo on filets. Season with salt. Press nut/seed crumbs into mayo. Bake for 15 – 20 min.

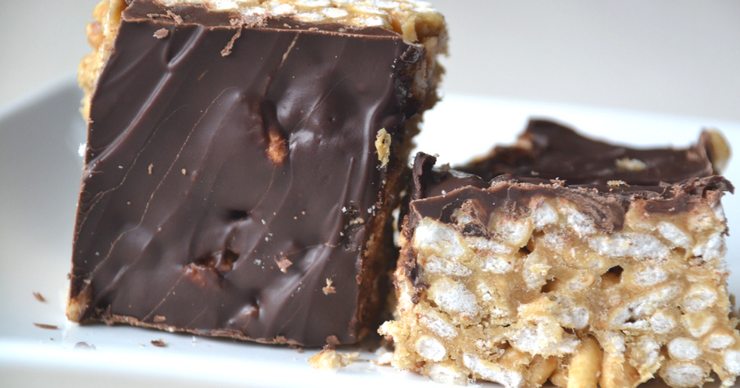
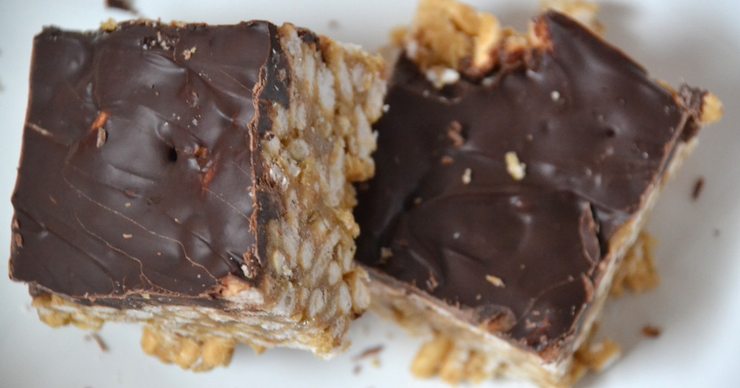
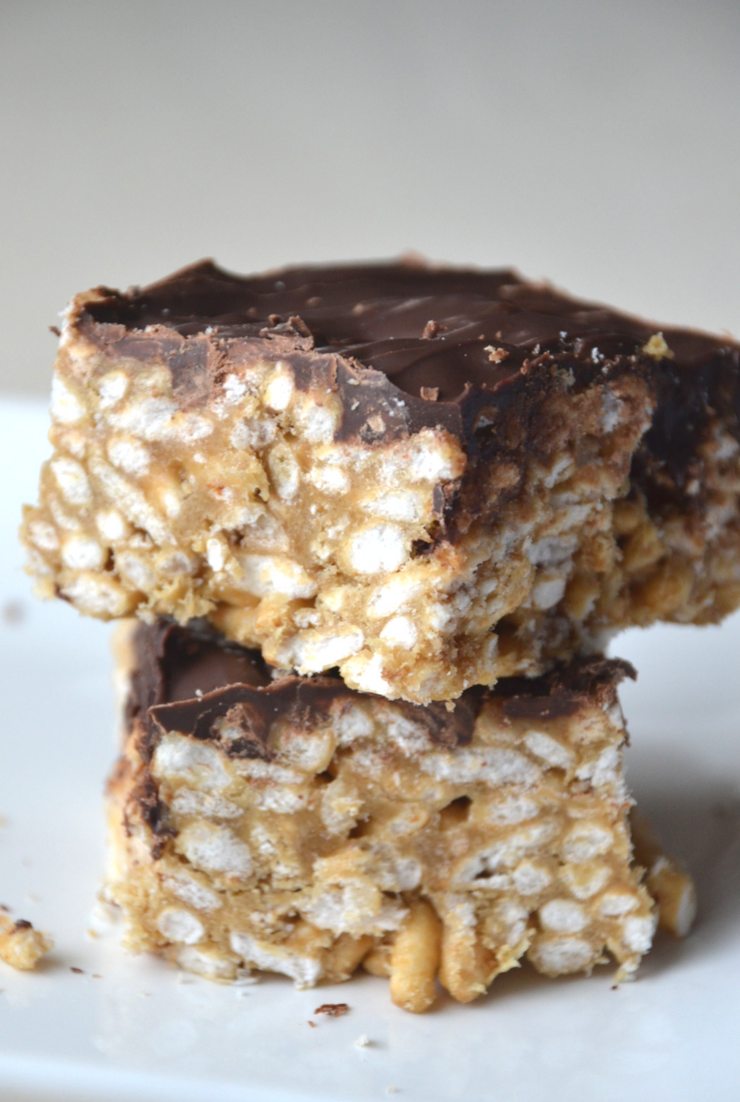
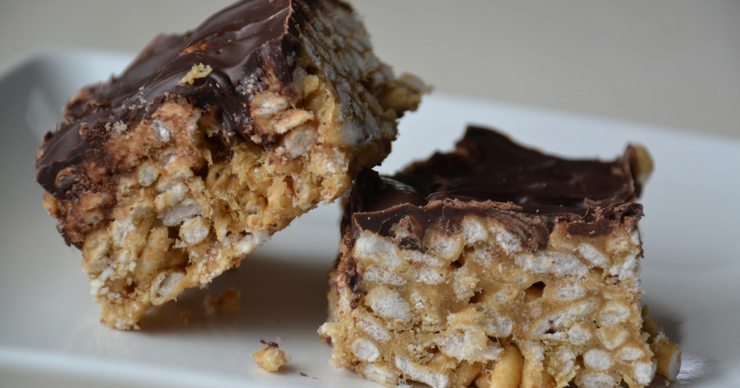
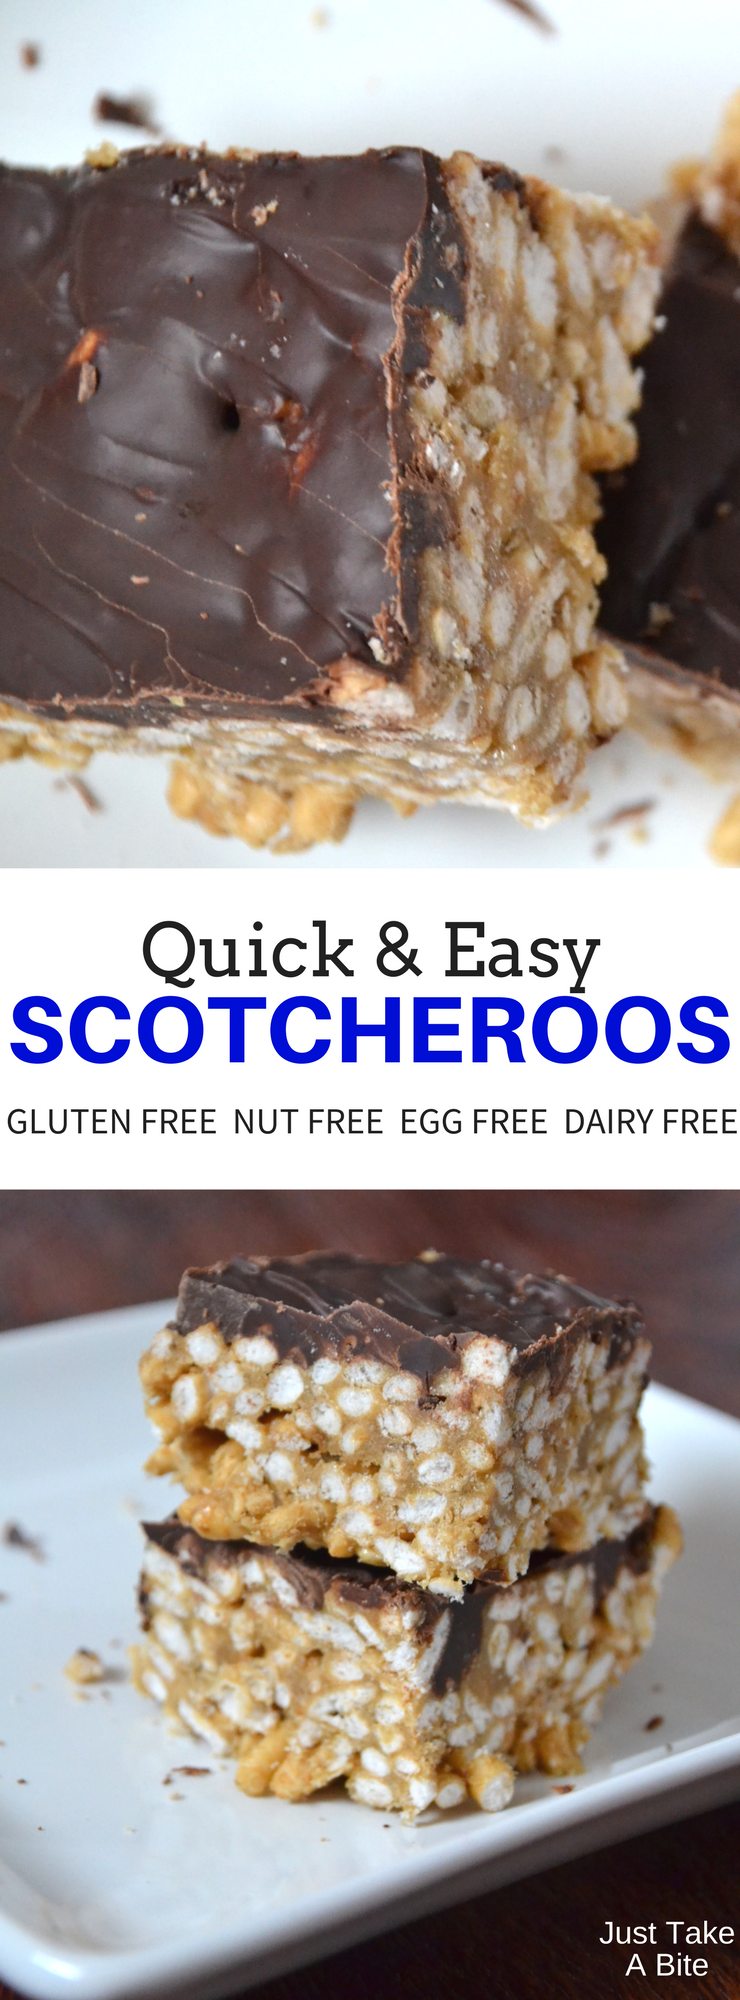
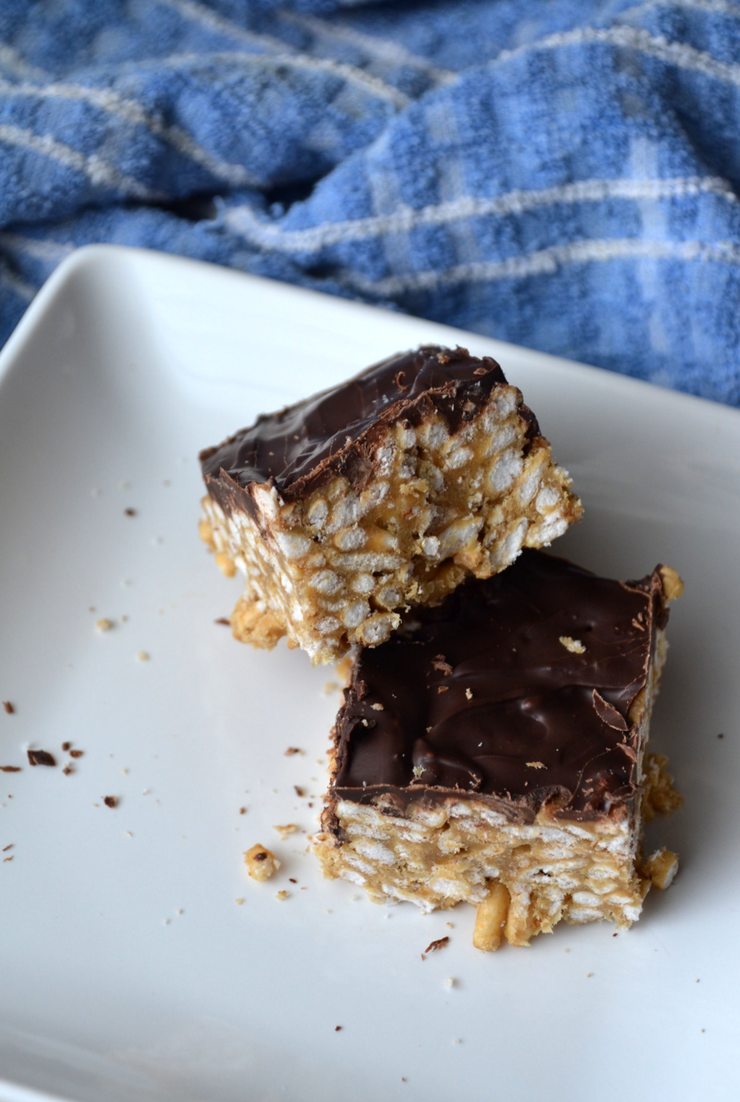
These scotcheroos come together in about ten minutes, using real, allergen friendly ingredients. A simple, delicious dessert with no baking required!

Quick And Easy Scotcheroos {Gluten, Dairy, Egg and Nut Free!}


These scotcheroos come together in about ten minutes, using real, allergen friendly ingredients. A simple, delicious dessert with no baking required!

These scotcheroos come together in about ten minutes, using real, allergen friendly ingredients. A simple, delicious dessert with no baking required!

I grew up eating scotcheroos.

My mom still makes them all the time. She brings them to the neighbors, brings them for fellowship at church, etc.

But I haven’t made them or had one in years, though. Why? They are filled with not-so-good stuff. The main 3 things…Rice Krispies, corn syrup and regular peanut butter (hydrogenated oils and GMO nuts.

These scotcheroos come together in about ten minutes, using real, allergen friendly ingredients. A simple, delicious dessert with no baking required!

A Fresh Look.

I like to update classic recipes using real ingredients. So I gave these scotcheroos a makeover.

I use plain puffed brown rice, cane sugar, honey and sunbutter in the base. Then I simply melt allergen free chocolate chips for the topping.

Even with three kids trying to help these took about ten minutes from start to finish. There is no baking required. Just a few minutes at the stove. The mix and pour.

These scotcheroos come together in about ten minutes, using real, allergen friendly ingredients. A simple, delicious dessert with no baking required!

And, yes, they got a huge two thumbs up from everyone! Be forewarned…one batch may not be enough.

Scotcheroos also make a great party treat because they are free of gluten, corn, eggs, dairy, nuts and soy!

These scotcheroos come together in about ten minutes, using real, allergen friendly ingredients. A simple, delicious dessert with no baking required!

Kids In The Kitchen.

This may be one of our new favorite treats. And pretty soon my kids can make it without my help since they are learning to cook through the Kids Cook Real Food ecourse. My five and eight year olds can cook at the stove. Even my two year old can measure and pour quite well.

Ready for a special dessert with no allergens and very little effort? I’ve got you covered!
These scotcheroos come together in about ten minutes, using real, allergen friendly ingredients. A simple, delicious dessert with no baking required!

 
Quick And Easy Scotcheroos
Serves 16
A simple allergy friendly bar that requires no baking.
Write a review
Print
Ingredients
  1. 1/2 cup organic cane sugar or sucanat
  2. 1/2 cup honey
  3. 1/2 cup plain sunbutter
  4. 3 cups organic puffed brown rice
  5. 1/2 tsp, vanilla (optional)
  6. 1 1/2 cup chocolate chips
Instructions
  1. Mix sugar and honey in a large saucepan. Heat and boil until sugars are dissolved (about 2 minutes).
  2. Remove from heat. Stir in su butter, rice and vanilla.
  3. Spread in a greased 9" square pan.
  4. Melt the chocolate chips in a double boiler until smooth. Poor over rice mixture. Let cool completely before cutting (in the refrigerator works best).
Just Take A Bite https://justtakeabite.com/


These scotcheroos come together in about ten minutes, using real, allergen friendly ingredients. A simple, delicious dessert with no baking required!

Beef, Bean and Cheese Burritos

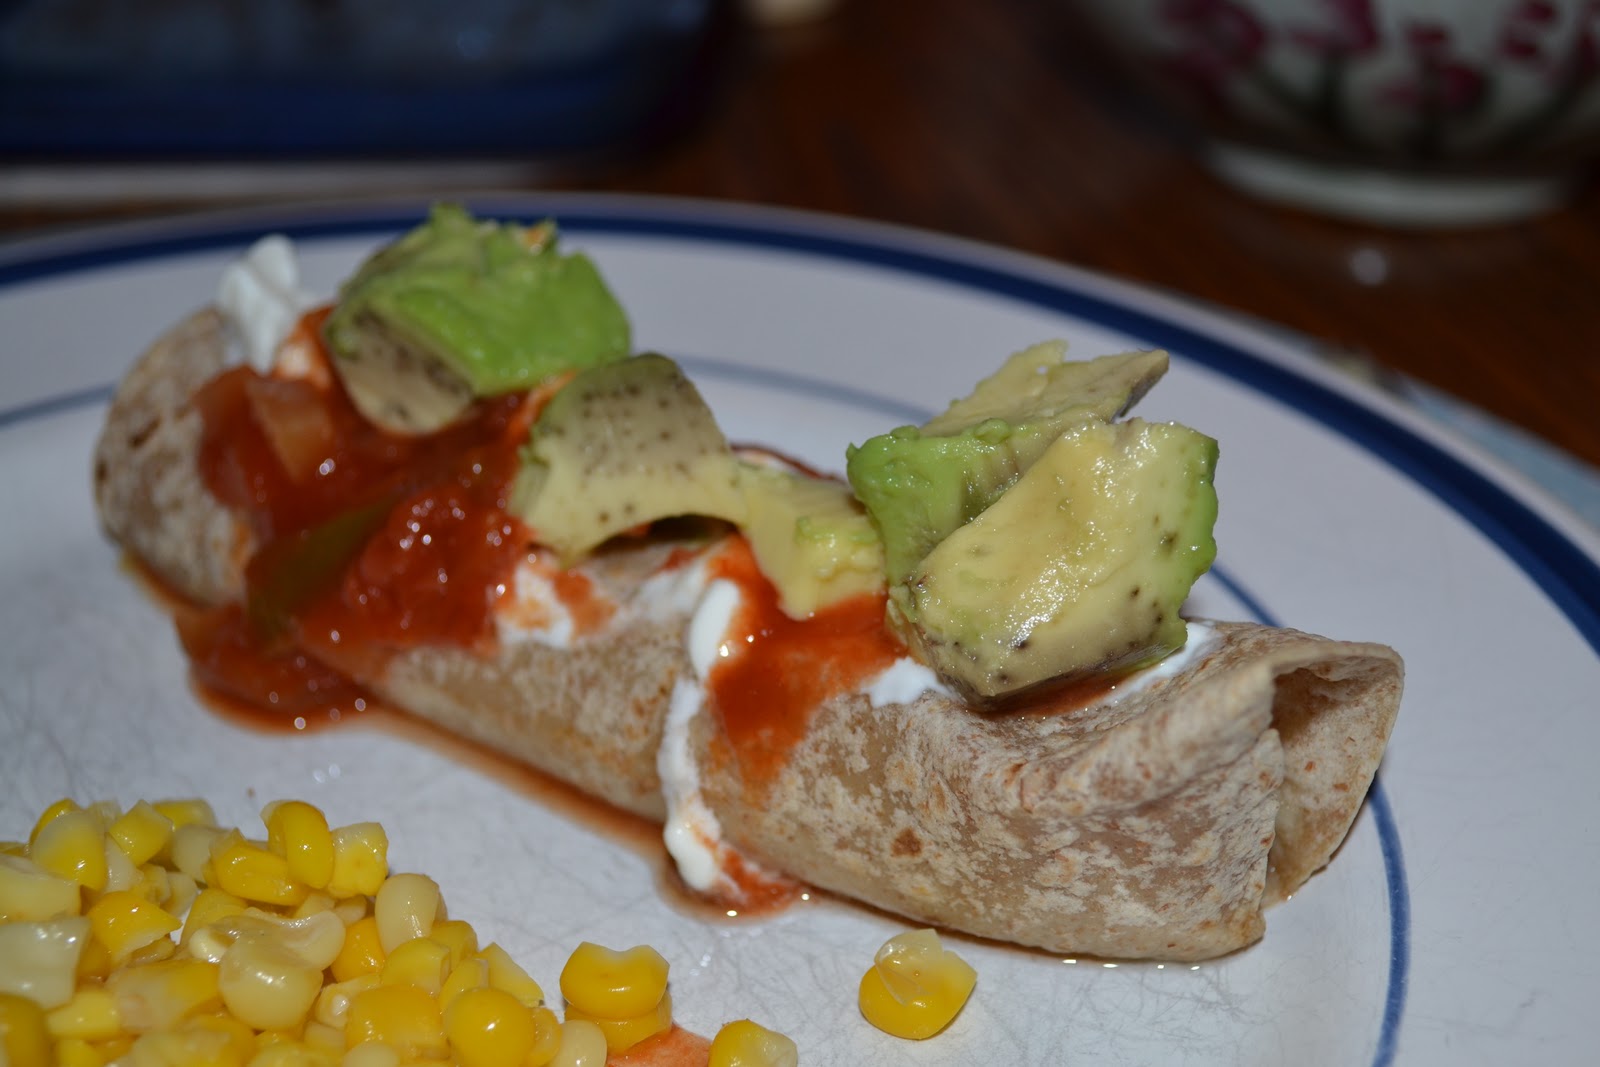
Now that we’re getting down to the last few weeks of pregnancy here I’m starting to make freezer meals. Last night I made a big batch of burritos. We had a few for dinner, and I froze a bunch. These are so simple it’s hardly a recipe. I got the “recipe” from Heavenly Homemakers. I combined her beef burritos and her bean burritos into one and modified it slightly. I used whole wheat tortillas, but you could easily use corn to make these gluten free. So simple and so good!! We all loved them. These will be great to have on hand. You can take out as many as you need at a time and bake them. It is also a great prep ahead meal if you are going to be busy around dinner time. It was a nice treat to just stick dinner in the oven a bit before dinner without having to do any work. These work well when you have to bring someone else a meal too. So versatile. With 1 lb. of meat and some beans I made 17 small burritos and 2 large. After rolling a few I found that it works better to fold in the sides as you roll so that no filling comes out. Use whatever toppings you like. We had salsa, sour cream and avocado. Yum!

Beef, Bean and Cheese Burritos

1 lb. ground beef, venison or turkey
sea salt to taste (I used taco seasoning)
1-2 cups beans (I used pinto and black…soaked and cooked ahead of time)
1 1/2 cups shredded cheese (I used mild white cheddar)
1 cup salsa (I used a 15 oz. can of diced tomatoes)
15-20 whole wheat or corn tortillas

Brown meat in a large pan. Season to taste. **Remove from heat and stir in salsa and shredded cheese. Spoon 2-3 tablespoons onto a tortilla and wrap.

**I poured the seasoned meat in a bowl. Then mixed in the beans and tomatoes. I put a couple Tbsp. of the filling onto each tortilla and sprinkled the cheese on top. Then rolled, folding in sides.

To cook fresh: Place in a baking dish. Bake immediately or cover and store in the refrigerator until ready to bake. Bake at 350 for 20 minutes.
To Freeze: Lay burritos barely touching in a 9×13 freezer safe dish (lined w/ wax paper if you want to remove them easily and store them in a freezer bag). If you are freezing more than one layer of burritos, place wax paper or parchment paper between the layers to prevent them from sticking together.
To Re-Heat: Place burritos on a baking sheet. If burritos are thawed, warm in the oven for about 15 minutes until heated through and through. If burritos are frozen, leave them in the oven for about 30 minutes. They might get a little crispy on the outside, but yum!

Avocado Cheddar Omelet

Last night I made our usual Friday night breakfast for dinner. I made something new and simple. I’ve wanted to try it for a few weeks, but it just didn’t fit into our menu. I saw a recipe similar to this on a blog a while back, which gave me the idea, but I don’t remember where now 😛  So I didn’t actually use a recipe. And it’s not really much of a recipe. But I still thought I’d share since we thought it was good. Eggs and avocado always go well in my opinion. If you can make an omelet, you can make this. It wasn’t my best execution of an omelet ever (as the picture shows), but it still tasted great 🙂  That’s what counts.

Avocado Cheddar Omelet

3 eggs
1/4 cup milk
1/2 cup shredded cheddar
1/4 avocado, diced
salt and pepper to taste
butter for cooking

Whisk eggs, milk and seasoning. Heat small skillet over low heat. Melt butter in pan. Add egg mixture. Let cook until mostly set. Add cheese and avocado to half of the eggs. Fold omelet in half. Let cook a few more minutes, until fully set.

Soy…It’s Not a Health Food

For years people have been touting soy as such a healthy food. But is it really? I don’t think so. In fact, I try to avoid soy in any form at all costs. And I wish I had known sooner just how unhealthy it is. When I first started going to doctors for digestive issues they told me it was “just IBS.” I found an IBS message board and followed their diet guidelines…which included cutting out all dairy. So I had to find an alternative. My first attempt…you guessed it, soy. I drank soy milk and ate soy ice cream for quite a while. Until I figured out it was making me feel worse than when I was using dairy. I stopped the soy milk. Not because I thought it was bad for my health. Just because it made me feel bad. And I guess that was a blessing in disguise. Although I’m not sure how much damage it did while I was using it.

So, what is wrong with soy? Well, the main issue in my opinion is what it does to your hormones. And as someone that struggles with infertility that is a HUGE issue for me. I don’t want my food altering my hormones in a bad way. Soy contains something called phytoestrogens, which are plant derived estrogens. If you eat soy it mimics the estrogen your body normally makes naturally…reducing the amount of real estrogen your body produces…causing a hormonal imbalance. “a few studies have actually shown that high levels of soy can increase menstrual cycle length, decrease the follicle-stimulating hormone and also decrease the leutinizing hormone.” That’s a recipe for infertility for sure. It can contribute to endometriosis and PCOS in women. In men it can lower sperm counts, lower testosterone levels and even hinder development in boys. So please avoid soy formula!! “Phytoestrogens, particularly from soy proteins, have become a major component in our typical Western diet. The use of soy-based infant formulas to treat babies that are allergic to cow’s milk is of special concern, because it’s believed that the most vulnerable periods when the most serious, and possibly even irreversible damage to the developing sexual organs can occur, are the pre- and neonatal periods.” Or if you are pregnant or breastfeeding, please don’t eat soy. Soy is basically an endocrine disruptor and can potentially cause infertility in both men and women. It can also cause early puberty. And even contribute to breast cancer.

Aside from hormone disruption, soy interferes with vitamin absorption. It inhibits your body from properly using calcium, magnesium, copper, iron and zinc. Plus it makes your body require more vitamin B12.

Another big issue in today’s world is GMOs. Similar to corn products, almost all soy products are genetically modified. Again, something I try to avoid at all costs. When I eat something I want to know what it really is. I don’t want DNA from some other organism in my food. Soy is used in so many products these days in forms like soy protein and textured vegetable protein. It’s cheap, it’s easy to use. Of course big companies use it. They don’t care about health, they care about money.

I could continue. There are so many bad things to say about soy. But I wanted to mostly focus on how it relates to fertility, hormones and children. Do I have anything good to say? Some forms of soy are ok in moderation. Like properly prepared, non-GMO fermented forms (miso, tempeh, natto). But those aren’t things I eat anyway. So I try to avoid all soy. It’s tough. I know I get a little soy lecitin in our chocolate chips (I should pay the higher price for the kind without). Aside from that, though, I don’t knowingly eat any soy. And I don’t intend to let my children eat it either.

We are fortunate to not have any kind of food allergies in our family. But what if you can’t have dairy? There are a few options…that aren’t soy. If you are just lactose intolerant (not allergic) I would first try raw milk. It is much easier to digest and many people that can’t handle pasteurized milk can handle raw milk. If that is not an option or you are truly allergic you can try goat’s milk (preferably raw as well). Or coconut milk. That is a very healthy alternative. Or almond milk (preferable homemade). Many alternative milks that you buy in the store are processed, genetically modified and have lots of sugar (processed sugar) added. Homemade rice milk is ok too, although not as nutritious. The bottom line, just because you can’t tolerate pasteurized cow’s milk don’t immediately jump to soy!

Will it kill you to eat a little soy once in a while if you are a healthy adult? Probably not. But I would say anyone that is pregnant or breastfeeding, anyone struggling with infertility or hormonal issues, anyone with digestive problems and babies/growing children should avoid all soy. And don’t forget it is also hidden in many health and beauty products. So always read labels…both for things you put into and put on your body.

Before I end I wanted to quick mention flax seeds. I used to add them to a lot of my food because they have omega-3s and they really help with digestion. But after some research I stopped. Flax seeds can have similar effects to soy…altering hormones. It is especially not recommended if you are trying to conceive or are pregnant. I don’t think it’s quite as bad as soy, but I still try to avoid it.

Tartar Sauce

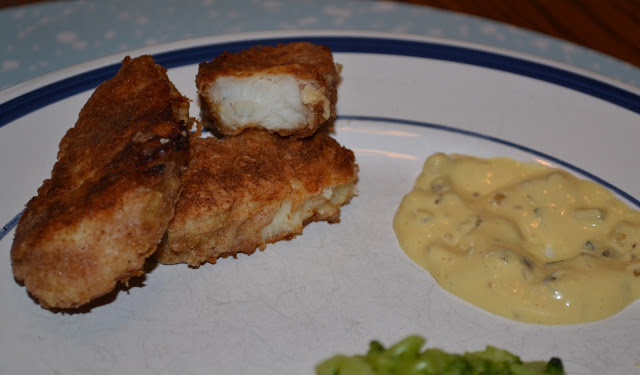
So this is hardly a recipe. But I don’t know that I’ve ever really mentioned it. I didn’t even take a good picture last night since I wasn’t planning to post this. But just so everyone knows how easy it is to make tartar sauce (instead of wasting money and eating garbage) here is my recipe. I’ve never actually measured anything. I just mix to our liking. And I love that I can just make as much or as little as we need for a meal instead of having a jar of tartar sauce sit in the fridge forever and go bad since we don’t use it that often. Check out that beautiful color…nice and yellow from fresh egg yolks 🙂

Tartar Sauce

1/4 cup mayonnaise (preferabley homemade)
2 – 4 tsp. sweet pickle relish (this could be homemade too. I have yet to try it. For now I buy organic.)

Mix and enjoy 🙂

Homemade Fish Sticks

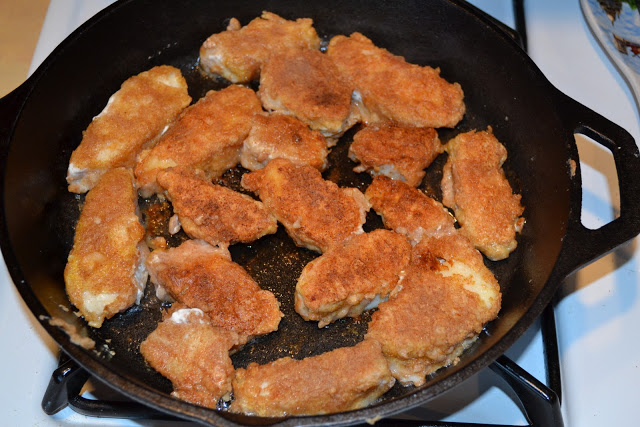
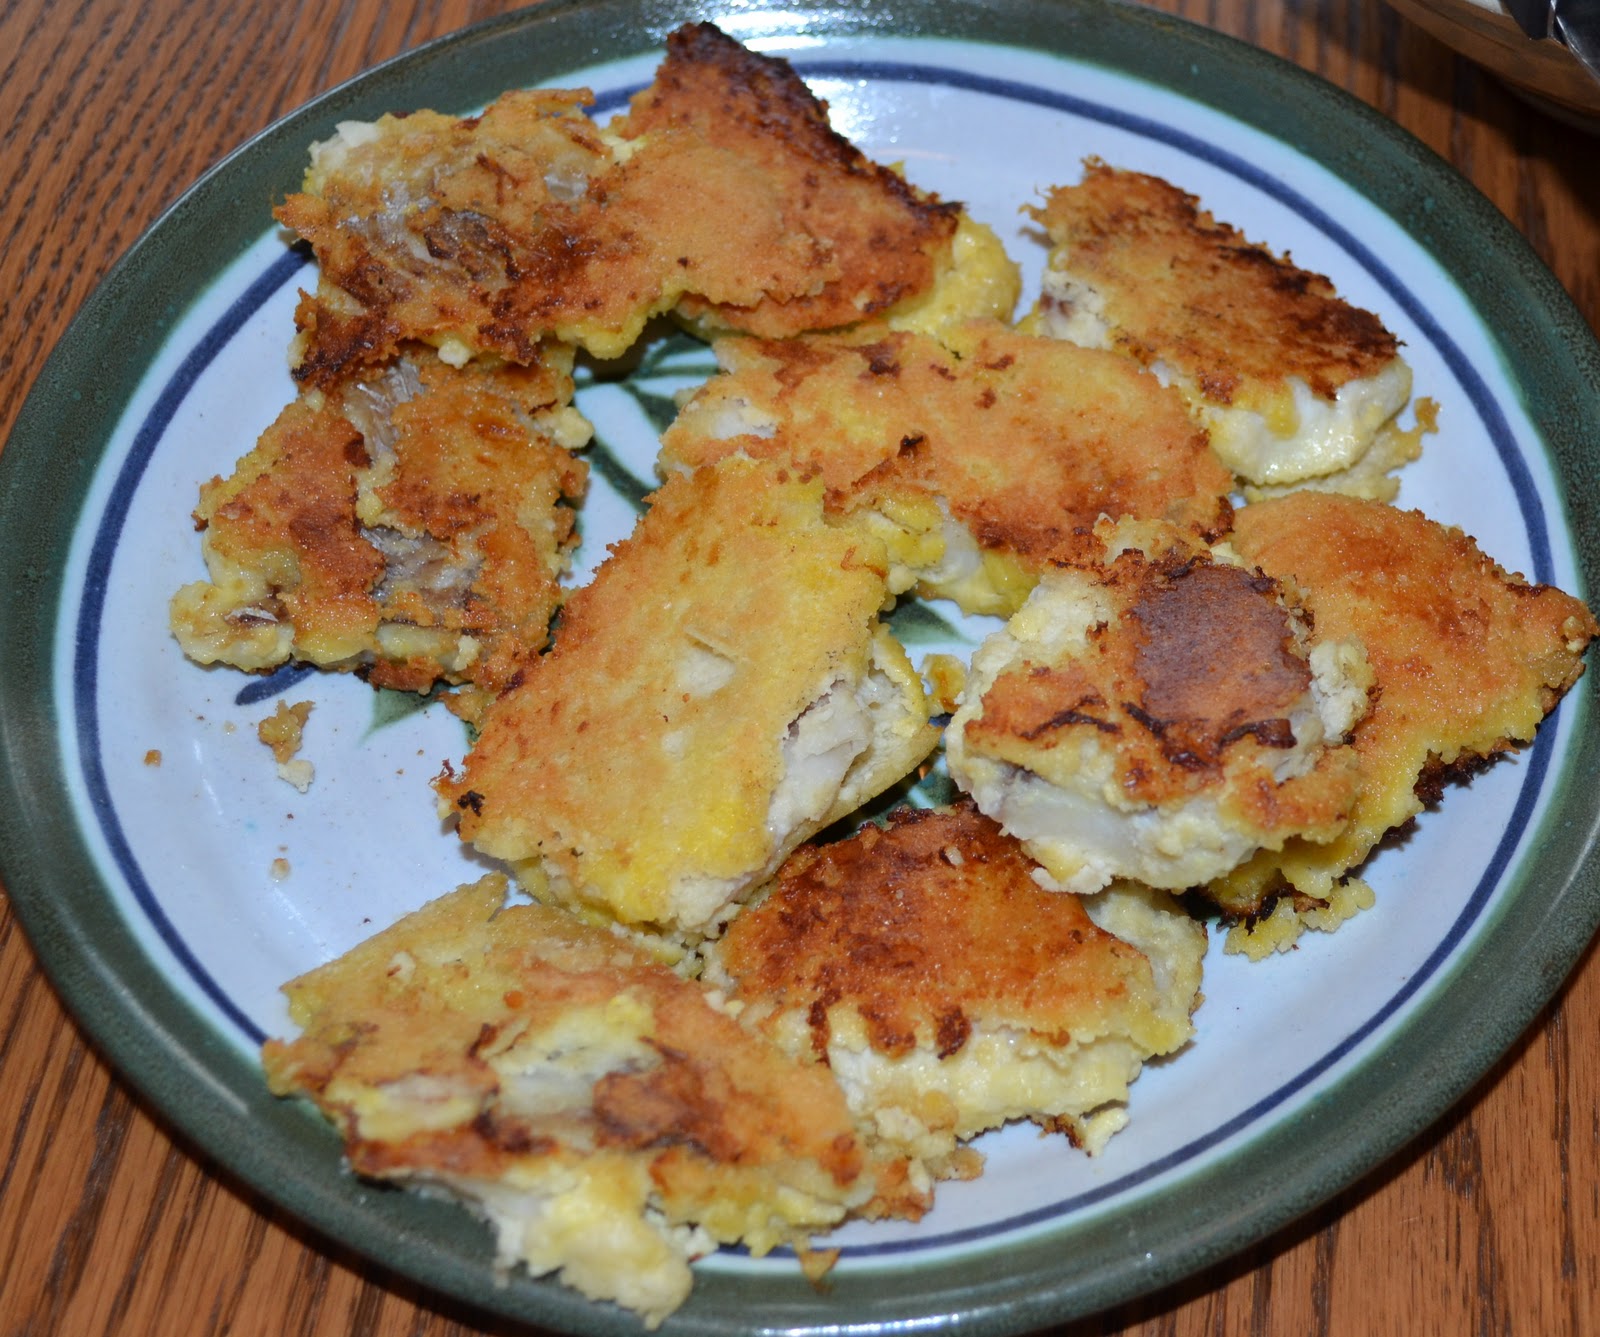
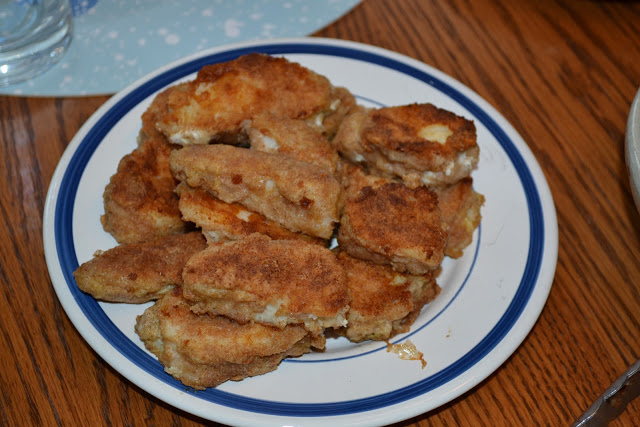
In my quest to eat fish every week I’m having to come up with new ways to cook it. This week I decided to try fish sticks. I haven’t had them in years. And I don’t ever intend to eat them out of a box again (shudder…have you ever read the ingredient list in those?). I didn’t really have a recipe. And I debated about a couple ways to make them. I decided to just do a typical breading/frying method. And they turned out awesome!!! Far better than any fish sticks I’ve ever had. And so healthy. We all liked them. And some homemade tartar sauce (using homemade mayo) to dip them in made them that much better. I just used flour and egg for the breading. And palm shortening for frying. So simple and so good. Can’t wait for leftovers today 🙂  I used cod. I’m sure just about any kind of basic white fish would do. And yet another food that would work well to make a huge batch and freeze a bunch to have on hand. May have to do that before May 🙂  Love it.

Grain free version

Edited 3/15/11 – I made a batch last night using almond flour instead of wheat flour to make them grain/gluten free. Still taste awesome!!! A combo of almond flour and coconut flour is about the best…the coconut flour really gets a good coating. And I used a basic white fish. Worked just as well as the cod.


Homemade Fish Sticks

Cod filets (or any other mild white fish)
Whole wheat flour or almond flour/coconut flour (gluten/grain free if using almond flour and/or coconut flour)
Seasoning to taste (I just used sea salt)
Palm shortening (or another healthy oil for frying – coconut, EVOO, lard)
Egg

Place flour and seasoning in one bowl and beaten egg(s) in another. Cut fish into chunks or strips. Dip fish in flour, then egg, then again in flour. Place on plate.

When all of the fish is breaded heat oil in large skillet (I used my cast iron skillet). Heat over medium heat. Cook fish sticks in oil about 7 min. on each side.