When you’re working around allergies, it can be hard to find easy and nutritious snacks, especially with protein. This homemade ground beef jerky is simple and safe for the whole family.

One of the biggest struggles of having children with allergies is finding easy sources of protein.
Our allergies include nuts, dairy, beans and eggs. So basically it’s meat or nothing. And I don’t know about you, but I just don’t feel like cooking meat for every meal of the day!
But as a Nutritional Therapy Practitioner, I know just how important it is to get adequate protein for blood sugar regulation (think hangry!) and to help kids grow and develop well.
Allergen-Free Protein Options
I do let my kids have sunbutter (we LOVE this brand that is made in a peanut and tree nut free facility!). But it really doesn’t have that much protein. And I only give it every four days to stick with our rotation diet. I also do sardines and anchovies about once a week. Although they are super nutritious, that gets expensive!
When it comes to lunches and snacks I stick to easy. And the usual easy protein sources aren’t options. Most days there is enough leftover from the previous night’s dinner that it’s not a problem.
But sometimes there’s not.
The solution?
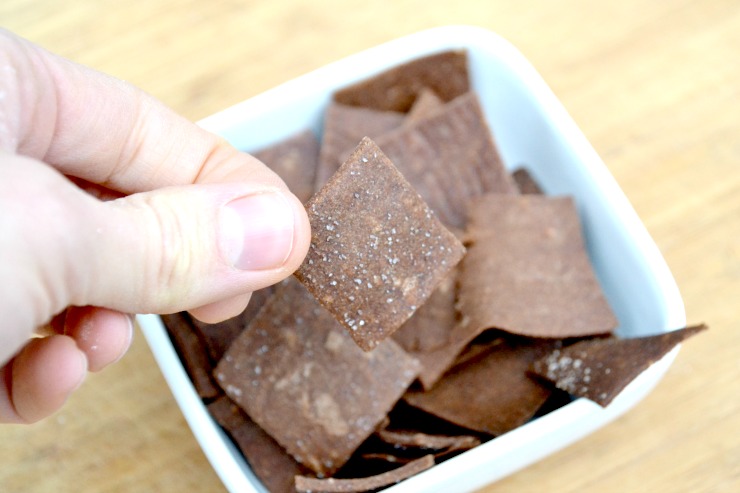
Homemade Ground Beef Jerky
I did some research to find a recipe…and couldn’t find one. Most of them use either soy sauce or coconut aminos. When you can’t use soy or coconut that just doesn’t work. Plus I really had no desire to go to the store or buy specialty items.
So I came up with my own recipe using just a few simple and nourishing ingredients. To my great delight this ground beef jerky turned out great!
Soy-Free Beef Jerky
My biggest surprise…my one year old was the child that liked it the best! She ate almost the whole batch (don’t worry, not in one day). My husband and I love it too!
It is so easy to stick in the diaper bag when running errands. No mess. No refrigeration. Just a simple, healthy snack that is free of allergens and easy enough for a one year old to eat. Perfect!
You can adjust the salt and sugar to your liking. I like a lot of salt. You can also add liquid smoke for a smokey flavor. If you really want to bump up the nutrition you can even add desiccated liver! (Use the code TAKE10 for 10% off)

What is the Best Meat for Beef Jerky?
Ground beef is the easiest meat to work with and makes the easiest to eat beef jerky (trust me, I tried other meat first…and I could barely chew that batch).
Not a fan of beef? Swap it for ground pork, chicken or turkey!
This ground beef jerky is perfect for school lunches or summer picnics. Make a big batch and store it in the freezer. Grab as much as you need any time. It thaws in about sixty seconds.
Is it Cheaper to Make Your Own Beef Jerky?
The other thing I love is how affordable this beef jerky is. I use grassfed ground beef. No fancy steaks. So a whole batch only costs about $6.00 (including the other ingredients)…and makes at least 30 good size pieces of jerky!
We recently bought some locally-made beef jerky. It came in a tiny package and cost about $8.00. Plus my kids thought it was too spicy. I don’t think I’ll be doing that again.
Can You Make Beef Jerky Without a Dehydrator?
Most homemade beef jerky recipes use a dehydrator. But it is possible to make beef jerky in the oven. Simply spread the meat in small strips on a baking sheet and bake it at a very low temperature (around 200 degrees F). Check it every hour for doneness.
What are your go-to allergen-free snacks?
If you’re like me and always trying to figure out an easy snack that is healthy, satisfying and free of allergens you’ve found it. Ground beef jerky is perfect for the whole family. Put it at the top of your allergy-friendly snack list! Homemade lunch meat is a great option too.

Easy, Allergen-Free Ground Beef Jerky
Homemade beef jerky made with ground meat and free of allergens, including soy and coconut!
Ingredients
- 1 lb. ground beef, pork, chicken, or turky
- 1/2 cup gelled beef, pork, chicken, or turkey broth
- 1/3 cup honey, maple syrup, or molasses
- 4 tsp. unrefined sea salt
- 2 tsp. Perfect Supplements Desiccated Liver Powder optional
Instructions
-
Combine all of the ingredients in a large bowl. Cover and refrigerate for 2 - 8 hours.
-
Spread strips of marinated meat onto dehydrator trays using 1-2 Tbsp. of meat each (thinner is better when spreading. Hands work best to spread it).
-
Dry at 155*F for about 12 hours, checking every hour after 6 hours for doneness.
-
Allow to cool and store at room temperature for up to a week, in the refrigerator for up to 3 weeks or in the freezer for up to a year.
Recipe Notes
- If you don't have broth, you can use a combination of 2 tsp. Perfect Supplements broth powder, 1/2 tsp. Perfect Supplements gelatin, and 1/2 cup water. (Use code TAKE10 for 10% off).
- Add liquid smoke to the meat mixture for a smokey flavor.
- Jerky can be eaten straight from the freezer.


 Easy Allergen-Free Snack for Kids


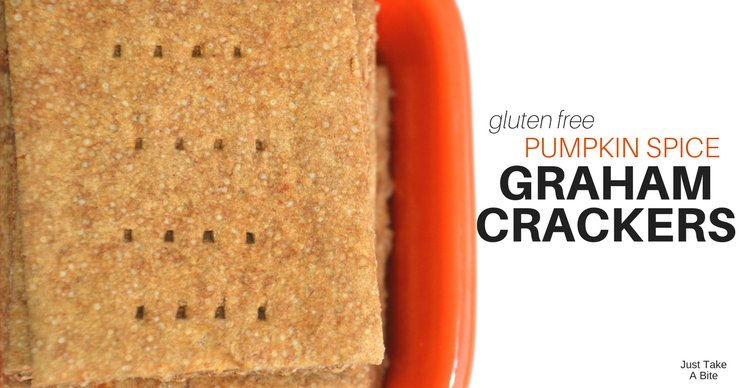


 They can be used in desserts as well. Sprinkle crushed graham crackers on top of