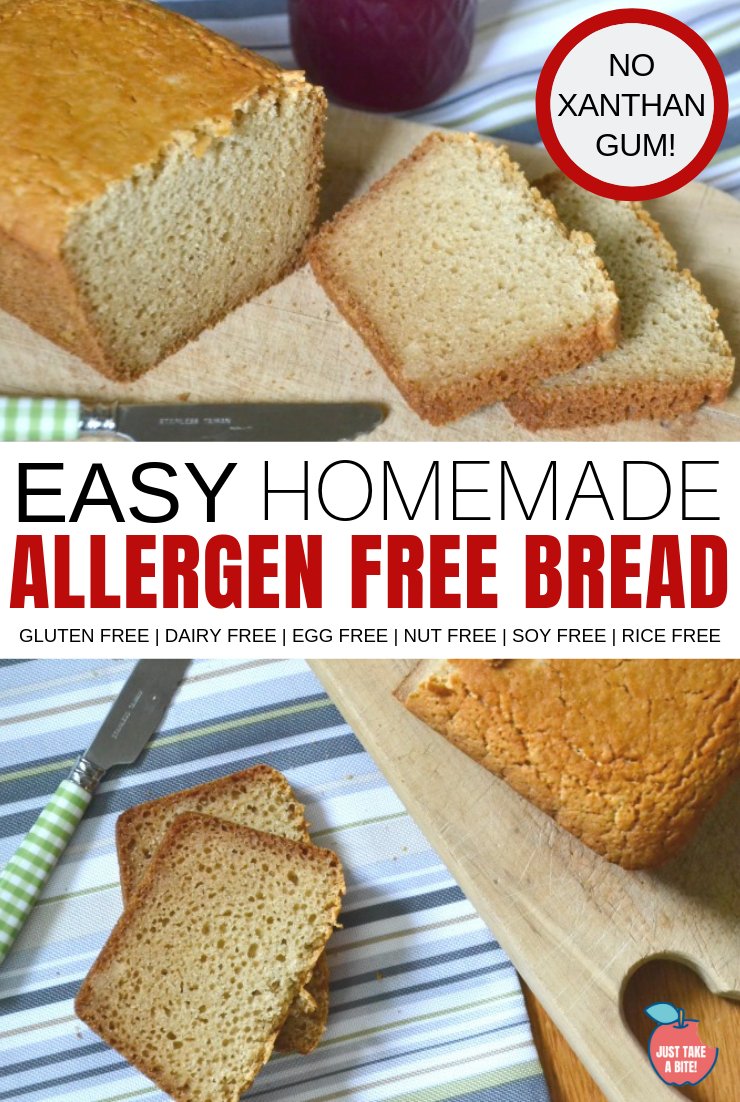
Looking for a great gluten-free bread that holds together without allergens or gums? This allergen-free bread is easy to make and tastes great!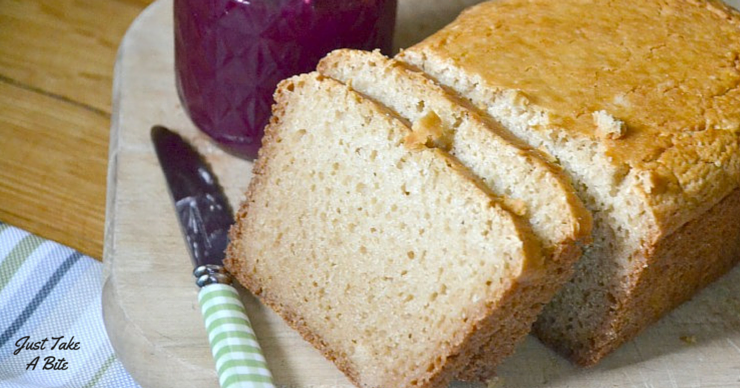
A couple years ago I spent at least six months trying to come up with a decent gluten free bread. I probably made at least fifty experimental loaves.
What did I come up with?
My “not-quite-perfect” gluten free bread. It tastes good. But it’s not quite as sturdy as I’d like. And it seems to turn out differently every time I make it!
Easy Allergen-Free Bread
Then when two of my kids added a bunch of new allergies I just stopped making bread. I really didn’t know how to bake anything safe for them. Back to experimenting.
Eventually I got the hang of making decent muffins (my poor husband with texture issues had to suffer through some over-moist and dry, crumbly experiments).
Can You Bake Gluten-Free Bread Without Xanthan Gum?
One day I decided to try making a loaf of bread. Just to see what would happen.
Imagine my surprise when it turned out great! Actually way better than the gluten-free bread I had tried to create for so long.
Who knew you could cut out the eggs, dairy and binders and get something better?!
My allergen-free bread has no gluten, eggs, dairy, nuts, coconut, rice, corn, seeds or soy. And as with all of my baking it has no gums. As an added bonus, it is soaked so it’s gentler on the tummy.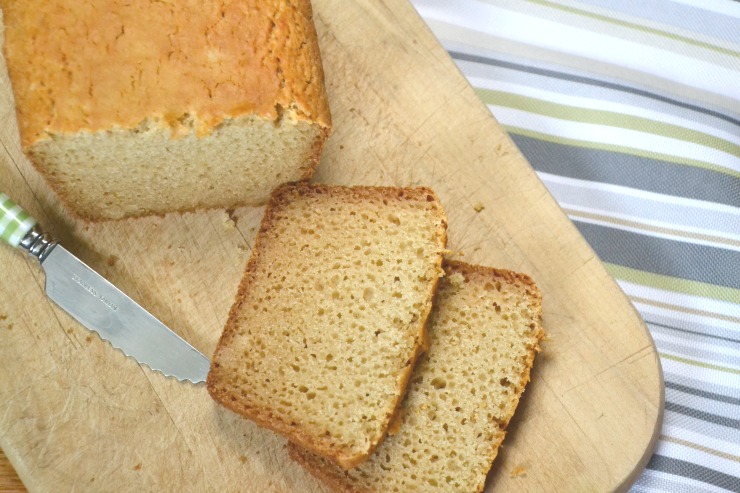
Kid-approved Gluten-Free Bread
Want to know what my kids think about this allergen-free bread?
First kid: “This is AWESOME!”
Second kid: “This is only for me! Nobody else can have it.”
What Can You Make with Allergen-Free Bread?
Life sure is easier when you have bread. My son can enjoy sloppy joes, sandwiches with homemade lunch meat or toast with sunbutter (we love this brand because it is made in a peanut and tree nut facility). We even use it to make mini pizzas with our nutrient dense pizza sauce (no cheese necessary)!
Sometimes we use leftover pancakes or tortillas as “bread.” But this allergen free bread is definitely our first choice. I try to keep some in the freezer at all times for quick snacks, breakfasts and lunches. I even pre-slice it so I can just grab one slice at a time.
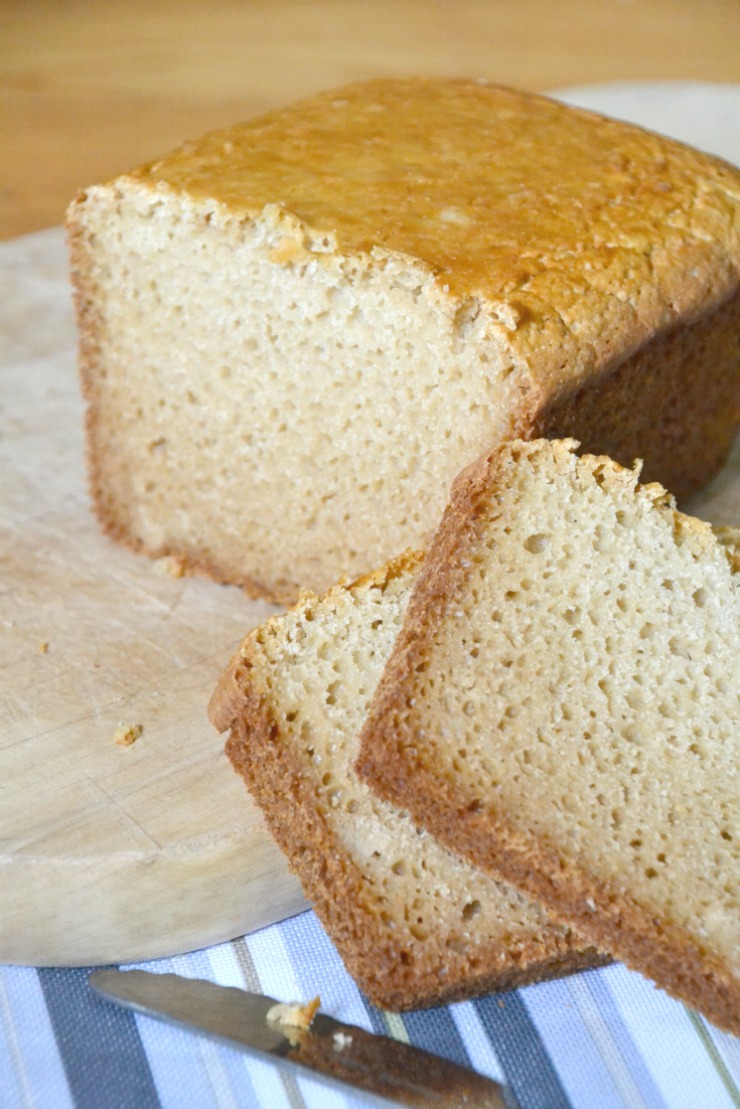
Just a few simple ingredients, mixed by hand gives you a delicious and versatile bread. Soak the flour the day before (or skip that step if you didn’t plan ahead). Then it takes about five minutes to get the bread into the oven.
Just because you have allergies doesn’t mean you have to miss out on freshly baked bread. It also doesn’t mean you have to resort to strange ingredients and binders (that actually often contain allergens!), like most store-bought versions have.
Looking for Homemade Allergen-Free Bread?
Give this allergen free bread a try. Your kids will be begging for more.
Better yet, get your kids in the kitchen to help make it! They can practice, measuring, pouring and mixing. This will definitely be on our list of things to bake as we go through the Kids Cook Real Food eCourse. Click here to learn more about it!
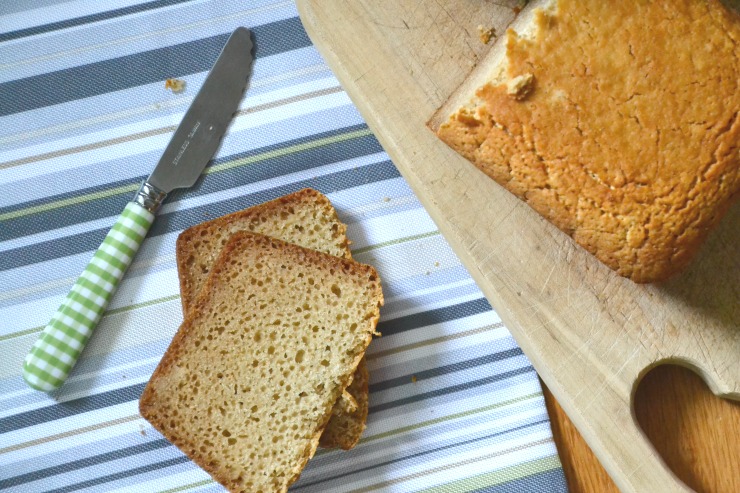
Easy Allergen Free Bread
Ingredients
- 1 1/2 cups organic sorghum flour
- 1/2 cup organic tapioca or white rice flour
- 1/4 cup psyllium husk
- 2/3 cup warm water
- 1 Tbsp. lemon juice
- 1 tsp. baking soda
- 1 tsp. cream of tartar
- 1/2 tsp. salt
- 3 Tbsp. honey
- 5 Tbsp. olive oil or avocado oil
- 3 tsp. grassfed gelatin
- 1/4 cup cold water
- 3/4 cup hot water
Instructions
-
Combine the flour, psyllium husk, warm water and lemon juice. Mix to remove any lumps. Cover and let sit 7 - 24 hours.
-
Heat the oven to 350*F. Grease or line with parchment paper one medium bread pan.
-
Combine the gelatin and cold water. Set aside.
-
Add the baking soda, cream of tartar, salt, honey and oil to the flour mixture. Stir well.
-
Add the hot water to the gelatin water and mix until dissolved.
-
Add the gelatin water to the flour mixture. Blend well with a hand mixer to remove any lumps.
-
Pour the dough in the prepared pans.
-
Bake for 55 - 60 minutes, until golden.
-
Allow to cool for 30 minutes before removing from the pan.
-
Allow to cool for at least an additional 60 minutes before slicing.
-
Store in a sealed container at room temperature for up to 5 days, in the fridge for up to a week or in the freezer for up to a year.
Recipe Notes
You can slice the bread before freezing.
You can replace any of the water with yogurt, whole milk, coconut yogurt, coconut milk, almond milk or rice milk for a moister bread.

Looks great!
We can do citrus though…do you think I could substitute a vitamin c powder like camu camu powder? I assume the citrus is used to create a reaction and help the bread rise.
And I know soaking is good in most cases, except for those with histamine issues. So, do you think it would change the bread if I didn’t soak the flour?
You can totally skip the lemon juice and soaking, Kristy! I’ve done it both ways…just depends how well I plan 😛 Just leave the lemon juice out and follow the directions straight through without soaking. The histamine issue is a tricky one for sure.
Ok I made this twice. It has no rise. Am I doing something wrong. I skip the soaking as I am using sprouted flour and we can’t have citrus or whey. It is no thicker then an inch and a half in my 9×5 loaf
I use pans smaller than 9×5, Jo. Maybe try smaller pans? You can just soak the flour with warm water too if you want. But it shouldn’t matter that it’s not soaked.
Have you tried using buckwheat flour instead of the sorghum? Do you think that might work? Thanks, Amy
I haven’t tried buckwheat, Amy. But I’m guessing it would be just fine. You may have to play around just a bit with the amount of water you use. Every flour absorbs differently. Let me know how it goes!
What can you use in place of the gelatin?
Gelatin is my substitute for the allergenic binders, Mary. I don’t have a replacement for it. If you tolerate seeds you could try chia eggs or flax eggs (just do a search for a recipe). But I have not tried it.
I used Bob’s Red Mill sorghum flour and baked for 55 minutes. My bread came out really crumbly and dry, with chunks falling off when I sliced it and I had a hard time getting it out of the loaf pan without it falling apart (I used a greased glass pan). Also, when soaking, is the mixture supposed to be smooth? Mine was totally dry and crumbly. I’m going to try again in case I measured wrong, and will line the pans with parchment, but maybe someone can lend some insight- should the final product be dry or moist?
Bread can be fickle! I’d say try increasing the honey just a touch. You can also use a bit more water. Every brand of flour is slightly different in how it absorbs liquids.
Do you have an allergen free recipe for a breadmaker
I don’t. Sorry.
What type of gelatin do you buy?
I use Perfect Supplements. You can get it here for 10% off with the code TAKE10: http://www.perfectsupplements.com/ProductDetails.asp?ProductCode=PS-Gelatin&Click=77589
Do you soak the flour in the fridge or at room temperature.
When I added the warm water the flour is still very dry and crumbly.
Is this normal?
You just soak it at room temp, Heather. That’s ok if it’s crumbly. The goal is just to have moisture in the flour for the soaking process.
Hi Mary my bread was very dry and broke up.What type of sorghum were you supposed to use red or white?How can I fix the issue
Sorry to hear that, Theodora. I use sweet white sorghum. You can try increasing the liquid a bit next time. Every flour absorbs a little differently.
The gelatine is there in loose grains….is it because it was not dissolved ?
The recipe gives directions to dissolve the gelatin. Once in a while you’ll still get a little clump. But usually it’s all dissolved.
How many loaves does this make?
The recipe uses one medium and one small loaf pan. You could also try one large, but it might not rise the same.
I always marvel and feel grateful for egg-free breads; thank you! Can’t wait to try this!
It’s hard to find! We make bread out of practically nothing here 😛
Just made this bread for the first time. It’s perfect!! Thank you Mary for all of your hard work putting this recipe together. This recipe is so helpful with all of the many food allergies in our family.
So glad to hear that, Megan!! We love it too. I need to make a new loaf. We eat it so quickly 🙂
Any suggestions for rice or tapioca sub?
Any kind of starchy flour will probably work, but I haven’t tried anything else.
Can I use white vinegar instead of lemon juice?
Do you think it would work if I use white rice flour for the main flour and then arrowroot for the starchier flour?
I am so happy to find this recipe. I’m sensitive to too many things to list. I was really missing bread after several years and can’t find a store bought one that will work with the ingredients I can eat. The first time made this it was dense and didn’t rise (about 1 inch thick). I notice that you say to “pour” in the dough. Mine was not pourable the first time, more like a wet bread dough. This time I added a ton more water (like 1.5-2.5 cups additional) so it would pour, and it is now cooking in the oven and is rising. Not sure if it will be edible yet. Could you explain what the consistency should be right before it goes into the oven? Thanks SO much!
Sorry to hear that, Ashley. Gluten-free baking can be so finicky! Did you use psyllium husk powder? How did the 2nd loaf turn out? Did you use the full 1 2/3 cup of water in the recipe? It should be a wet dough.
I used brown rice flour with the sorghum.
Chia seeds instead of psyllium. Collagen instead of gelatin.
7 hours soaking. Very tasty and moist but
Did not rise. In one 9×2 pan.
Pan size or substitutes?
Well, you made a lot of substitutes that really changed it. You need the starchy flour like white rice or tapioca. Collagen is not the same as gelatin. Gelatin gels, collagen does not. They can not be swapped. Psyllium is the key here. You can’t replace it with chia.
You can replace the cream of tartar with baking powder and it will help the rise.
I’m not familiar with that size pan? So I don’t know.
I hope you get a chance to try it without all of the substitutions. Gluten-free bread is really picky. You can’t make big changes or it won’t turn out.