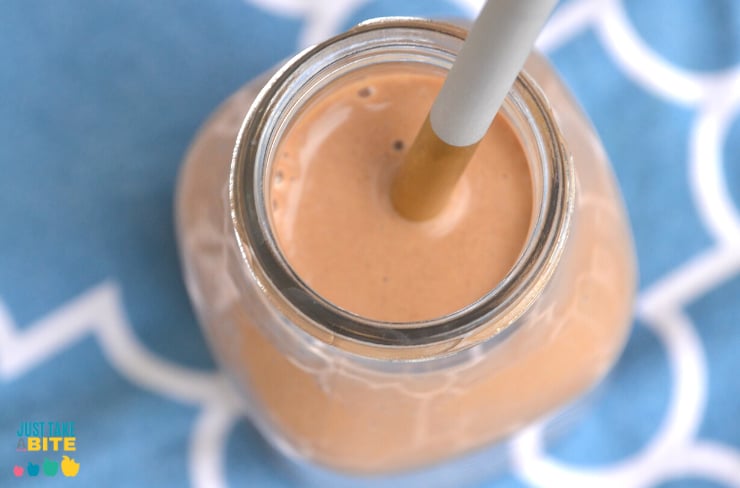
Chocolate protein pudding made with eggs and goat whey – a simple snack or breakfast for teen athletes!
My oldest son has always been active. I felt his first kicks when I was eleven weeks pregnant. From the day he was born he was up and ready for action at 6:00 am. And when he was three years old, he would come down the stairs bright and early and shout, “Where’s my breakfast?!”
It was a very busy and very cute season. We decided to channel some of his high energy into sports. At four years old he played both soccer and t-ball (he loved every minute of it).
As my son got older, he chose to continue with soccer.
Now, in high school, he still loves playing soccer (year-round!). But one thing has definitely changed – his appetite and nutrition needs!

How Much Protein Does A Teenager Need?
Nourishment from real, whole food is important at all ages. But during the teenage years the need for protein goes up. This is especially true for serious athletes.
In the early teen years, aiming for 50-70 grams of protein daily is sufficient. But as kids get older and want to put on muscle, their needs can go up to 100 grams (or more) daily.
The key to assessing your teen’s protein needs is figuring out his or her goals. Does he want to put on muscle to become stronger and faster? Then he needs to combine an increase in protein with an increase in muscle-building activity.
Simply increasing protein will not equate to more muscle. In fact, more protein plus a sedentary lifestyle may lead to increased fat stores.
Protein and movement go hand-in-hand for athletic performance.

Protein for Teen Athletes
There are many great sources of protein. These include:
- Meat: chicken, beef, lamb, turkey, pork, etc.
- Seafood
- Dairy: milk, yogurt, cheese, etc.
- Eggs
- Nuts and seeds (note that these are better sources of fat than protein)
The tricky part is having quality sources of protein on hand for quick snacks and meals.
Which is why protein powders come in handy. You can add them to just about anything to increase the protein content.
Naked Nutrition Goat Whey Protein
My entire family has been using collagen for many years. But we recently tried goat whey protein from Naked Nutrition.
Many protein powders come from cow dairy. That really limits options for a teen with a dairy allergy!
So, my son was very excited to find goat whey protein. He loves the vanilla flavor added to goat yogurt, oat cups, and smoothies.

Protein Powder for Teen Athletes
It is important to be choosy when it comes to protein powders. They are not all created equal. My family loves the goat whey protein because it comes from small-herd, pasture-raised goats in WI.
Not only do the ingredients meet high standards, but the nutrition is great too! One serving of Naked Goat Protein contains 23 grams of animal protein! This makes it an excellent source of protein for teen athletes that doesn’t require extra work.
Protein Snacks for Teens
After working hard at soccer practice or a game, my son is HUNGRY. And he knows that loading up on protein will help him feel full and meet his fitness goals. So he likes to add Naked Nutrition Goat Whey Protein to yogurt or dairy-free milk. I even add it to muffins and oatmeal sometimes.
Some other simple snacks for teen athletes include:
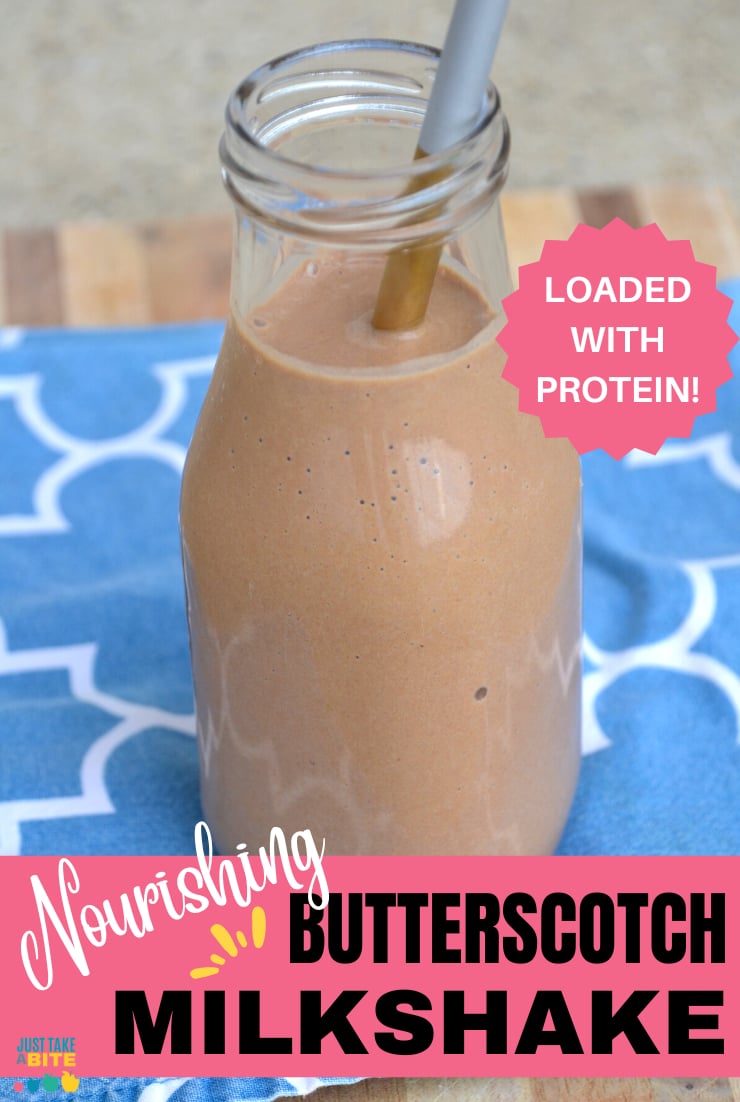
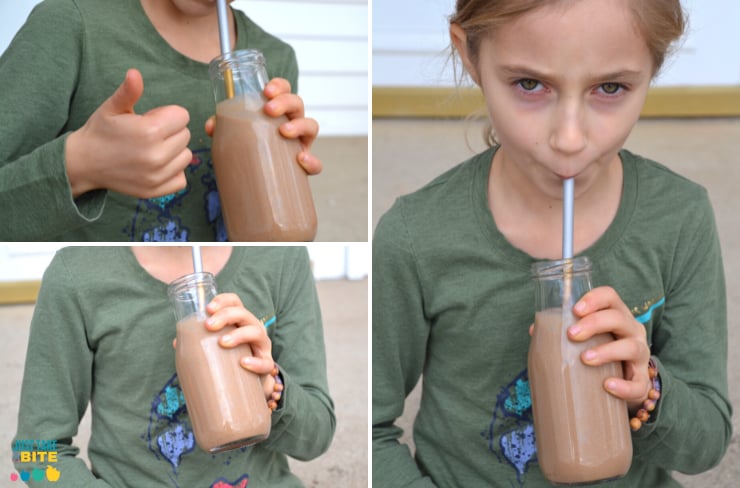
- Butterscotch milkshake
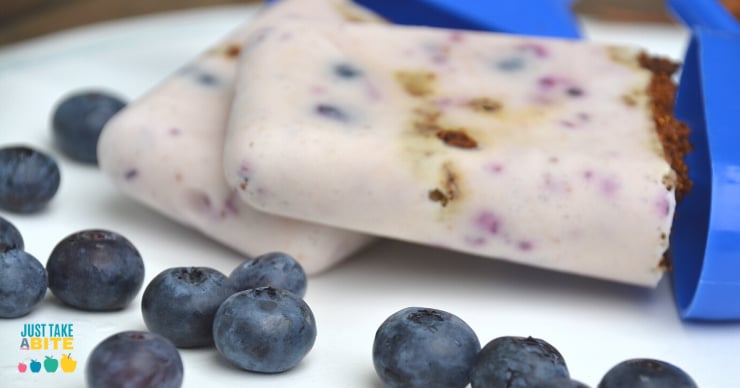
- Protein-packed breakfast cupcakes
- Homemade beef jerky
- Homemade granola bars
- Veggies with hummus
- Fruit with sunbutter or nut butter

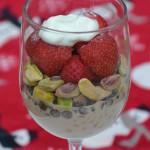
Creamy Chocolate Protein Pudding Recipe
There are many options for healthy snacks. But one of my son’s absolute favorite snacks is protein pudding. With allergies to both dairy and nuts it’s hard to find easy options with complete protein for my son. But protein pudding meets his needs perfectly!
This simple pudding combines multiple sources of protein for a delicious, prep-ahead treat. It includes:
- Eggs
- Sunbutter (or nut butter if you tolerate it)
- Naked Nutrition Goat Whey Protein
- Milk (whatever milk you tolerate)
You can make the pudding a day or two in advance and keep it in the fridge. Dish up a serving whenever you need it, or take it on the go.
Chocolate Protein Pudding (with goat whey and eggs)
Ingredients
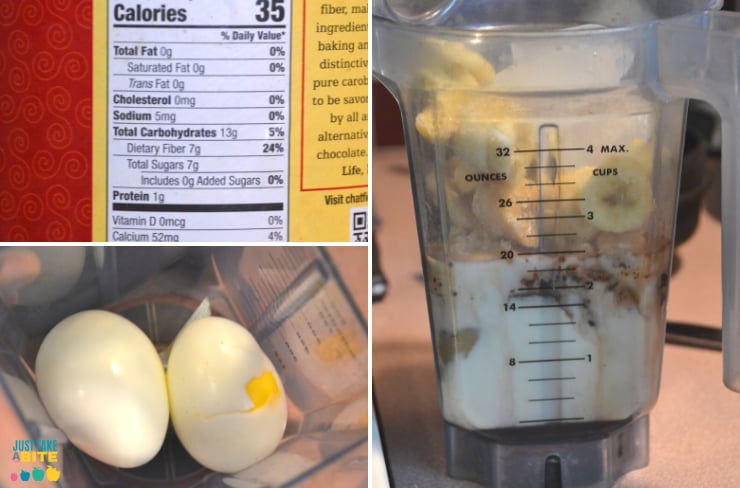
- 6 hard-boiled eggs, peeled these can be cold or warm
- 1/2 cup milk of choice
- 3 Tbsp. sunbutter or nut butter
- 1/2 cup organic cocoa powder
- 1/4 tsp. unrefined sea salt
- 3 scoops Naked Nutrition vanilla goat whey
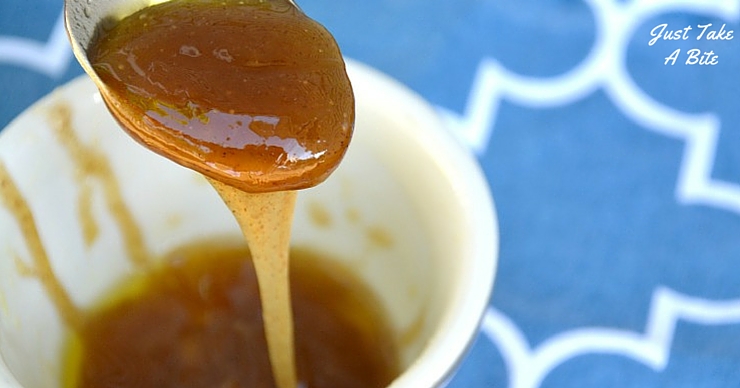
- 3 Tbsp. maple syrup or honey
Instructions
-
Combine all of the ingredients in a high powered blender.
-
Blend until smooth.
-
Serve immediately or chill and serve cold.
-
Store in a sealed container in the refrigerator for up to 5 days.
Recipe Notes
Protein:
6 eggs = 36 grams
3 scoops goat whey = 34.5 grams
3 Tbsp. sunbutter = 10.5 grams
Milk ~ 4 grams
Total = 85 grams/4 servings = 21.25 grams of protein per serving.
Using 4 scoops of whey protein would equate to 24 grams of protein per serving.

How to Incorporate Protein Pudding for Teens
Thanks to the nutritional boost from Naked Goat Whey, a serving of protein pudding contains up to 24 grams of protein (depending on what milk you use and how much protein powder you add). That’s enough for a meal!
Protein pudding is great plain. But there are other ways to serve it as well.
- Mixed into goat yogurt
- Used as “frosting” on a muffin
- Topped with sliced bananas
- Used as a dip for pretzels or apple slices
I tend to serve protein pudding for breakfast alongside energy balls. It keeps all of my kids full and fueled for hours! Plus it’s all ready to go when they get up in the morning. It’s pretty much a weekly staple in my house.
Benefits of Whey Protein
In addition to boosting protein intake, Naked Nutrition Goat Whey contains Vitamin A, medium chain fatty acids, and triglycerides that all help with healthy skin. Teenagers can always use help in this area!
And for those that struggle to break down lactose from cow’s dairy, goat whey is a great alternative that is easier on the gut.
goat whey protein is a great option for boosting protein for teen athletes. And this delicious chocolate protein pudding is our favorite way to incorporate it.
Have you tried goat whey? What is your favorite way to use it?