
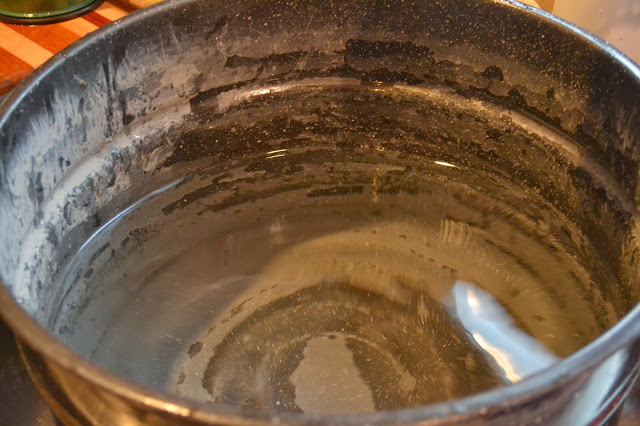
Step 2. Fill the canner with water about 2/3 full.
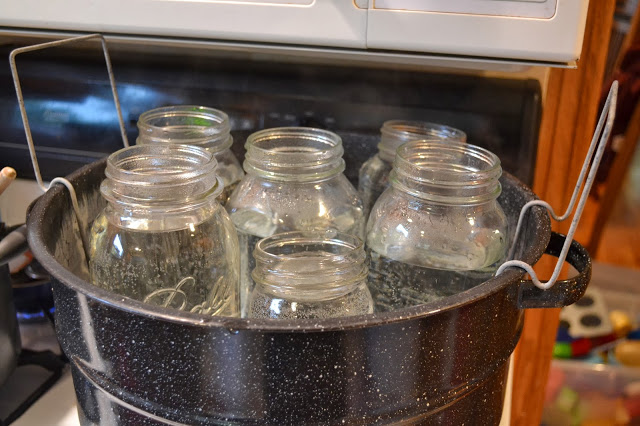
Step 3. Place the canner on the stove and the rack in the canner. Put clean jars in the rack. The jars should be submerged in the water/have water inside them.
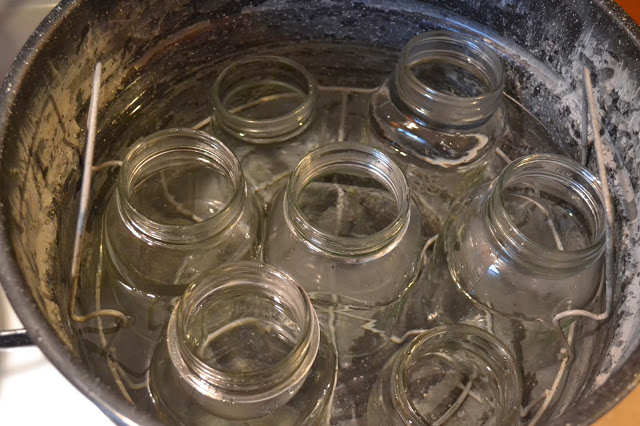
Step 4. Put the lid on the canner and turn on the heat. The jars will need to sit in hot water for at least 5 minutes before they are ready to use.
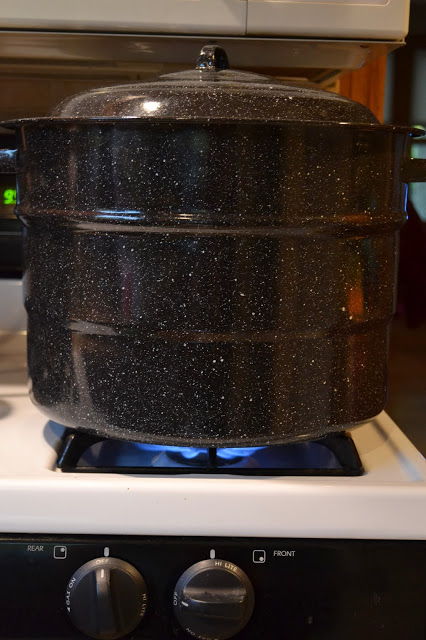

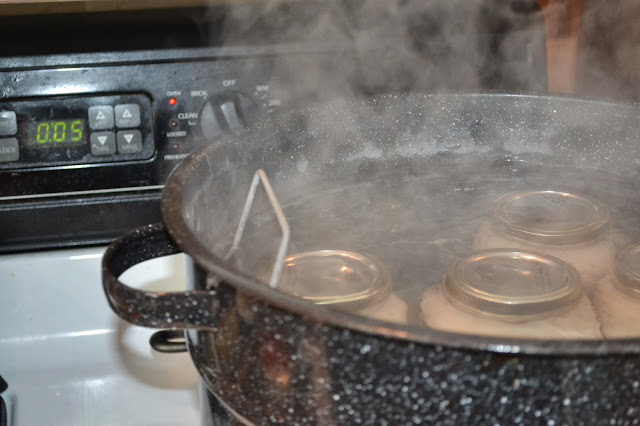
Step 7. Remove the lid from the canner. You can see there are little bubbles all around the jars. This tells you the jars are hot enough.

Step 8. Lift the rack from the canner so you can access the jars.
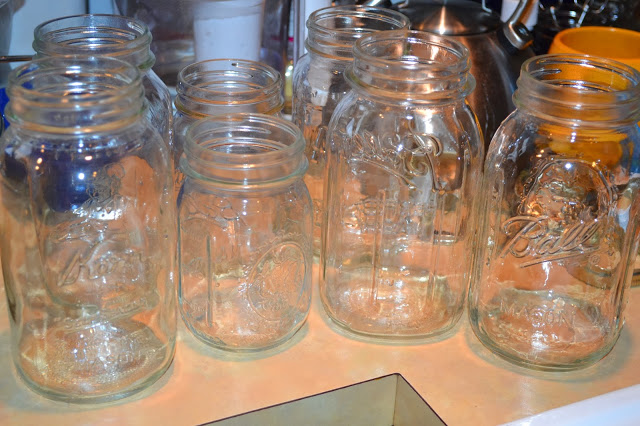
Step 9. Using tongs or a jar lifter carefully remove the jars from the hot water, emptying the water from the jars back into the canner. Wipe the outsides of the jars and set them on a counter to be filled. The canner should still be on the stove with the heat on.
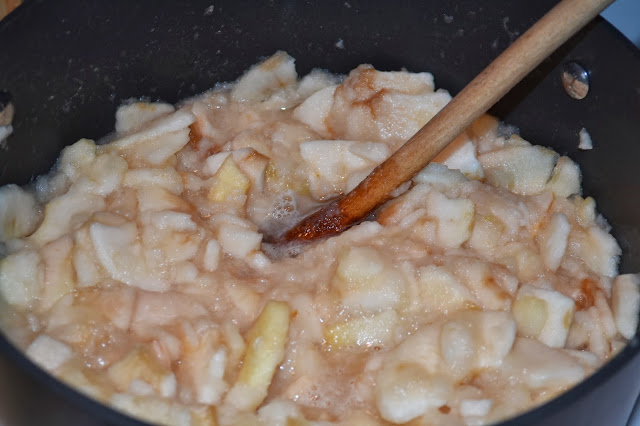
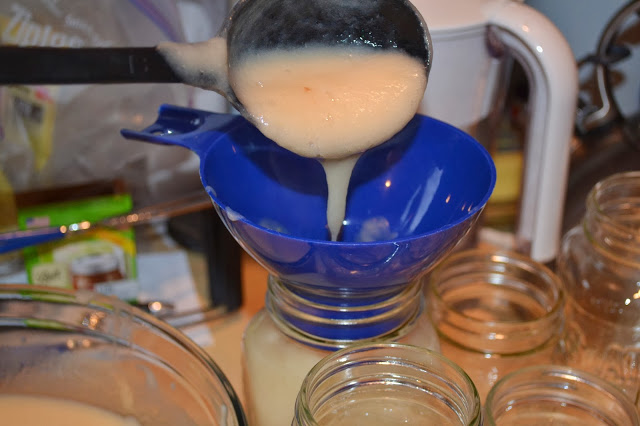
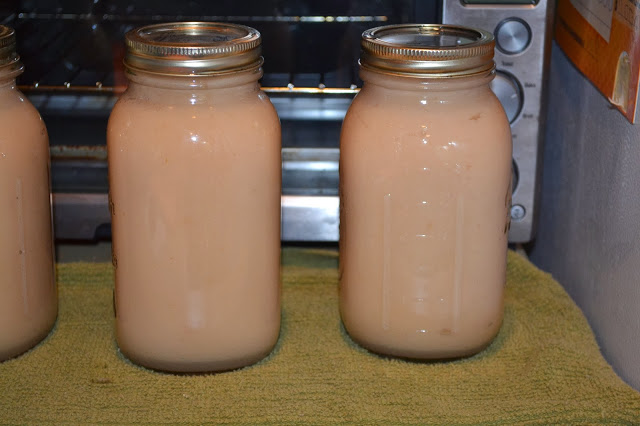
Step 10. Use a canning funnel and fill the hot jars with the prepared food. Most recipes suggest to fill the jars with one inch of space left. But check the recipe to be sure. I leave a little extra room when doing applesauce so it doesn’t overflow in the canner.
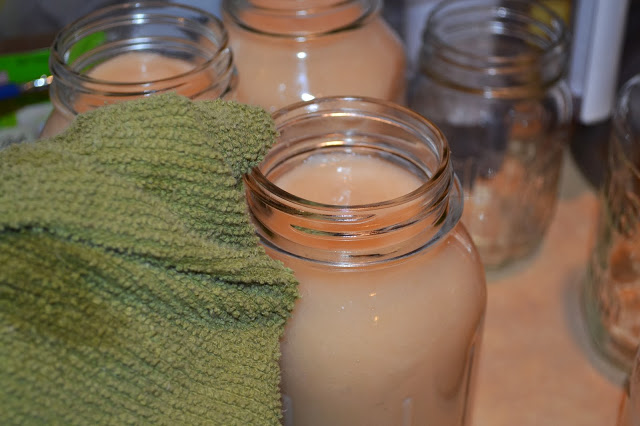
Step 11. Wipe the rims of the jars with a clean towel.
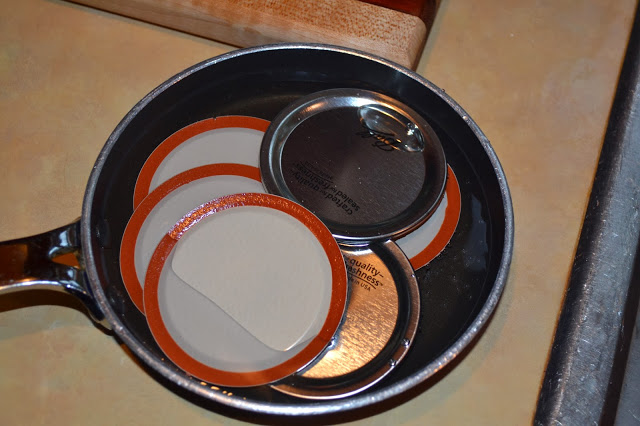
Step 12. Remove the lids from the small pan of water. Wipe them dry with a clean towel. Place a lid on each jar. Tighten a ring around each lid.
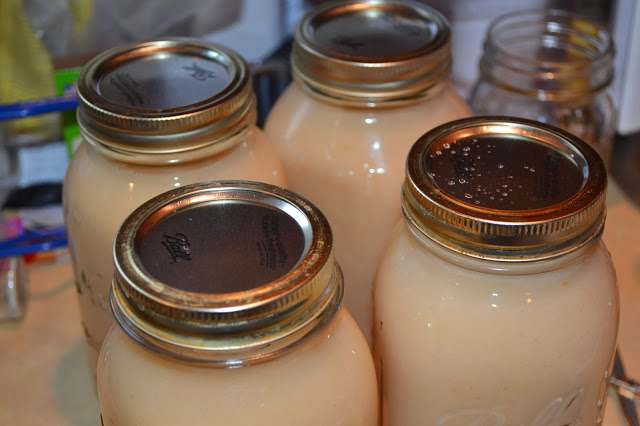
Step 13. Place the filled and capped jars back in the canner rack.
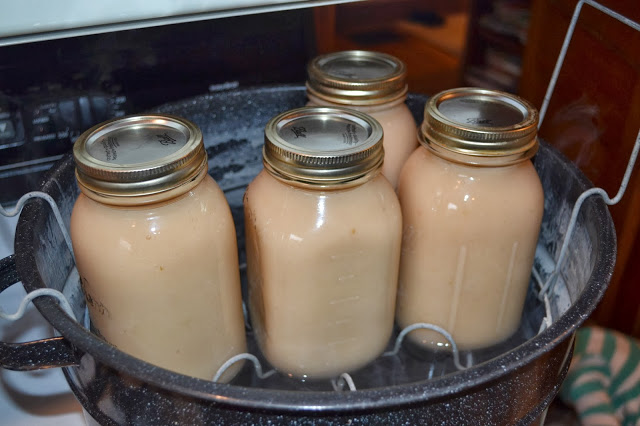
Step 14. Move the rack to the bottom of the canner/submerge the jars. The tops of the jars should be under the water. If they are not add extra water to the canner.
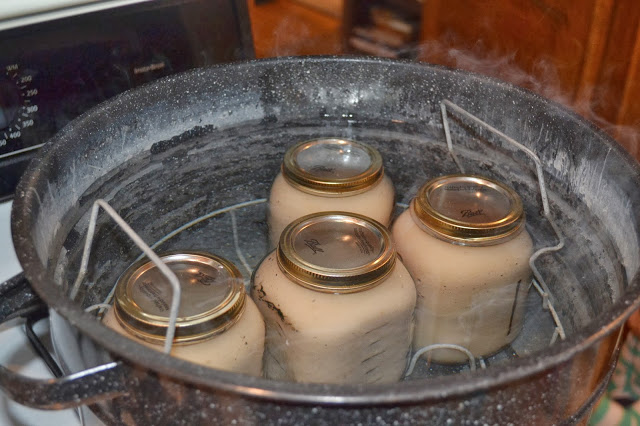
Step 15. Put the lid on the canner. When the water returns to a boil set a timer for the time specified in the recipe.
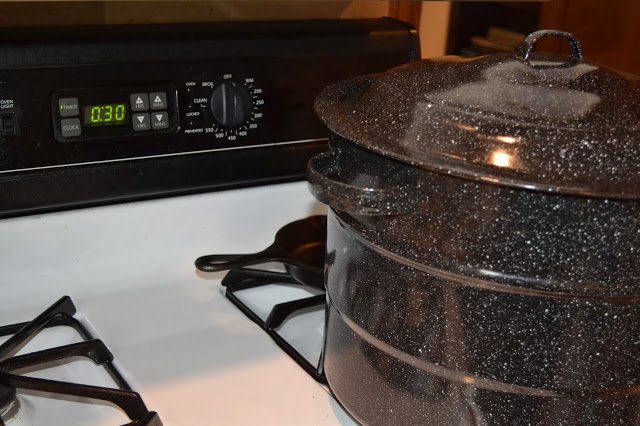
Step 16. When the time is up turn off the heat and remove the lid from the canner. Set the timer for 5 minutes.
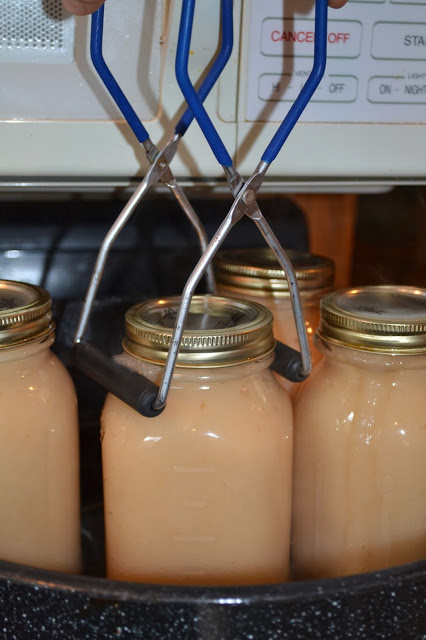
Step 17. When the 5 minutes is over pull the rack up. Carefully remove the jars from the canner and place them on a clean towel on the counter.
Step 18. Allow the jars to set, undisturbed for at least 8 hours. Often you will hear the lids popping shortly after taking the jars out of the canner. This is a good indicator that the jars have sealed. But if you don’t hear the pop it does not mean they didn’t seal.
Step 19. When the jars are completely cool remove the bands. Make sure the lids are sealed. Label the jars and put in storage.
Step 20. Enjoy your pantry fulled of home canned goods all winter long!
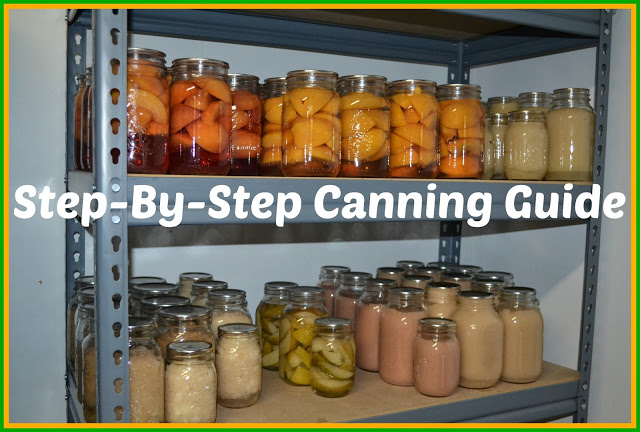
Are you ready to try canning? Here are some recipes I’ve made:
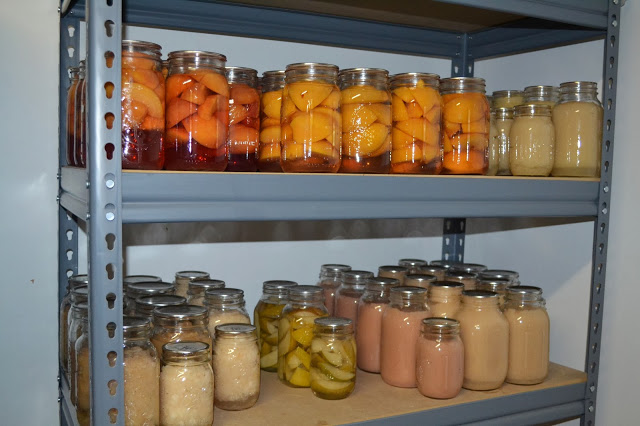
Applesauce
Pearsauce
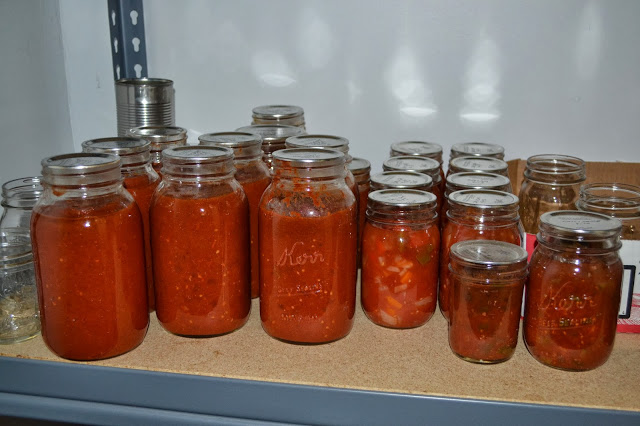
Spaghetti Sauce
Salsa
Peaches
Pears
Chili Sauce
Vegetable Soup Stock
Apple Butter
Blueberry Syrup
Cherry Jam
Dill Pickles
Just curious- why remove the bands before storage? I’ve always left them on…
It doesn’t hurt to leave them on. But it’s not necessary. Then you’ve got more bands for canning 🙂
I have been told it can lead to a false seal if the bands are left on – if it didn’t seal in the initial canning the lid can pop up even briefly and then reseal itself but the “bad germs” have gotten the chance to get in. Also, the bands can rust if they get left on the jars after canning.