Don’t let those extra muffins go to waste! Whether they are getting stale or are starting to crumble, leftover muffins make amazing bread pudding.
Growing up there was a great debate in my house – should bread pudding have raisins or not?
The debate was between my big sister and me. As an Analytical Eater, I L-O-V-E chunks in my food. Bread pudding without a contrasting texture was too boring.
But my sister wanted nothing to do with raisins!
My poor mother. She never knew who to please. I’m sure we had it both ways many times.
In the end the bigger conundrum in my mind was why we didn’t get bread pudding more often!
What is Bread Pudding?
Bread pudding is sort of a misleading name. It’s not really pudding like we know it. No creamy chocolate dessert here. It’s more of a custard made with chunks of bread…or muffins!
You mix bread or muffins with eggs, milk, and some type of sweetener. When baked it creates a cake-like breakfast or dessert with a custard feel to it. The more eggs and milk you add, the more custard you get.
Why do Muffins Fall Apart?
How many ways can you mess up a batch of muffins? Far too many!
Muffins mishaps can be caused by too much or too little of a lot of things:
- too little moisture (milk, water, or fruit/veggie purees) (crumble)
- too few eggs (fall apart)
- too many eggs (won’t fully bake)
- not enough baking powder (stay flat)
- not enough oil/fat (dry)
- no binder (gluten, psyllium husk, flax seeds, gelatin) (fall apart)
- overbeating (chewy)
Who knew something as simple as a muffin could cause such trouble?! But it happens to the best of us.
Sometimes it’s not even a bad batch of muffins that causes problems, but a lack of paying attention to them.
Normally when I bake muffins I use them for a couple breakfasts and freeze the rest to have later. But sometimes I get busy. And the muffins just sit there, staring at me for a week.
Or once in a while there is that batch of muffins that didn’t turn out quite right. That happens more than I care to admit with gluten-free baking! They are crumbly and messy and you just want to toss them. Don’t!
Use them to make muffin bread pudding!
Leftover Muffin Bread Pudding
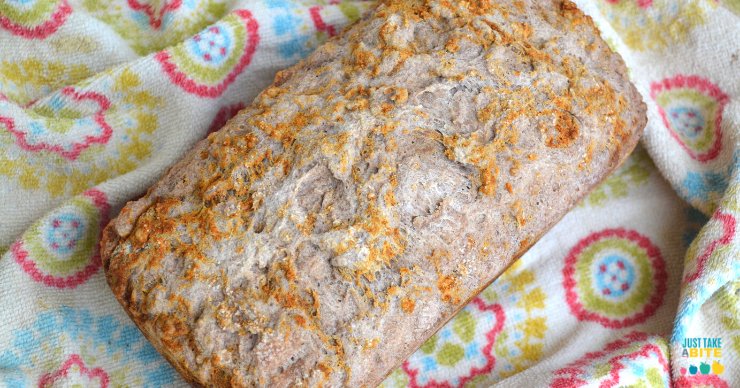
Traditional bread pudding is made with chunks of bread. But it’s just as easy to make it with leftover muffins.
Bread pudding with muffins is simple to prepare. Just crumble the muffins (if they aren’t a big mess already!), mix them with eggs, milk, and sweetener, and bake! You can assemble a delicious dessert or breakfast in minutes.
The next time you have a few leftover muffins turn them into something new.
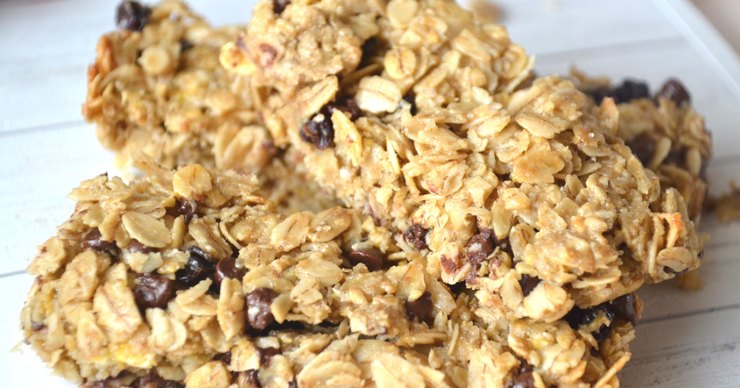
It’s fun because you get a variety of flavors depending on the muffins. I have tried flavors like orange raisin and blueberry. These double raspberry chocolate chip muffins would make amazing bread pudding! If your muffins are kind of bland you can add extra fruit or dried fruit to the bread pudding to boost the flavor without adding refined sugar.
Easy Bread Pudding for One or For a Crowd
You can make leftover muffin bread pudding with a whole batch or just a few muffins. Enjoy it as a breakfast or dessert. I like to pour milk on top, like baked oatmeal.
I have fond memories of my mom serving bread pudding when I was a child. It was one of my favorite treats. But I don’t take the time to make it often these days. When I do, though, it’s usually using leftover muffins (these allergen-free blueberry muffins are perfect for making bread pudding!)
Kid-Friendly Bread Pudding with Muffins
My kids are very proficient in the kitchen thanks to the Kids Cook Real Food eCourse. My oldest is actually the muffin maker around here. Most of the time they turn out well. But once in a while we have a muffin flop. It’s part of the learning process.
Then all the kids can chip in to make leftover muffin bread pudding. The little one can have fun breaking or cutting muffins into chunks. While the older kids can practice cracking eggs, measuring ingredients and oven safety. Plus they get a delicious reward at the end. Muffin mistakes never tasted so good.
Not sure what to do with leftover muffins? Turn them into bread pudding – a delicious breakfast or dessert the whole family will love.

- Leftover muffins
- 2 eggs for every 4 medium-size muffins
- 1/2 cup milk for every 4 muffins
- 2 - 3 Tbsp. organic cane sugar, sucanat or coconut sugar (depends on the sweetness of the muffins) for every 4 muffins
- optional: fresh fruit, frozen fruit or dried fruit
- Heat oven to 375 degrees F.
- Grease a baking dish.
- Add the eggs, milk and sugar (and fruit) to the baking dish. Beat with a fork.
- Crumble the muffins and add to the dish. Push the muffin pieces down to get fully coated. If there is not enough moisture add extra milk.
- Adjust sweetness to taste.
- Bake for about 1 hour, until golden on top and baked through.
- Serve plain or with milk, yogurt or ice cream.
- Serve warm or room temperature.


 Which Grains Work Best for Gluten-Free Sourdough?

 Does Gluten-Free Sourdough Bread Toast Well?
 Does Sourdough Bread Contain Gluten?
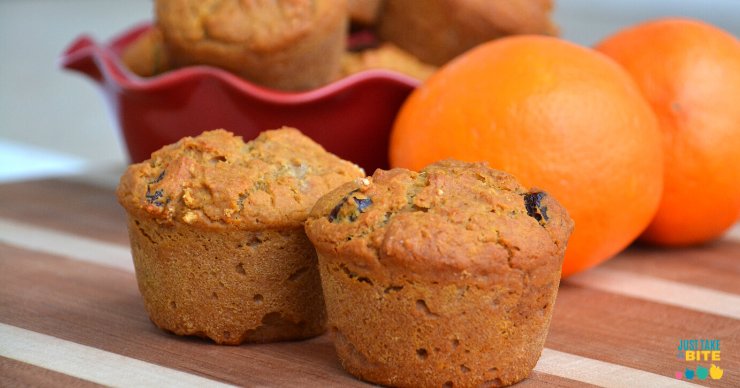


 Easy Allergen-Free Snack for Kids


 I always have