
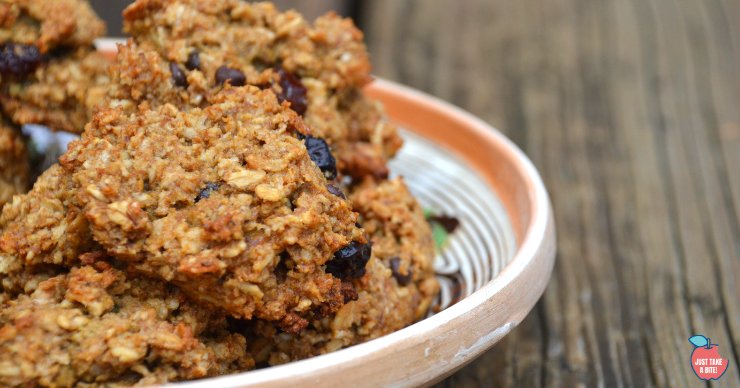
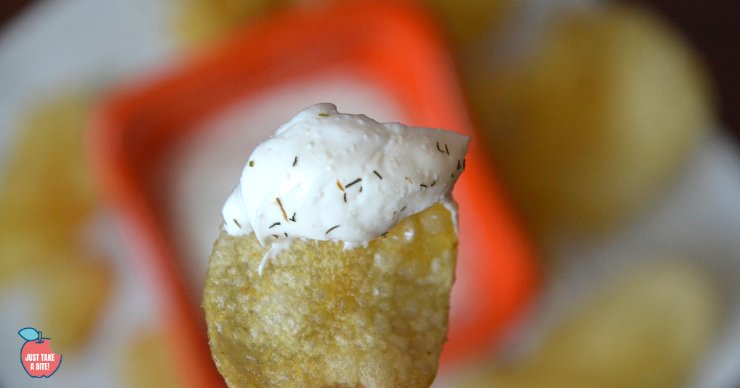
Kettle corn granola is a little salty and little sweet. You get the flavor of kettle corn in your breakfast bowl!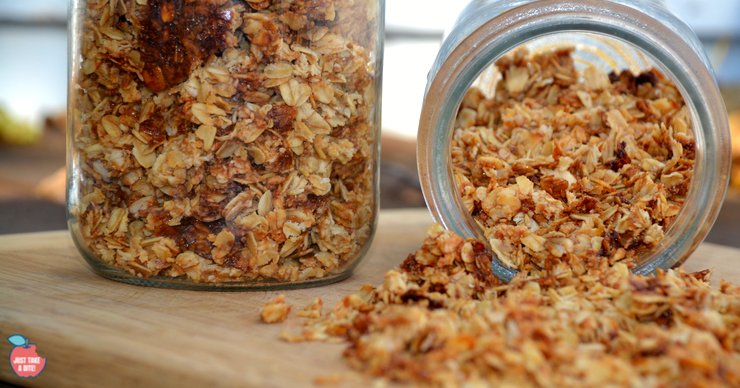
Granola is one of my absolute favorite foods. I got hooked on it in college…and ate it every day. I wish I had known back then just how easy it is to make your own granola.
Now I make it all the time. I always have some on hand for an easy snack or quick breakfast. It’s great mixed in yogurt or eaten plain with milk. I even love putting some in my daughter’s lunch for a filling finger food.
A super easy breakfast that my kids love is a granola bar bowl – you get the taste of granola bars without the work. Grab the recipe here.
Sweet and Salty Homemade Granola
I’ve been making granola for many years now. I have several granola recipes already on the blog. I don’t usually follow a recipe anymore. I just use what we have on hand and create something new every time.
But this version of granola is hands down my favorite!
It’s salty and sweet and very addictive!! I call it kettle corn granola because it really tastes like kettle corn.
Easy Finger Food Snack
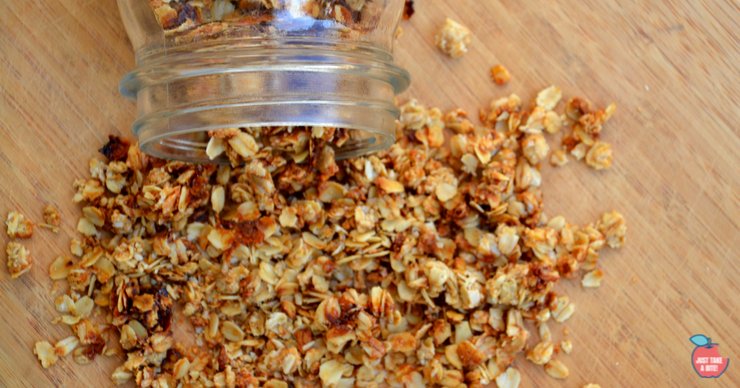
My kids love to munch on this stuff. As you can see my son had no problems helping me make the granola and being my taste tester.
One of the great things about granola is that you can make a huge batch (I usually do about 10 cups of oats at a time – a double batch of this recipe) and freeze it. Then when you want granola you are set.
You don’t even have to thaw it! Granola is ready straight from the freezer. I usually keep a small jar in the cupboard and refill it from the freezer stash as we use it up.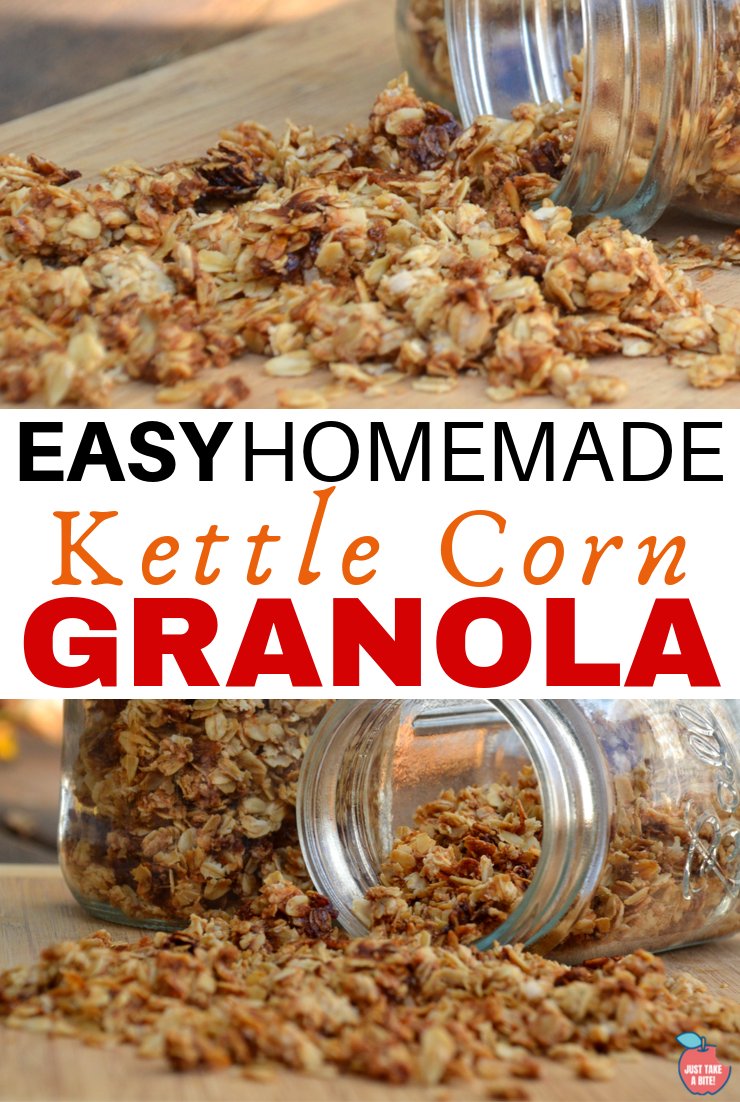
Budget-Friendly Breakfast
The other thing I love about granola is how much money it saves. Have you looked at the price of granola made with quality ingredients? I was recently at a small meat market. They had locally made granola…$4 for about 6 oz.!!! That is insane. My kids would eat that much in one sitting.
When you make granola at home you control the ingredients AND you save a ton of money. Always good.
You also make a very allergy-friendly breakfast treat. This one is gluten, dairy, nut and egg free.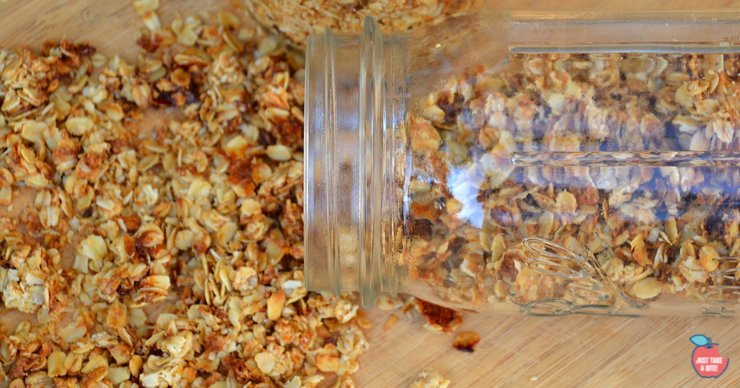
Quick-Prep Homemade Granola
Granola only takes about five minutes to prepare. The end result is a huge batch of homemade cereal that will last a long time. It is also the perfect project to do with kids. When I make granola each kids gets his or her own bowl to create their own batch. They can add whatever they like. My kids love being creative with granola. Sometimes we end up baking theirs, but usually they eat it before it gets to the oven.
This would make a great Christmas gift. Make a couple batches, package it and pass it around to family and friends. Throw a few mini chocolate chips in after the granola has cooled and you’ll really be giving a delicious treat.
Soaked Granola Recipe
If you want to be sure you’re really getting all of the nutrients out of your granola you can make this into a soaked version. You’ll have to plan ahead, but it’s still oh, so delicious!
Do you like the salty sweet combination of kettle corn? Now you can enjoy it for breakfast with kettle corn granola.

- 5 cups old fashioned oats
- 1/2 cup water
- 3/4 cup coconut oil and/or butter
- 1/2 cup coconut sugar
- 1/4 cup honey
- 1/4 cup maple syrup
- 1 tsp. unrefined sea salt
- 5 cups old fashioned oats
- 2 1/2 cups warm water + 2 Tbsp. yogurt, kefir or lemon juice
- 1/3 cup coconut oil and/or butter
- 1/2 cup coconut sugar
- 1/4 cup honey and/or maple syrup
- 1 tsp. unrefined sea salt
- Heat the oven to 350*F.
- In a large bowl combine the oats, water and salt.
- In a saucepan heat the sugar, honey, syrup and oil until the oil is melted and the sugars and oil combine.
- Pour the sugar/oil mixture over the oats. Mix until well combined.
- Spread the oat mixture onto a large parchment lined baking sheet.
- Bake for about one hour, stirring every 20 minutes, until golden brown.
- Remove from the oven and allow to cool completely.
- Store in an air tight container in the cupboard or in the freezer for long term storage.
- Combine the oats, warm water and soaking agent.
- Cover and let sit 24 hours.
- Spread the oat mixture onto dehydrator trays and dry until crisp, about 8 hours.
- Crumble dried oats into a large bowl.
- Heat oven to 350*F.
- In a small saucepan combine the salt, butter, sugar and honey.
- Cook until melted and combined.
- Pour the butter mixture over the oats. Mix well.
- Spread onto a parchment lined baking sheet (it may fit on one large sheet or you may need to spread it on two sheets).
- Bake for 30 minutes.
- Allow to cool completely.
- Crumble the granola and store in an air tight container or in the freezer.
- This recipe easily doubles or triples and freezes well.
- Granola is ready straight from the freezer.


 They can be used in desserts as well. Sprinkle crushed graham crackers on top of

