Home » Kid-friendly Recipes » dessert » Page 20

Category: dessert

Peanut Butter Cups (grain free, dairy free, egg free, gluten free)

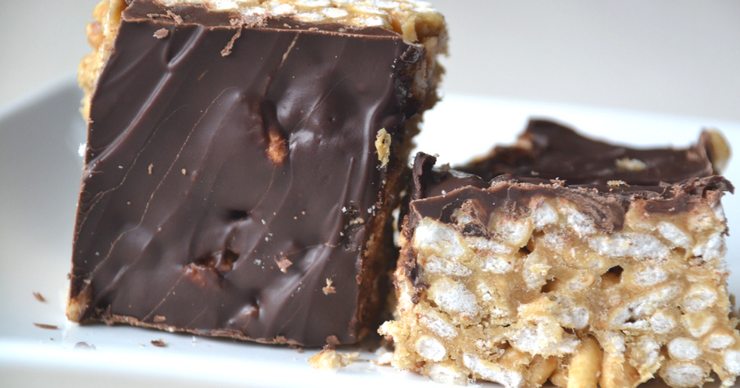
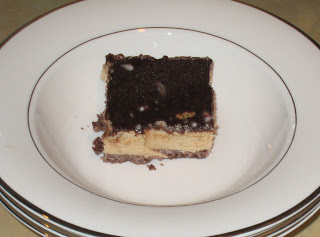
Yesterday I wanted a fun, easy baking project for Rebecca and me. A while back I had seen a recipe for homemade peanut butter cups on The Coconut Mama. They sounded so easy and so good. So we gave them a try yesterday. YUM!!! These are very good. Who knew it was so easy to make your own peanut butter cups that are so much healthier? It’s not something I’ll make all the time since it’s not a cheap treat. It uses quite a bit of coconut oil…and it only made 5 pb cups. But definitely a fun indulgence once in a while. Rebecca helped me put the ingredients in the processor. Then I did the rest…while she helped lick spoons 😛  I made one subsitution (that would make mine not dairy free). I used regular butter instead of coconut butter since I don’t have any. Still worked great. I also used my homemade peanut butter that I already had on hand. Which made this a very quick project. You could use boughten natural pb too. They aren’t the prettiest pb cups, especially on the first try. But they sure are good. Quite messy, but that’s what you get when you don’t add a bunch of hydrogenated oils, etc. to make them shelf stable. Mine don’t look exactly like the kind you buy…I probably added a little too much pb…but is that really possible? 🙂

Chocolate Peanut Butter Cups
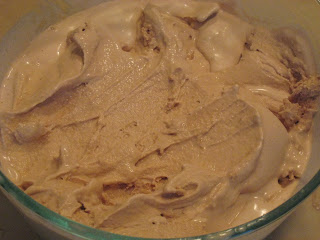
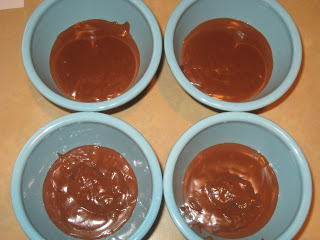
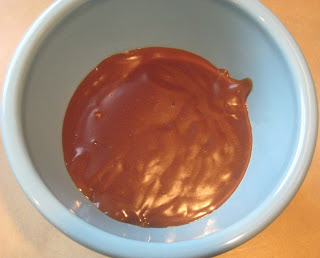
Chocolate

3 Tbsp. organic cocoa powder
2 Tbsp. coconut butter (or regular butter, softened)
1/4 cup + 1 Tbsp. of coconut oil
Sweeten with raw honey or maple syrup (I used a few Tbsp. of raw honey)

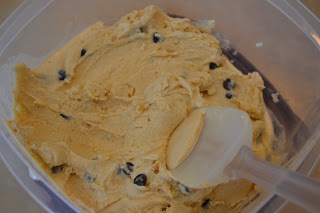
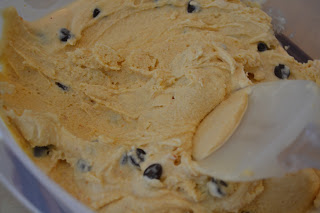
Blend well in blender of food processor.

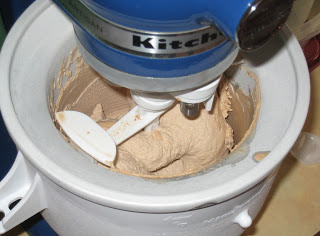
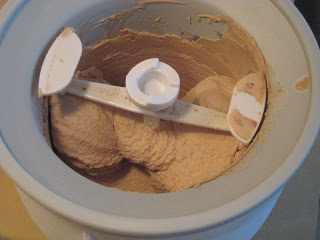
Peanut Butter (this is my recipe…for a full batch of pb, way more than you need for the cups)

2 cups crispy nuts, such as peanuts, almonds or cashews
3/4 cup coconut oil
2 Tbsp. raw honey
1 tsp. sea salt

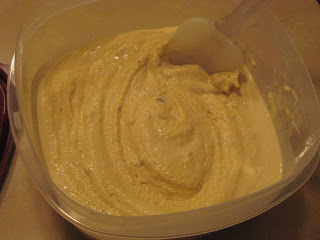
Place nuts and sea salt in food processor and grind to a fine powder. Add honey and coconut oil and process until “butter” becomes smooth. It will be somewhat liquid but will harden when chilled. Store in an airtight container in the refrigerator. Serve at room temp.

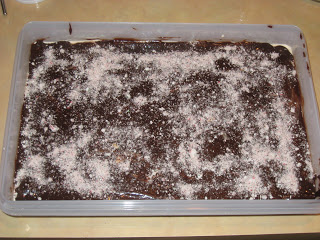
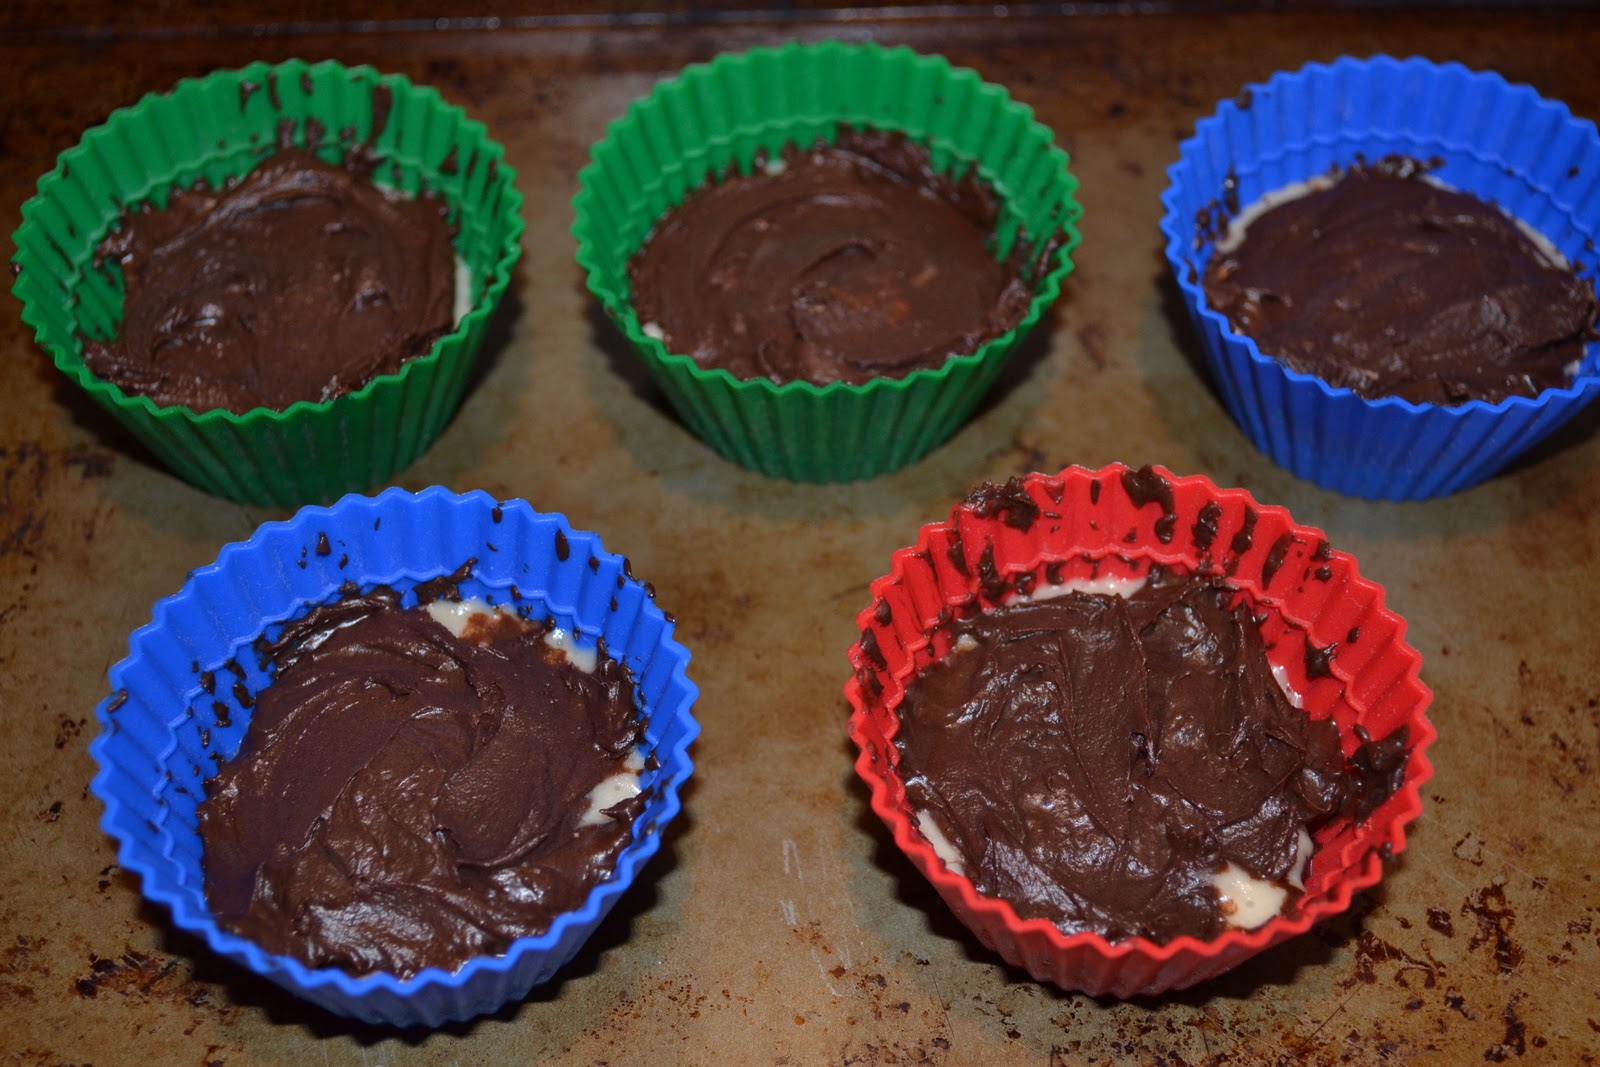
To assemble pb cups:

Scoop chocolate, 1 Tbsp. at a time, into muffin paper cups (I used my silicon muffin cups) until the bottom is covered with chocolate. Add 2 tsp. of peanut butter. Then cover peanut butter with more chocolate.

Freeze peanut butter cups 4-6 hours before serving (mine only took about 1 hour…then I let them set on the counter for a few minutes before eating them).

Carob Brownies/Cake

I have a bunch of buttermilk to use up. And I wanted to do some baking with Rebecca yesterday. So I did a quick flip through Nourishing Traditions and found a recipe for carob brownies that sounded good. I did not plan ahead, so I didn’t soak this batch. And I used some cocoa instead of all carob. But they still turned out great! I would not call these brownies, though. Definitely more like cake. Very moist. Only mildly sweet. Maybe sometime I’ll try using this for a layer cake. It will be nice to have an option for a soaked, whole wheat chocolate cake.

This post is linked to Real Food Wednesdays at Kelly the Kitchen Kop.

Carob Brownies

3 cups freshly ground flour (I used wheat…right out of the grain mill:)
2 cups buttermilk, kefir or yogurt
3/4 cups butter, softened
1 1/2 cups rapadura/sucanat
4 eggs
1 Tbsp. vanilla
1 Tbsp. chocolate extract (I used a little less than this since I used some cocoa)
1 tsp. sea salt
3/4 cups carob powder (I used a little less than 1/2 cup cocoa and a little more than 1/4 cup carob)
1 Tbsp. baking powder
1 cup chopped crispy pecans (optional) (I didn’t add any nuts)

Soak flour with buttermilk, yogurt or kefir for 12 to 24 hours in a warm place. Cream butter with sugar. Add eggs, extracts, salt, carob powder and baking powder. Blend in soaked flour. Fold in nuts. Pour into a greased 9×13 pan. Bake at 350 for 40 minutes. Allow to cool. Cut into squares.

Homemade Buttercream Frosting

February through April (and soon to be May) are birthday months for us. So I’m always baking cakes. I am continually trying to make them healthier and experiment each time. My birthday is next week, so I’m using my cake as another experiment for both recipes and decorating practice for Rebecca’s cake. Yesterday I finally got around to trying homemade frosting (usually between the cake baking and decorating I’m just too strapped for time to worry about frosting). Every time I use the boughten stuff I cringe because of the hydrogenated oil. And even though we rarely eat it, I still don’t like it. So now that I’ve been working with palm shortening for a while I wanted to try using that for frosting. I did a search for recipes. Most of them are very similar. This is what ingredients/ratios I decided on. The verdict…AWESOME!!! I admit, I love frosting 🙂  I don’t really care about the cake…I just like the frosting. And I am picky when it comes to frosting. I know I’m crazy, but I like the thick, sweet stuff. I don’t care for the light/fluffy stuff at all. So I wasn’t sure what to expect. But this turned out great. Rebecca loved it too…and didn’t mind at all licking the spoon afterwards 🙂  I crumb coated my cake with it this morning. So far so good.

I have to admit that I still used regular powdered sugar for this attempt. I had some on hand to use up. And I’m still experimenting. Next time I’ll try the organic stuff. I just wish it wasn’t so expensive! Even with the processed sugar I feel much better about using this frosting than something out of a jar.

Hopefully with a little more experimenting on Justin’s cake, by the time I get to Rebecca’s cake/party I’ll have a pretty healthy and good looking treat 🙂

I’m mostly posting this recipe so I don’t forget it 🙂  Can’t wait to try the cake tomorrow.

Buttercream Frosting

1/2 cup butter, softened
1/2 cup organic palm shortening
3 cups powdered sugar
1-2 Tbsp. milk
1 tsp. vanilla

Cream butter and shortening until fluffy (I used my stand mixer to make this…I’m sure a hand mixer would work fine). Add powdered sugar, 1 Tbsp. milk and vanilla. Beat until well combined. Add more milk if too stiff. If it gets too thin add extra sugar. Use right away or store in the refrigerator. Let come to room temp (for a couple hours) before using if it has been refrigerated.

These scotcheroos come together in about ten minutes, using real, allergen friendly ingredients. A simple, delicious dessert with no baking required!

Quick And Easy Scotcheroos {Gluten, Dairy, Egg and Nut Free!}


These scotcheroos come together in about ten minutes, using real, allergen friendly ingredients. A simple, delicious dessert with no baking required!

These scotcheroos come together in about ten minutes, using real, allergen friendly ingredients. A simple, delicious dessert with no baking required!

I grew up eating scotcheroos.

My mom still makes them all the time. She brings them to the neighbors, brings them for fellowship at church, etc.

But I haven’t made them or had one in years, though. Why? They are filled with not-so-good stuff. The main 3 things…Rice Krispies, corn syrup and regular peanut butter (hydrogenated oils and GMO nuts.

These scotcheroos come together in about ten minutes, using real, allergen friendly ingredients. A simple, delicious dessert with no baking required!

A Fresh Look.

I like to update classic recipes using real ingredients. So I gave these scotcheroos a makeover.

I use plain puffed brown rice, cane sugar, honey and sunbutter in the base. Then I simply melt allergen free chocolate chips for the topping.

Even with three kids trying to help these took about ten minutes from start to finish. There is no baking required. Just a few minutes at the stove. The mix and pour.

These scotcheroos come together in about ten minutes, using real, allergen friendly ingredients. A simple, delicious dessert with no baking required!

And, yes, they got a huge two thumbs up from everyone! Be forewarned…one batch may not be enough.

Scotcheroos also make a great party treat because they are free of gluten, corn, eggs, dairy, nuts and soy!

These scotcheroos come together in about ten minutes, using real, allergen friendly ingredients. A simple, delicious dessert with no baking required!

Kids In The Kitchen.

This may be one of our new favorite treats. And pretty soon my kids can make it without my help since they are learning to cook through the Kids Cook Real Food ecourse. My five and eight year olds can cook at the stove. Even my two year old can measure and pour quite well.

Ready for a special dessert with no allergens and very little effort? I’ve got you covered!
These scotcheroos come together in about ten minutes, using real, allergen friendly ingredients. A simple, delicious dessert with no baking required!

 
Quick And Easy Scotcheroos
Serves 16
A simple allergy friendly bar that requires no baking.
Write a review
Print
Ingredients
  1. 1/2 cup organic cane sugar or sucanat
  2. 1/2 cup honey
  3. 1/2 cup plain sunbutter
  4. 3 cups organic puffed brown rice
  5. 1/2 tsp, vanilla (optional)
  6. 1 1/2 cup chocolate chips
Instructions
  1. Mix sugar and honey in a large saucepan. Heat and boil until sugars are dissolved (about 2 minutes).
  2. Remove from heat. Stir in su butter, rice and vanilla.
  3. Spread in a greased 9" square pan.
  4. Melt the chocolate chips in a double boiler until smooth. Poor over rice mixture. Let cool completely before cutting (in the refrigerator works best).
Just Take A Bite https://justtakeabite.com/


These scotcheroos come together in about ten minutes, using real, allergen friendly ingredients. A simple, delicious dessert with no baking required!

Cat in the Hat Cake

My nephew just turned 3. This year he wanted a Cat in the Hat party. This is the cake I made for it. Turned out pretty well I think. A 12″ white cake with sprinkles. It was fun to get to be creative and do some drawing. And I used healthier ingredients in the cake. Mostly organic/natural. Happy Birthday, Carson!

Peanut Butter Ice Cream

Our winter cow share sadly comes to an end next week. So I figured I better squeeze in one more batch of ice cream while we have our wonderful raw cream.

I wanted to try a new flavor and decided on peanut butter. I love ice cream with peanut butter in it!

This turned out great. I added a few chocolate chips too. It’s almost like eating cookie dough in ice cream form. It even looks like it. Yum!!!

Peanut Butter Ice Cream

3 egg yolks (optional)
1/2 cup maple syrup, honey or cane sugar
1 Tbsp. vanilla extract
1 Tbsp. arrowroot
3 cups heavy cream, not ultrapasteurized
1/3 – 1/2 cup peanut butter (natural or homemade)
1/2 cup chocolate chips (optional)

Combine all of the ingredients (except chocolate chips) in a blender. Blend until well combined.

Pour the mixture into an ice cream maker and process according to instructions. During the last minute add the chocolate chips.

Transfer the ice cream to a freezer safe container. Freeze until firm.

Chocolate Ice Cream…Homemade Frosty

I’ve made homemade ice cream quite a few times now. Especially now that we have raw milk and good cream (that I don’t have to pay an arm and a leg for). But I’ve never tried chocolate. So yesterday afternoon I experimented and came up with a recipe. I didn’t make a huge batch since I didn’t have a full 3 cups of cream, but Rebecca really wanted to make ice cream 😛  So we used what we had. I’ll try to adjust quantities for a full recipe. It turned out really well! I intentionally didn’t make it super chocolatey. It’s kind of a light chocolate…and tastes just like a Wendy’s Frosty 🙂  All 3 of us love it. I used cocoa and chocolate extract for the chocolate flavor. You could probably use carob in place of the cocoa…and adjust the extract to get the flavor you like.

Chocolate Ice Cream (Healthy Frosty)

3 egg yolks
1/2 cup maple syrup
2 tsp. vanilla extract
1 – 2 Tbsp. cocoa or carob powder
2 tsp. chocolate extract (adjust to your taste)
1 Tbsp. arrowroot
3 cups heavy cream, not ultrapasteurized, preferably raw

Beat egg yolks in 4 cup measuring cup. Mix in arrowroot until lumps are gone. Whisk in remaining ingrdients. Pour into an ice cream maker and process according to instructions (about 15 – 20 min. in my Kitchen Aid ice cream maker attachment). Transfer to a shallow plastic container, cover and store in freezer.

This is awesome served immediately. It’s like soft serve/like a Frosty. It’s great after it’s been in the freezer for a while too.

Peppermint Stick Buster Bars

Every year we buy peppermint stick ice cream around Christmas. And eat it with homemade hot fudge. Mmmm. So a few weeks ago I decided to try making my own peppermint stick ice cream…since homemade ice cream is so much better 🙂  It turned out great. Then as I was thinking of desserts for our Christmas parties next week I thought it would be fun to make a version of buster bars with peppermint stick ice cream. I made it yesterday. Looks sooooo good!! Too bad I can’t taste it until next week 😛  But I’m sure it will be good. I used the idea of my MIL’s buster bars, but really the final product/ingredients are very different. I used organic cookies, homemade ice cream, and my recipe for chocolate sauce. So this is my healthy holiday version of buster bars. You have to make it in steps. But each step is pretty easy. I make the chocolate sauce a day ahead. Then the next day I can assemble the rest.

Edited 12/23/10 – These are awesome!!!!!!!!!

Peppermint Stick Buster Bars

Chocolate Sauce:

1 cup pure cane sugar
1/3 cup cocoa
2 Tbsp. flour or arrowroot powder (I tried 1 Tbsp. of each for this. Seemed to work well. Gets thick much faster and stays thicker. I do use whole wheat flour for this…works just fine.)
1/4 tsp. unrefined sea salt
1 cup boiling water
1 Tbsp. butter
3/4 tsp. vanilla

Peppermint Stick Ice Cream:

3 egg yolks
1/2 cup maple syrup
2 tsp. vanilla extract
2 tsp. peppermint extract
1 Tbsp. arrowroot powder
3 cups heavy cream (preferabley raw, not ultrapasteurized)
1/2 cup crushed candy canes (I use my food processor to crush them.)

Bars:

1 lb. chocolate cookies, crushed (I used organic creme filled cookies. I would like to try using my homemade chocolate graham crackers sometime. I use my food processor to crush them.)
1/2 cup butter, melted
1 recipe peppermint stick ice cream
1 recipe chocolate sauce
Crushed candy canes (optional) (I use  my food processor to crush them.)

————————————-
To make the chocolate sauce:

Blend sugar, cocoa, flour and salt in sauce pan. Turn on heat and add boiling water. Bring to a boil. Cook, stirring constantly, until thick, about 10-12 minutes (for just flour) or 5 min. (for arrowroot powder). Remove from heat. Stir in butter and vanilla. Store in refrigerator.

To make the ice cream:

Beat egg yolks and blend in remaining ingrdients (except candy canes) (I do this all by hand with a whisk in a large measuring cup). Pour into an ice cream maker and process according to instructions (about 20 min. in my Kitchen Aid ice cream maker attachment). Add candy canes during the last minute of processing.

To make the bars:
Mix cookies and melted butter (I also added a little bit of crushed candy canes to the crust.). Pat into 9×13 pan (I use a 9×13 tupperware)  Put in refrigerator to harden while you make the ice cream. Make ice cream. Immediately spread on top of crust. Let freeze until firm (at least several hours). Spread chocolate sauce over top. Sprinkle with candy cane pieces. Freeze.

Creamy Chocolate Pudding

I am not a big fan of pudding. But I’ve been wanting to try making REAL pudding for a while. And now that we have lots of raw milk and Christmas is coming I figured it was a good time to try. I used the Heavenly Homemaker recipe. It turned out really well. So easy to make…and so fast. Rebecca liked helping mix everything and then watching me stir it on the stove. This is definitely not like the stuff you get out of box. This is rich and thick. I actually kind of like it. Not sure I could eat a large amount, but it is good. And I love how healthy it is…raw milk, fresh egg yolks, real butter. What a great treat. I’ll definitely be making this again. I need to try the vanilla and butterscotch too.
Creamy Chocolate Pudding
2 1/2 cups milk
3 egg yolks
2/3 cup rapadura or 1/2 cup real maple syrup (I used cane sugar)
1/4 cup cocoa powder
4 Tbsp. arrowroot powder
1/4 tsp. sea salt
3 Tbsp. butter
1 tsp. vanilla

In a medium saucepan, whisk together milk, egg yolks, rapadura or maple syrup, cocoa, arrowroot powder and salt. Cook over medium heat, stirring CONSTANTLY until pudding begins to thicken. Remove immediately from the heat, and continue to stir until pudding is creamy. Add butter and vanilla and continue to stir until mixed. Pour into serving dishes and serve warm, or chill for two hours and serve cold.

Whole Wheat Gingerbread Cookies

My goal this year is to make healthy holiday treats. I’ve never made gingerbread cookies before…and have never even had one! My mom never made them growing up because she doesn’t like them. I’m not a fan of ginger, so I didn’t know if I’d like them. But I wanted to try. I found a recipe for whole wheat cookies on englightened cooking. They were very easy to make. And they turned out really well. They are a bit on the gingery side for me, but I can still eat them. Rebecca really likes them. Justin does too. And they are not overly sweet.

For the deocrating I was trying to also go the healthy route. I had seen on Heavenly Homemakers how to make your own powdered sugar. But when it was time to make the icing my blender was dirty. So I tried using my food processor…didn’t work. So I had to just grab the regular, white, processed stuff. I’ll try making powdered sugar some other time. At least that’s the only bad thing on them. And really there isn’t much icing per cookie. I still used raw milk for the icing. And we decrated with chocolate covered raisins, yogurt covered raisins, gum drops, sprinkles and chocolate candies…all from the health food store. Rebecca enjoyed helping with these. But she only made it part way through decorating because she wanted to lick every piece of candy before putting it on the cookie :p  I guess she figured out how to get the treats.

Overall a great recipe. It would work well for making a gingerbread house too. The dough was really nice to work with. I only made a half recipe since it was my first try. And it made quite a few cookies. A full recipe would make a LOT.

Please note that my photos are unedited right now. So they may not be the best.

Whole Wheat Gingerbread Cookies

2/3 cup molasses (not robust)
2/3 cup packed dark brown sugar (I used organic brown cane sugar)
2 Tbsp. ground ginger
1 Tbsp. ground cinnamon
1 tsp. ground cardamom (optional, you can use allspice) (I skipped this)
1/2 tsp. ground cloves
2 tsp. baking soda
2 sticks (1 cup) unsalted butter, cut into tablespoon pieces
1 large egg, lightly beaten
3 and 3/4 cups white whole wheat flour (I used freshly ground hard winter wheat)
1/2 tsp. salt
1/4 cup all-purpose flour (I used my freshly ground wheat flour for this too)

Preheat oven to 325°F. Line 2 large cookie sheets with parchment paper.

Bring molasses, brown sugar, and spices to a boil in a 4- to 5-quart heavy saucepan over moderate heat, stirring occasionally, and remove from heat. Stir in baking soda (mixture will foam up), then stir in butter a few pieces at a time, letting each addition melt before adding next, until all butter is melted. Stir in the egg until combined; stir in white whole wheat flour and salt.

Transfer dough to a lightly floured surface and knead, dusting with as much of the 1/4 cup all-purpose flour as needed to prevent sticking, until soft and easy to handle, 30 seconds to 1 minute. Halve dough, then wrap 1 half in plastic wrap and keep at room temperature.

Roll out remaining dough to 1/4 inch thickness on a lightly floured board.

Cut out cookies with cutters; transfer to prepared sheets, arranging them about 1 inch apart.

Bake cookies in upper and lower thirds of oven; switching position of sheets halfway through baking, until edges are slightly darker, 11-13 minutes total (do not overbake—watch carefully!). Transfer cookies to racks. Cool completely. Repeat with remaining dough and scraps (re-roll once). Makes about 3 dozen medium cookies, Decorate, or eat straight up.