I haven’t used my sourdough in a few weeks, and I’ve been trying to figure out what to make with it before it grew too much. Today I was trying to come up with an easy baking project that my daughter and I could do that would also use up a really ripe banana I had.
I thought sourdough muffins with banana. I’ve done that before in combination with both strawberries and blueberries. But I don’t have fresh berries to use up. So I thought I could do banana chocolate chip muffins.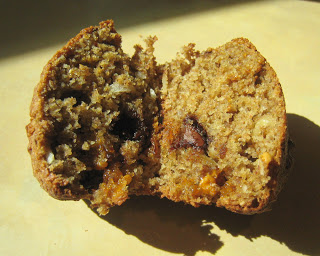
As I gathered ingredients I also took out an open bag of butterscotch chips. Then my daughter said she wanted to use her “granola bowl” (the bowl she usually uses for “her granola” when we make it together). So I got out a little coconut to put in her bowl (she LOVES coconut).
Then I thought I guess I could add some coconut to our muffins. Then Rebecca came over to help me get out our mixing bowls and grabbed the nut chopper. I thought I guess I could add nuts too. So my muffins evovled into granola muffins!
I LOVE granola. I could eat it every day. So I figured a granola muffin must be good too. And it is!!! So good! My daughter scarfed down a whole one with lunch.

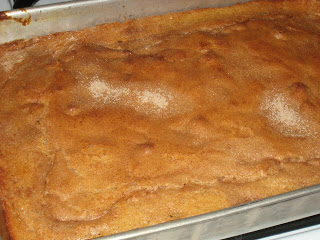
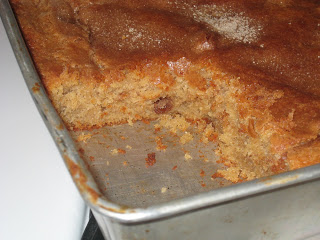
Sourdough Granola Muffins
Makes 12 muffins
1 cup whole wheat flour (I used sprouted wheat flour…really helps keep them moist)
1 tsp. baking soda
1/4 – 1/2 cup cane sugar
1/4 tsp. salt
1 egg
1 tsp. vanilla
1/4 cup oil (I used coconut)
1 cup sourdough starter
1 1/2 cups total of granola add-ins (I used raisins, chopped crispy walnuts, chocolate chips, butterscotch chips and coconut.)
1 small very ripe banana, mashed (optional)
Preheat oven to 425F.
Combine dry ingredients in small bowl. Stir in granola add-ins. Combine wet ingredients (and mashed banana) in medium bowl. Add dry ingredients to wet ones.
Mix quickly and spoon into muffin cups (I used silicon muffin cups…the muffins popped right out.).
Bake at 425 for 18-20 minutes.