Home » Archives for Mary | Just Take A Bite » Page 47

Author: Mary | Just Take A Bite

Meal Plans Week of 9-21-14

Allergen-Friendly Weekly Menu 9-21-14 || Homemade Dutch Apple Pie

Welcome to fall! The weather is changing, and fall produce is everywhere. I love it!

Time to start another busy week. More kindermusik, dance and school. My little one also has a hearing test. We’re praying for good results.

Speaking of my little one, I can’t believe she is one month old already today!  Time sure is flying. Overall she’s doing well. But I’m still trying to figure out if there is something I’m eating that’s bothering her. So I’ll be doing some diet experimenting this week. That seems to be a constant activity in my life.

Last week I had my thyroid levels rechecked. They really went up since I had them tested in May!! My thyroid is healing. Even though the levels are higher (even above range a bit) my doctor said to stay on my current medication dose unless I start feeling worse.

Be sure to check out last week’s posts. I shared more tasty recipes – gluten free corn muffin mix and how to dress a salad in twenty seconds (I used that trick almost ever day last week!).

My kitchen projects this week are mostly breads and muffins to go with meals. My husband and oldest daughter went raspberry picking yesterday, so I’ll be making stuff with those and freezing some as well. Yesterday I made our first dutch apple pie of the season!  There will be plenty more pies coming in the next few months.

For meals I had to start getting creative. We are really low on meat right now. We’ll get a few more things at our co-op this week. I’m anxious for our 1/4 cow and 1/2 pig to be ready as well. Hopefully soon. Nevertheless I’ll be doing my best to get nourishing meals on the table. How about you? What’s on your menu this week?

DSC_3678

********************MENU********************

Sunday
L – cp meatballs, potatoes, carrots
D – grilled cheese, chips and carrots with dip, fruit
*freeze raspberries, make df raspberry ice cream

Monday
D – chicken and vegetable stir fry over rice
*make gf bread

Tuesday
D – (prep ahead) – cp chili, bread

Wednesday (soup night)
D – (prep ahead) – gf df broccoli noodle soup, muffins
*bake muffins, make raspberry ice cream

Thursday
D – quiche, scones, fruit, roasted brussels sprouts
*bake scones

Friday (breakfast night)
D – french toast muffins, bacon, broccoli, fruit
*bake muffins

Saturday
D – pizza
*make pizza crust

Gluten Free Corn Muffin Mix

Gluten Free Corn Muffin Mix - Homemade Dutch Apple Pie

When it comes to getting dinner on the table I like simple. Using a mix for muffins definitely makes baking simple.

But there is no need to buy a mix at the store. You can make your own!

This corn muffin mix comes together in minutes. Then whenever you want corn muffins to serve for breakfast or to go with chili or soup all you have to do is add a few ingredients, stir and bake.

My kids LOVE having corn muffins with chili. We like to top them with butter, honey, maple syrup or jam. No matter how you serve them, corn muffins are good.

Do you eat corn muffins often? Triple the recipe so you can make some any time.

A homemade muffin mix also makes a great gift. Pair it with a jar of coconut oil and you have a nutritious and heartfelt present for family, friends or a new mom.

Prepare some corn muffin mix on the weekend or whenever you have time. Then bake up a fresh batch of muffins any night of the week. Your family will love it! 

Gluten Free Corn Muffin Mix - Homemade Dutch Apple Pie 2

Gluten Free Corn Muffin Mix
Yields 12
A simple corn muffin mix that is gluten and dairy free.
Write a review
Print
Dry Mix
  1. 1 cup organic cornmeal
  2. 1 cup any combination of gluten free flour (a white flour for half of the mix works best)
  3. 2/3 cup organic cane sugar, sucanat or coconut sugar
  4. 1 tsp. sea salt
  5. 2 tsp. baking powder
  6. 1 tsp. baking soda
Corn Muffins
  1. Dry mix
  2. 1 egg
  3. 3/4 cup milk or milk substitute
  4. 1/3 cup coconut oil or butter, melted
Dry Mix
  1. In a medium bowl combine all of the dry ingredients.
  2. Pour the mix into a container for storage and sea (I like using glass jars).
  3. Store the mix in the cupboard, refrigerator or freezer (depending on how long you plan to store it).
Corn Muffins
  1. Heat the oven to 350*F. Line a muffin pan with muffin cups or grease well.
  2. Combine the dry mix with the wet ingredients. Mix well.
  3. Pour the batter into 12 muffins cups.
  4. Bake 20 - 25 minutes, until golden and baked completely.
Just Take A Bite https://justtakeabite.com/


In order for me to support my blogging activities, I may receive monetary compensation or other types of remuneration for my endorsement, recommendation, testimonial and/or link to any products or services from this blog.

If you order by clicking on any of my Tropical Traditions links and have never ordered from Tropical Traditions in the past, you will receive a free book on Virgin Coconut Oil, and I will receive a discount coupon for referring you.

How To Dress a Salad In Twenty Seconds

How To Dress A Salad In Twenty SecondsAre you getting sick of salads yet? I’m not!  I could eat salad every single day all year round…if my tummy would let me.

I love how you can create something different every time you make a salad. I love to use all sorts of random leftovers to make salads.

But this is not a post on what to put in your salad. I’ll leave that up to you. This is about how to put dressing on your salad very quickly.

I don’t mean pour bottled dressing on. Even organic dressings are usually made with processed vegetable oils. This is how to dress a salad with healthy ingredients when you don’t have any dressing made. It takes longer to take the ingredients out than it does to dress the salad!

As a busy mom I love making salads for lunch. But I get sick of always making dressing when I want a salad or even making a batch of dressing every few days. I like lots of dressing so I seem to run out quickly, and my kids don’t like to give me much time to make myself food. This is how I dress my salad now. I used honey mustard dressing as an example since it’s my favorite. But this would work with others as well.

There is no need to pre-mix the dressing. Just add the ingredients to your salad and toss!  It’s so easy.

For honey mustard I squeeze on mustard, then honey, then extra virgin olive oil. Then I mix my salad as always. Easy. Healthy. And completely delicious!

How To Dress A Salad In Twenty Seconds Collage

The next time you are craving a salad and don’t have dressing on hand try this trick. For honey mustard simply add honey, mustard and olive oil. You can also add a splash of apple cider vinegar if you like. For ranch add sour cream, buttermilk and some seasoning. Are you an italian fan? Drizzle some olive oil, seasoning and a splash of vinegar on your salad.

The possibilities are endless. And you can have an assortment of salads all year that only take seconds to dress.

Meal Plans Week of 9-14-14

Allergen-Friendly Weekly Menu 9-14-14 || Homemade Dutch Apple Pie

 A typical morning here…I just sit down to write and little one is crying. So it’s time to feed and type (if that’s possible). Life with three kids is never dull.

We’re starting to get into the school and activity routine here. Though I’m still adjusting to the whole making lunches thing.

This will be another fairly busy week. On top of our usual activities I have to do bloodwork to check my thyroid levels again. We also have our first mom’s group meeting. We might go raspberry picking this weekend. I’d also like to go to the orchard if time allows. We’ve seen relatives every weekend for the last four weeks. So it’ll be nice to have a free weekend.

I don’t have any major kitchen projects this week. I do have to bake some kind of bread or muffin for our mom’s group meeting. My son has been begging for pudding so I’ll make a batch of that this week as well. My son and I have also been making one loaf of gluten free bread every week. It’s our baking project together. I get to experiment and he’s going to be a master gluten free baker some day.

In case you missed last week’s posts I shared my recipes for cookies and cream ice cream, dairy free “Thin Mint” cookie ice cream and gluten free cheese biscuits.

For meals this week I’m keeping it simple. I’m also trying to get broth in our diet whenever possible. We’ve already been through our first colds. I want to boost our immune systems (we are also taking elderberry syrup and I’m ordering essential oils soon!).

In addition to my “breakfast for dinner” every Friday I’m now adding soup night to our weekly meals. It makes meal planning easier and it’s super healthy.

Fall weather is here. I’m ready for some fall food. Here’s what’s on our menu. What’s on yours?Allergen-Friendly Weekly Menu 9-14-14 || Homemade Dutch Apple Pie

********************MENU********************

Sunday
L – meatloaf muffins, pepper slices and chips with dip
D – salmon cakes, baked sweet potatoes, peas
*make dairy free pudding, make fruitsnacks

Monday
D –macaroni and cheese, broccoli
*make gf bread

Tuesday
D – (prep ahead) – chicken taco soup
*

Wednesday
D – (prep ahead) – squash soup w/ chicken, chocolate zucchini scones
*bake scones, make ice cream

Thursday
D – sloppy joes, baked beans, peaches
*bake muffins or bread for MomBreak

Friday
D – omelettes, muffins, roasted cauliflower, fruit salad
*bake muffins

Saturday
D – grilled steak, roasted potatoes, roasted squash
*bake pie?

Gluten Free Cheese Biscuits

Cheesy, flaky and gluten free. These gluten free cheese biscuits are the perfect compliment to any soup or salad.

Gluten Free Cheese Biscuits || Homemade Dutch Apple Pie Whenever I make soup (which is quite often) I serve some kind of sweet bread with it. I just love salty and sweet together. So we eat lots of muffins, sweet breads, etc.

Recently I wanted something different. I went with savory for a change. I made cheese biscuits.

Cheese biscuits are very easy to make.  They bake up nicely with a slightly crispy crust and a soft inside.

You can serve cheese biscuits with your favorite soup, have them for breakfast or enjoy them as a snack any time of day.

These biscuits are gluten, egg and nut free. You can use any variety of cheese you like and add any seasoning. Some herbs would really boost the flavor.

As school starts and you are trying to get easy meals on the table, a crockpot full of soup with cheese biscuits on the side is perfect.

Gluten Free Cheese Biscuits || Homemade Dutch Apple Pie

Gluten Free Cheese Biscuits
Yields 6
A gluten free biscuit that is light and cheesy .
Write a review
Print
Ingredients
  1. 1 cup any combination of gluten free flour (i.e. amaranth, rice, sorghum, tapioca)
  2. 1/4 cup cold butter
  3. 1/4 tsp. sea salt
  4. 1 tsp. baking powder
  5. 1/2 tsp. baking soda
  6. 1 tsp. ground flax seed
  7. 1/2 tsp. garlic powder or other seasoning/herb of choice (optional)
  8. 1 cup grated cheese
  9. 1/2 cup milk
Instructions
  1. Heat the oven to 350*F. Line a baking sheet with parchment paper.
  2. In a large bowl combine the flour, salt, powder, soda, flax seed and seasoning.
  3. Cut in the butter until the mixture is crumbly.
  4. Add the cheese and mix.
  5. Add the milk and mix.
  6. Divide the dough into 6-8 parts.
  7. Shape each mound of dough into a ball. Place on the parchment paper and flatten slightly.
  8. Bake for 30 - 35 minutes, until golden and baked through.
  9. Allow to cool slightly before serving.
Notes
  1. If not serving fresh, reheat in the oven for 5-10 minutes to crisp.
  2. Using half "white" flour works best (white rice or tapioca)
Just Take A Bite https://justtakeabite.com/

In order for me to support my blogging activities, I may receive monetary compensation or other types of remuneration for my endorsement, recommendation, testimonial and/or link to any products or services from this blog.

Dairy Free “Thin Mint” Cookie Ice Cream

Dairy Free Thin Mint Cookie Ice Cream || Homemade Dutch Apple PieBoth of my children LOVE mint ice cream.  We make it quite often. Recently when making a batch I wanted to spruce it up a bit.

I thought about adding some cocoa (who doesn’t love mint and chocolate together?). That reminded me of Thin Mint Girl Scout cookies. Inspired by this classic cookie I came up with my dairy free” Thin Mint” Cookie ice cream.

This ice cream is filled with mint and chocolate flavor. Plus you get the crunchy chocolate cookie taste as well.

“Thin Mint” Cookie ice cream is a treat just about anyone can enjoy. You can replace the coconut milk with cream if you tolerate dairy.

Scoop yourself a big bowl of “Thin Mint” Cookie ice cream, add a little chocolate sauce and enjoy. What a great way to celebrate the start of the school year. Remember, summer isn’t over quite yet!

Get the chocolate cookie recipe here!

This post is linked to Allergy free Wednesdays.

Dairy Free "Thin Mint" Cookie Ice Cream -||Homemade Dutch Apple Pie

Dairy Free Thin Mint Cookie Ice Cream
Dairy free ice cream filled with the flavor of Thin Mint cookies.
Write a review
Print
Ingredients
  1. 2 1/2 cups coconut milk (can be replaced with cream if you tolerate dairy)
  2. 1/2 cup any combination of sweetener (cane sugar, coconut sugar, honey, maple syrup)
  3. 1/4 cup organic cocoa powder
  4. 1 Tbsp. vanilla
  5. 1/2 tsp. peppermint extract
  6. 1/4 tsp. sea salt
  7. 1 Tbsp. tapioca flour (optional)
  8. 1 - 3 egg yolks (optional)
  9. 1/2 cup chocolate cookie pieces (see post for recipe link)
  10. 1/3 cup mini chocolate chips (optional)
Instructions
  1. In a blender combine the coconut milk, sweetener, cocoa powder, vanilla, peppermint, sea salt, flour and egg yolks. Blend until smooth.
  2. Process in an ice cream mixer according to manufacturer's directions.
  3. Transfer the ice cream to a freezer-safe container.
  4. Mix in the cookie pieces and chocolate chips.
  5. Freeze until firm.
Just Take A Bite https://justtakeabite.com/

In order for me to support my blogging activities, I may receive monetary compensation or other types of remuneration for my endorsement, recommendation, testimonial and/or link to any products or services from this blog.

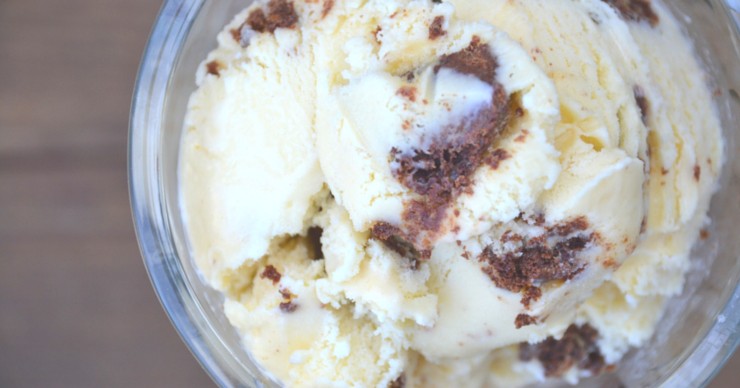
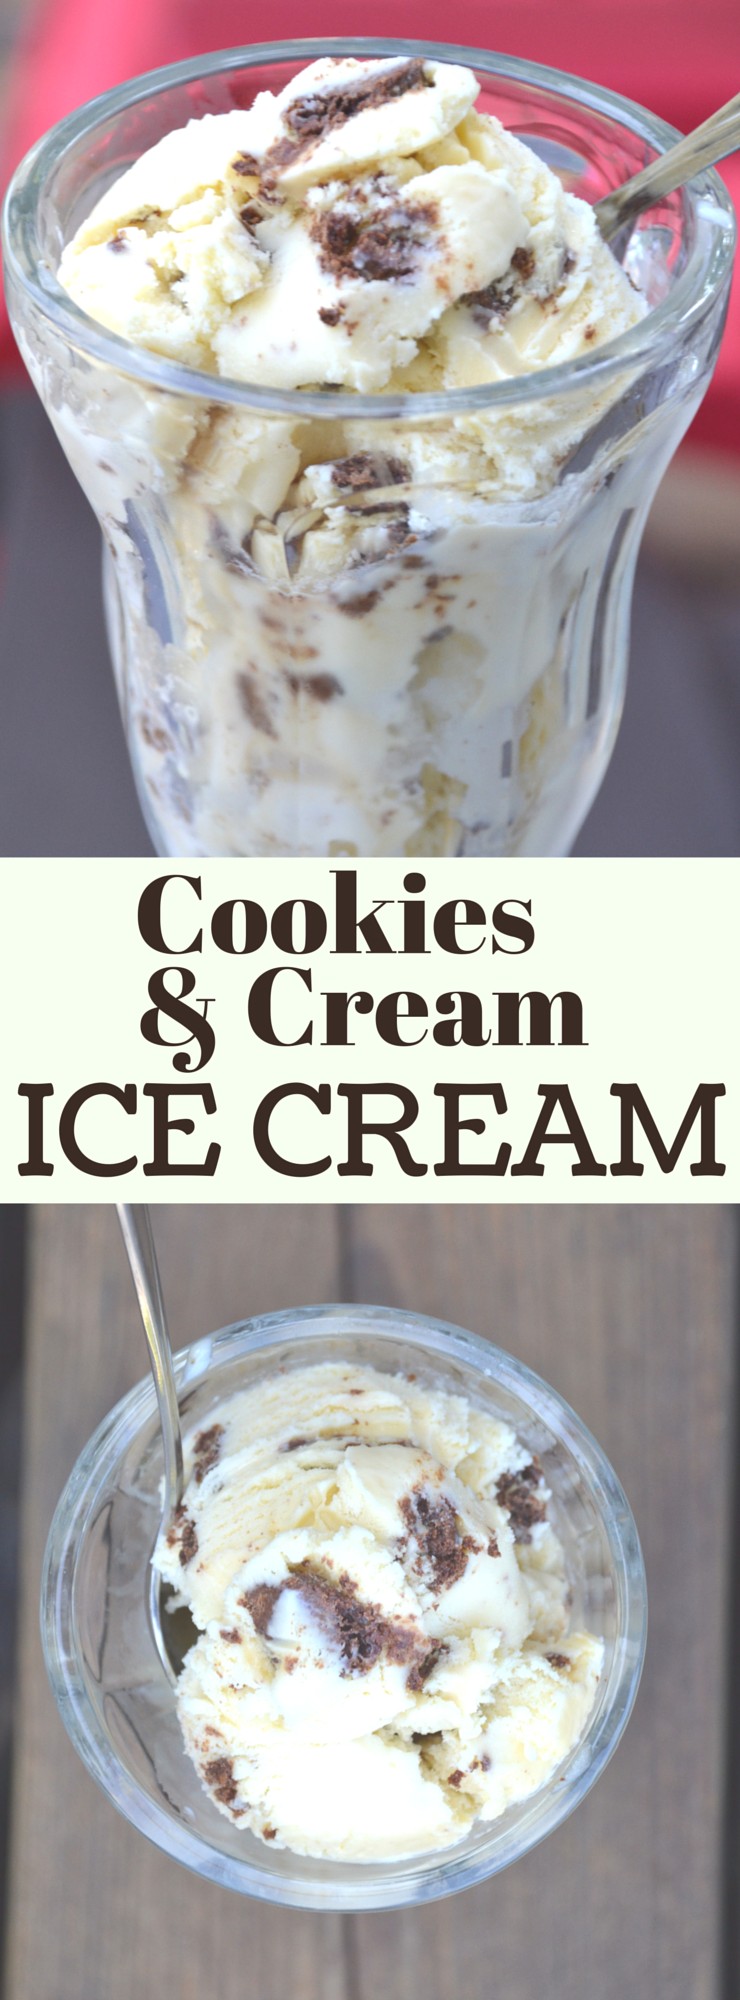
Cookies and Cream Ice Cream is the perfect summer treat. Creamy traditionally made ice cream with gluten free chocolate cookie pieces.

Cookies and Cream Ice Cream {Guest Post}

Cookies and Cream Ice Cream is the perfect summer treat. Creamy traditionally made ice cream with gluten free chocolate cookie pieces.Summer is coming to an end (sad to see summer go…happy to see fall come). How about one more ice cream flavor?

Cookies and cream is another classic flavor that can be made from scratch using nutrient-dense foods. Start with a sweet vanilla ice cream, and add homemade chocolate cookies. The end result is an amazing frozen treat.

Want the recipe? Head over to Mommypotamus where I’m sharing my cookies and cream ice cream!!

Cookies and Cream Ice Cream is the perfect summer treat. Creamy traditionally made ice cream with gluten free chocolate cookie pieces.

Meal Plans Week of 9-7-14

Allergen-Friendly Weekly Menu 9-7-14 || Homemade Dutch Apple PiePhew…we made it through the first week of school and my husband going back to work. I even managed a trip to Target with the two little ones. This week more activities start. I hope the baby doesn’t mind tagging along with big brother and big sister.

I’m definitely still in the healing process. I’m almost back to pre-pregnancy weight. But I have a ways to go before I’m at an ideal weight. It’s frustrating to still have swelling and not even be able to get my wedding ring back on yet. I also feel like I have to start back at square one in terms of fitness. I’ve just started very slow walking on the treadmill. I look forward to being able to jog, lift weights and do yoga. But not yet.

I also have to stay focused on my nutrition. Since giving birth my iron levels have been quite low. So I am focusing on iron rich foods and will likely  have to take a supplement for a while. I also have to get my thyroid levels checked soon to see if I need to adjust my medication.

Baby

I’m still adjusting to packing a lunch for my daughter every day. So far it has been pretty easy. I just have to be sure we have quality lunch foods on hand.

Meals are still pretty simple right now since I never know when I’ll have two free hands to cook. Plus we have a pretty busy week with two Kindermusik classes, dance and our first mom’s group steering team meeting. I should also get to the health food store to find my iron supplement. It’s also grocery week. I’ll just have to see if we can squeeze in a stop at the farmer’s market as well.

I have a few extras planned in the kitchen since we have quite a bit of milk left from last week and will be getting more today. I’m sure there will be some added on as the week goes as well since my son loves to bake with me when big sister is gone all day.

If you missed any of last week’s posts be sure to check them out – gluten free brownie mix, zucchini cake with two frostings and easy chip dip. Be sure to check back this week as there are more great recipes coming!

Here’s what we’re eating this week. How about you? 

weekly menu 9-7-14 || Homemade Dutch Apple Pie

***************MENU***************

Sunday
L – grilled hot dogs, french fries, beans
D – leftover souffle, milkshakes, fruit
*make ice cream, make yogurt

Monday
D – baked pork chops, baked potatoes, broccoli
*make gf bread, make mud balls

Tuesday
D – (prep ahead) – cp pea soup, muffins
*make muffins

Wednesday
D – (prep ahead) – cp roast chicken, mashed potatoes, peas
*make broth, make elderberry syrup

Thursday
D – tacos/fajitas, applesauce
*strain/freeze broth

Friday
D – french toast muffins, sausage, roasted brussels sprouts
*

Saturday
D – grilled brats, roasted potatoes, carrots
*bake TBD with my daughter

Gluten Free Brownie Mix

Gluten Free Brownie Mix - Homemade Dutch Apple Pie

I love to bake. But I don’t always have time to do all of the measuring and mixing…especially when it comes to gluten free baking. It takes extra time to measure four types of flour instead of one.

You could solve that problem by buying a mix. But that means you’re going to get extra ingredients in your baked goods  that you don’t want.

My solution? A homemade mix. Brownies are one of my favorite baked goods. So I made a brownie mix for days when I have very little time in the kitchen.

Find a day when you have some time and mix up all of the dry ingredients for your brownies. You can make a double, triple or quadruple batch so making brownies is easy any time.

Store the mix in the freezer. It will stay fresh, and you can use it straight out of the freezer.

A homemade brownie mix is also a wonderful gift for Christmas or for a new mom.

Even if you are busy you can have homemade brownies. This gluten free brownie mix is simple to assemble. Then getting a pan of brownies in the oven only takes minutes. 

These brownies can also be made dairy and egg free. It’s a great treat for just about anyone. And now you can have it just about any time.

Gluten Free Brownie Mix - Homemade Dutch Apple Pie 2

Gluten Free Brownie Mix
Yields 16
A simple mix to have on hand for quick gluten free brownies any time.
Write a review
Print
Dry Mix
  1. 2 cups any combination of gluten free flours (a 1:1 ratio of whole grain to white works best)
  2. 1/4 cup organic cocoa powder (or carob powder)
  3. 1 tsp. baking soda
  4. 1/2 tsp. sea salt
Brownies
  1. Dry mix
  2. 1/4 cup water
  3. 3 eggs
  4. 1/3 cup coconut oil or butter, melted
  5. 1/2 cup honey
  6. 1/4 cup chocolate chips (optional)
Dry Mix
  1. In a medium bowl combine all of the dry mix ingredients.
  2. Pour the mix into a storage container and seal (I like to use glass jars).
  3. Store the mix in the cupboard, refrigerator or freezer (depending on how long you want to store it).
Brownies
  1. When ready to bake, heat the oven to 350*F. Grease an 8" or 9" baking pan.
  2. Combine the brownie mix with the wet ingredients. Mix well.
  3. Pour the batter into the prepared pan.
  4. Bake for 25 - 30 minutes, until baked through.
  5. Allow to cool. Cut into squares.
  6. Store at room temperature or freeze for long term storage.
Notes
  1. Sorghum, amaranth, brown rice and teff work well as whole grain flours.
  2. White rice and tapioca work well as white flours.
  3. To make these brownies egg free omit the eggs and add an extra 1/4 cup honey and 2 Tbsp. coconut oil or butter.
Just Take A Bite https://justtakeabite.com/

In order for me to support my blogging activities, I may receive monetary compensation or other types of remuneration for my endorsement, recommendation, testimonial and/or link to any products or services from this blog.

Zucchini Cake With Two Frostings (gluten free, dairy free)

Zucchini Cake With Two Frostings: gluten free dairy free || Homemade Dutch Apple PieSchool is starting. Fall is coming. But don’t think it’s too late for another zucchini treat!

We get quite a bit of zucchini from our garden every summer. So I’m always trying to find new ways to use it.

This year I created a gluten free dairy free zucchini cake. To make it extra special I came up with two kinds of frosting. One is a cream cheese icing. The other is a dairy free cinnamon sugar buttercream.

Both frostings are equally delicious. I like the tang and lightness of the cream cheese icing. My kids really liked the cinnamon sugar frosting.

One of the best parts about this cake is that it’s packed with two cups of zucchini. It’s also very allergen-friendly and refined sugar free.

Zucchini cake works well as a breakfast (like coffee cake) or as a dessert. We even ate some for dinner with soup. It’s good no matter how you serve it.

Kick off the school year with a special treat that is also very healthy.  Zucchini cake is the perfect fit.

Zucchini Cake With Two Frostings: gluten free dairy free || Homemade Dutch Apple Pie

Zucchini Cake With Two Frostings
Serves 12
A light zucchini cake that is gluten, dairy and nut free - with two frosting options.
Write a review
Print
Cake
  1. 2 cups any combination gluten free flours (rice, tapioca, sorghum, amaranth, teff)
  2. 2 cups grated zucchini
  3. 1 cup cane sugar or coconut sugar
  4. 2 tsp. aluminum-free baking powder
  5. 1 tsp. baking soda
  6. 1/2 tsp. sea salt
  7. 1/2 tsp. cinnamon
  8. 1/2 cup butter, coconut, lard or palm shortening - soft/room temp
  9. 2 eggs
  10. 1 tsp. vanilla
Cream Cheese Frosting
  1. 1/2 cup whole milk yogurt or coconut milk yogurt
  2. 2 Tbsp. maple syrup
  3. 1/2 cup tapioca flour
  4. 1/2 tsp. vanilla
Dairy Free Cinnamon Sugar Frosting
  1. 1/2 cup organic palm shortening (can be replaced with butter if you tolerate dairy)
  2. 1/2 cup coconut sugar
  3. 3 Tbsp. maple syrup
  4. 1 tsp. vanilla
  5. 3/4 tsp. cinnamon
Zucchini Cake
  1. Heat the oven to 350*F. Grease an 8x11" baking pan.
  2. In a large bowl combine all of the cake ingredients. Mix well.
  3. Pour the batter into the prepared pan.
  4. Bake for 45 minutes. Allow to cool before frosting.
Cream Cheese Frosting
  1. Combine all of the frosting ingredients. Mix well.
  2. Let sit in the refrigerator at least 15 minutes before using.
Dairy Free Cinnamon Sugar Frosting
  1. Combine all of the frosting ingredients. Mix well.
  2. Use immediately or cover for use later.
Just Take A Bite https://justtakeabite.com/

In order for me to support my blogging activities, I may receive monetary compensation or other types of remuneration for my endorsement, recommendation, testimonial and/or link to any products or services from this blog.