As my final birthday present to you I’m finally sharing my gluten free bread recipe! I could work on it for months still and probably find little things to change (and I will update the recipe if I do!).
But it dawned on me the other day that it doesn’t have to be perfect. At the age of 35 I realize I don’t have to be perfect. So in honor of my 35th birthday I present to you my “I’m not perfect” gluten free bread.
My kids and I eat the whole loaf in a matter of days every time I make this. It’s not perfect, but it is good!
Gluten free bread is tricky. It does not behave like gluten-containing bread. The moisture levels must be different. The kneading is different. The methods for getting it to hold together are different. So this was a challenge.
I also added some extra restrictions.
- No rice – My son is allergic to rice. That means brown and white rice flour are out, even though rice is the most commonly used flour for gluten free bread.
- No millet – Millet is goitrogenic and not good for those with thyroid problems (me!). This is another very common flour used in gluten free bread. But it was off the list for me.
- No flax seeds – Flax seeds are estrogenic. So if you are dealing with hormone imbalance, especially estrogen dominance, you need to use caution with flax seeds. I also discovered recently that flax seeds are yet another food on my list of things to avoid due to the high fiber content and the pain they cause me. Of course I discovered this after making many loaves using flax seeds! This also holds true for chia seeds and psyllium husks…too much fiber. They are often used in gluten free baking as well, but not for me.
- No gums – It is hard to find gluten free bread without xanthan gum. Eaten every once in a while it’s probably fine. But if you are like me and make bread often you don’t want to use it. Not to mention I try to avoid it totally because most gums bother my gut and often contain some of the things my son is allergic to.
- No baking powder – My son is allergic to corn. So most baking powders are out. Baking powder helps give rise to gluten free baked goods. But I had to do without it.
I had originally hoped to make it egg free as well. But I just couldn’t get that to work if I didn’t use flax. So this is what I came up with. A soaked gluten free bread that does not contain rice, millet, flax, chia, psyllium, gums, nuts, corn or dairy. It is quite good!
My other requirement was that it had to be easy to make. And it certainly is! It only takes about 15 minutes of hands on time to make this bread. There is no kneading. Just soak, mix and pour. I break it into small steps – soak the flour one morning, get the pan ready and ingredients out that evening, then mix, pour and bake the next morning. I get a loaf of bread rising in the morning in about 5 minutes!
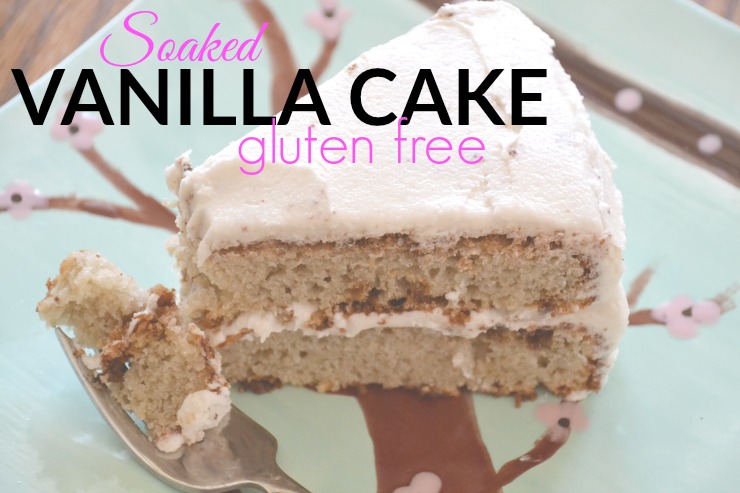
This is slightly denser than a typical sandwich bread. But it is still very light and soft (you can see how soft it is in the picture!). My son and I enjoy using it for sandwiches.
I like to eat it best with lots of coconut oil (or butter…when I’m able). Sometimes I drizzle honey on for a special treat.
My only real complaint about this bread is that the top is a little crubmly due to the bubbling that happens as the dough rises. I work around this by keeping the cooled loaf of bread upside down on a cutting board and using a serrated knife to slice it from the bottom. The bread does get firmer and easier to slice with each passing day.
I use organic cane sugar for proofing the yeast and adding a touch of sweetness to the bread to reduce the stronger flavors of the flour. You can try using honey if you can’t have the sugar, but I don’t think it works as well. It adds moisture to the bread (even small amounts impact how it turns out). I did some loaves early on with honey, but they didn’t turn out as well.
I used equal amounts of tapioca, sorghum and amaranth flours for this bread. Normally when I post recipes I say use whatever gluten free flour you have. But in this case it will make a difference since each one behaves differently and absorbs moisture differently. So if you don’t have these three flours you can try substituting, but it may turn out differently. Sorghum can usually be replaced pretty easily with white rice flour.
If you like a bread that tastes more like wheat you can replace a little bit of the sorghum with teff.
Since the flour is soaked in advance it sometimes tastes a bit like sourdough. It just depends how long you let it soak. More than 24 hours will give more of a sourdough taste.
I have been working on a gluten free bread recipe for over six months now. I wanted to get it just right. But that could take a lot longer. I hope you enjoy my “I’m not perfect” bread and use it as a starting point to create your own bread that tastes the way you like it. Remember to give yourself grace if a loaf doesn’t turn out quite right. Just do your best.

Soaked Gluten Free Bread {dairy free, nut free, corn free, gum free}
2015-03-06 05:00:24
Yields 1
A soaked bread that is free of gluten, dairy, nuts, corn, rice, millet, gums and fillers.
- 1 cup tapioca flour
- 1 cup sorghum flour
- 1 cup amaranth flour
- 3/4 cup warm water
- 1/4 cup coconut milk or water
- 1 1/2 Tbsp. lemon juice or apple cider vinegar
- 2 tsp. active dry yeast
- 1 Tbsp. cane sugar
- 3 Tbsp. warm water
- 3 egg whites
- 3/4 tsp. unrefined sea salt
- 2 Tbsp. cane sugar
- 1 tsp. baking soda
- 1 tsp. cream of tartar
- Combine the flours and mix to remove any clumps.
- Add the water, milk and lemon juice. Cover and let sit 7-24 hours (or longer if a sourdough taste is desired).
- Grease a large loaf pan.
- Combine the yeast, 1 Tbsp. sugar and warm (almost hot) water. Let sit 10 minutes.
- Add the egg whites to the soaked mixture. Beat about 2 minutes to fluff whites and remove lumps.
- Add the yeast mixture and beat about 20 seconds.
- Add the salt, sugar, soda and cream of tartar and beat about 10 seconds.
- Immediately pour into the prepared pan.
- Let rise in a warm place for 1 hour (do not bump or disturb the pan or it might sink)
- Heat the oven to 350*F.
- Gently transfer the pan to the oven (even small amounts of movement of the pan or slamming of the oven door could make the dough collapse)
- Bake for 1 hour.
- Turn off oven and leave bread in the oven for 10 minutes.
- Remove bread from the oven and cover with a towel.
- Allow the bread to cool for 30 minutes. Remove from pan and place upside down on a cutting board. Allow to cool completely.
- Once cooled store in a sealed container for up to 1 week.
- The bread will hold together better if allowed to cool completely and put in a sealed container. It may slice better the day after it is baked.
- Use a serrated knife and place the bread upside down for slicing.
- Stone or metal baking pans work best for gluten free bread.
- This makes one regular size loaf.
- You can replace 1/3 of the sorghum flour with teff flour for a whole wheat flavor.
- If you can't have eggs use 3 Tbsp. flax seeds combined with 2 Tbsp. warm water in place of the egg whites. The bread will be a bit denser without eggs.
By Mary - homemadedutchapplepie.com
Just Take A Bite https://justtakeabite.com/
In order for me to support my blogging activities, I may receive monetary compensation or other types of remuneration for my endorsement, recommendation, testimonial and/or link to any products or services from this blog.


 A few months ago I re-introduced wheat into our diets in the form of traditionally prepared sourdough. So far it’s going very well. It is the only wheat we eat. Since it is fermented most of the gluten is broken down. I also use spelt since it is a milder form of wheat.


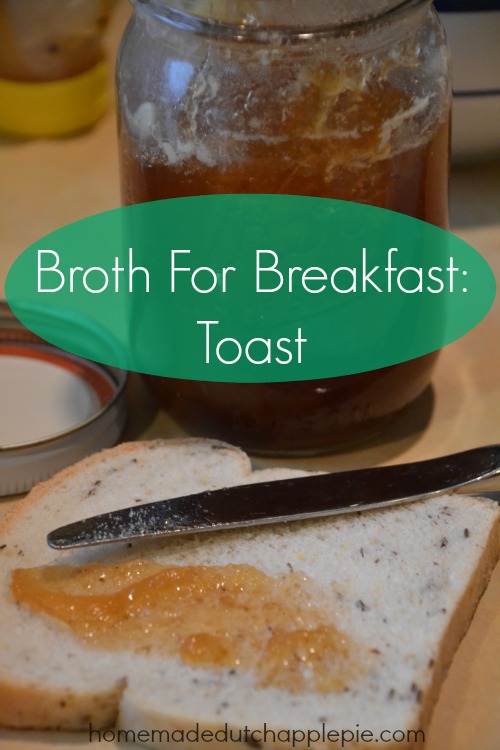
 I have another super simple way to add broth to your breakfast. It doesn’t even require cooking (unless you consider making toast cooking).


 By now I’m sure you’ve heard about the benefits of bone broth. It is great for healing the gut, for boosting the immune system and for adding essential vitamins and minerals to the diet. It is important to consume broth every day.


 Do you have trouble falling asleep at night? Or maybe your kids have a hard time winding down at the end of the day? Mine sure do!


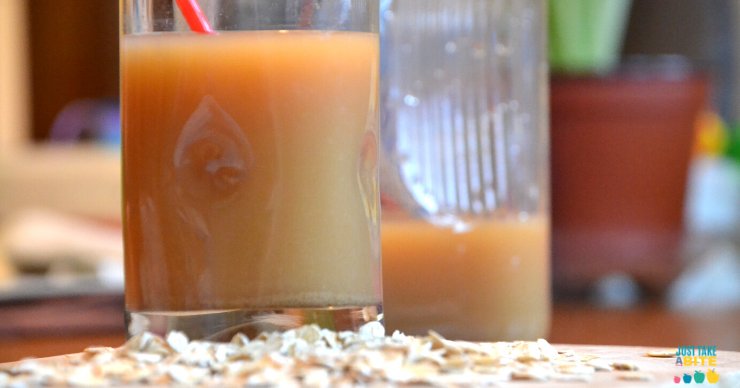
 Have you ever tried quinoa milk? Despite the growing variety of alternative milks available, it is not something I’ve ever seen at the store (though I have seen one brand of it online).


 We often buy our sausage from a local farm. It tastes very good and is high quality meat. My daughter will eat a little bit of it. But not much.

 This month I had the challenge from Stonyfield to come up with a green smoothie. I’ve made plenty of smoothies with green stuff in them. But I wanted to try something new.