Home » Kid-friendly Recipes » Page 29

Category: Kid-friendly Recipes

It is so important to cook homemade, healthy food. But it’s not always easy to find kid-friendly recipes.

That’s where I come in. I’ve got hundreds of kid-tested and approved recipes that won’t keep you in the kitchen for hours or stretch your budget too thin.

I focus on allergy-friendly, whole foods. But I always cook with kids in mind. I take all sorts of feeding challenges into account too.

We’ve dealt with every allergy possible, so I’ve created recipes that are gluten free, nut free, dairy free, egg free, soy free, corn free, coconut free and more!

Kid-friendly recipes don’t have to be boring. And they are certainly not limited to chicken nuggets and pizza every night.

A nourished child will enjoy a wide variety of fruits, vegetables, proteins, carbohydrates and fats. Get your kids in the kitchen with you and start cooking! Have fun with food and your kids will learn to love eating.

Soaked Gluten Free Brownies (dairy free, egg free, nut free)

When I bake I don’t always use precise measurements. Sometimes I don’t feel like getting measuring cups dirty and I just eyeball some of the ingredients. That’s how I came up with this recipe for brownies. I wasn’t trying to make brownies. But when they came out of the oven soft, chewy and chocolately I had to make a second batch to see if I could recreate them.


And I did. The best part about these brownies? They are easy on your tummy and very allergen friendly. No gluten. No eggs. No dairy. No nuts. And they taste amazing!

These are very easy to make. The brownie batter comes together in minutes. You can make a big batch and keep a stash in the freezer. But they don’t usually last long enough for me to put any away. I eat most of them myself 🙂
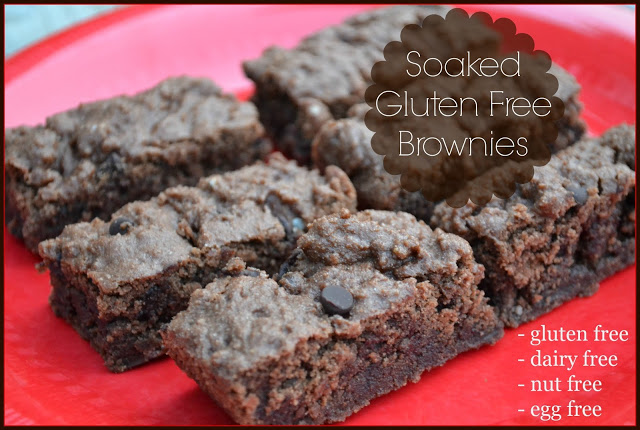
Have you had your brownie fix today? Give these a try. You won’t be disappointed.

Soaked Gluten Free Brownies
makes 8″ or 9″ square pan

1 1/2 cups amaranth flour*
1/2 cup tapioca flour*
1 Tbsp. lemon juice* + water to equal 1/3 cup
1/3 cup coconut oil*
1/3 cup + 3 Tbsp. honey
3 Tbsp. cane sugar, sucanat or coconut sugar*
1/2 tsp. baking soda
1/2 tsp. sea salt*
1/2 tsp. cream of tartar
1/3 cup mini chocolate chips* (optional)

Combine the flours, cocoa powder, coconut oil and water/lemon juice. Cover and let sit 7-24 hours.

Heat oven to 350 degrees F. Grease an 8″ or 9″ square baking pan.

Add the remaining ingredients (except the chocolate chips) to the soaked mixture. Mix well (I use a hand mixer for this to get any lumps worked out). Stir in the chocolate chips.

Spread in the prepared pan. Bake 20 – 25 minutes.

Allow to cool for 10 minutes. Cut into squares. Store the brownies in the refrigerator to keep them fresh. They will keep well for a long time in the freezer.

*These are affiliate links. It will not change the cost for you if you buy through the link, but I will get a small commission. It helps me earn a small amount to keep putting in the time and effort to do what I do 🙂
Gluten Free Cornbread

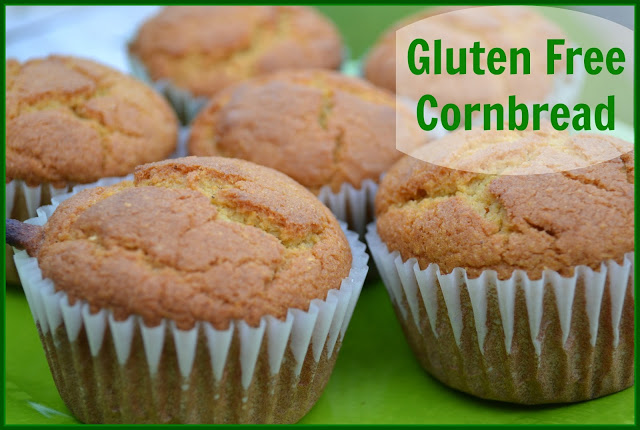
Almost every time I make chili I make cornbread to go with it. I have no idea why. They just seem like a good match to me. I love any salty/sweet combinations. Chili was on our menu last week, so I had to come up with a gluten free cornbread recipe.


I mostly used the same recipe I always do but modified it slightly to make it gluten free.

I made muffins this time. But it works just as well to make a full pan of cornbread.

These are very simple to make. Put the ingredients in the bowl, mix with a spoon, pour and bake.

You end up with slightly sweet, delicious cornbread. This is a great match for soup or stew. Or it works well for breakfast topped with honey or maple syrup.


Gluten Free Cornbread
makes 12 muffins or a 9″ round bread

1 cup organic cornmeal
1/2 cup white rice flour
1/4 cup amaranth flour
1/4 cup tapioca flour
2/3 cup organic cane sugar, sucanat or coconut sugar
1 tsp. sea salt
2 tsp. baking powder
1 tsp. baking soda
1 egg
1 cup milk (or milk substitute)
1/3 cup melted butter or coconut oil

Heat oven to 400 degrees. Grease a 9″ round cake pan or line a muffin tin with paper cups.

Combine the dry ingredients. Add the wet ingredients and stir until combined.

Pour into prepared pan or muffin cups.

Bake 20 – 30 minutes (less for muffins, more for bread), until golden and baked through.

Serve with butter, honey, syrup or jam.

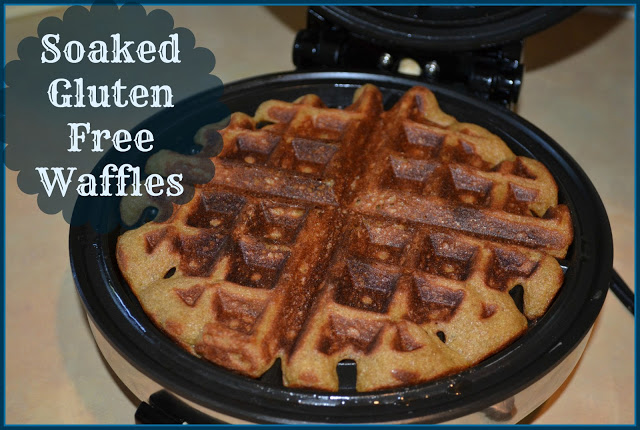
Soaked Gluten Free Waffles

Soaked gluten free waffles make a great Saturday morning breakfast or fun weeknight dinner.

Soaked Gluten Free Waffles | Homemade Dutch Apple Pie

My daughter requested waffles the other day. So I added them to our menu.

No problem. I’ve made gluten free waffles before.

But this time I decided to try soaking them to make them easier to digest.
 
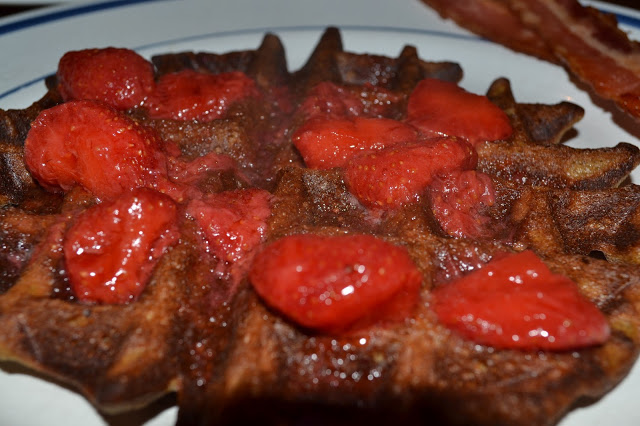
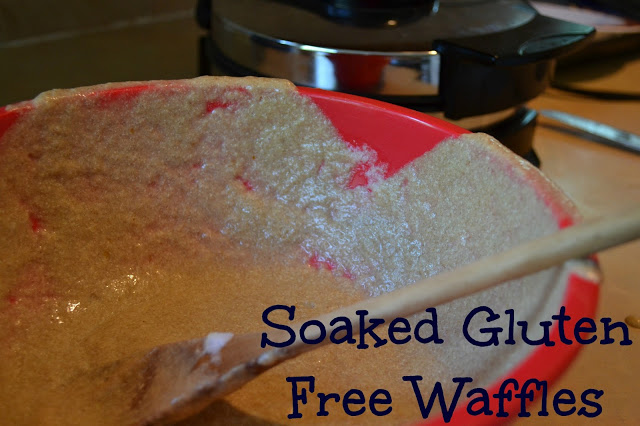
Soaked gluten free waffles are so good!!  The version I made looked a little dark because of the teff flour. But they were delicious – especially covered in homemade strawberry topping.
 
These soaked gluten free waffles come together in minutes. Just soak the flour the day before. Then beat some egg whites, mix and pour in your waffle maker.
 
Use your favorite toppings like butter, real maple syrup, honey or fresh fruit to make soaked gluten free waffles a real treat.
 
These soaked gluten free waffles are now a staple in our Friday night breakfast for dinner rotation.  Once you try them you’ll want to add them to your menu regularly as well!
 
Are you in the mood for a satisfying breakfast (or dinner!)? Try some soaked gluten free waffles.
 
Soaked Gluten Free Waffles | Homemade Dutch Apple Pie
 
Soaked Gluten Free Waffles
makes about 4 waffles
 
1/2 cup white rice flour (or sorghum)
1/3 cup tapioca flour
1/4 cup teff flour (or brown rice, buckwheat or amaranth)
1/2 cup total soaking liquid: buttermilk OR kefir OR yogurt OR 1 Tbsp. lemon juice + water to equal 1/2 cup
1 egg, separated
1/2 tsp. cream of tartar (not essential, but helps the egg whites stiffen)
1/2 cup smooth, unsweetened applesauce
1 Tbsp. organic cane sugar, sucanat or coconut sugar
1 tsp. baking soda
1/2 tsp. sea salt
Combine the flours and soaking liquid. Cover and let soak for 7-24 hours.
 
  1. Heat and grease a waffle iron.
  2. In a medium bowl beat the egg white and cream of tartar until stiff peaks form.
  3. Add the remaining ingredients to the soaked flour and beat (I like to use a hand mixer for this) until well combined (about 2 minutes).
  4. Fold in the egg white.
  5. Pour batter onto the waffle iron and allow to fully cook. You can keep the cooked waffles on a cooling rack on a baking sheet in the oven on low heat until all of the waffles are done.
  6. Serve with real maple syrup, honey, homemade powdered sugar or fruit topping.
  7. Store leftovers in a seal container in the refrigerator or freezer.

*To reheat wrap the waffles in a damp paper towel. Heat at 350 degrees in an oven or toaster oven for 5 – 8 minutes, until warmed.Soaked Gluten Free Waffles | Homemade Dutch Apple Pie

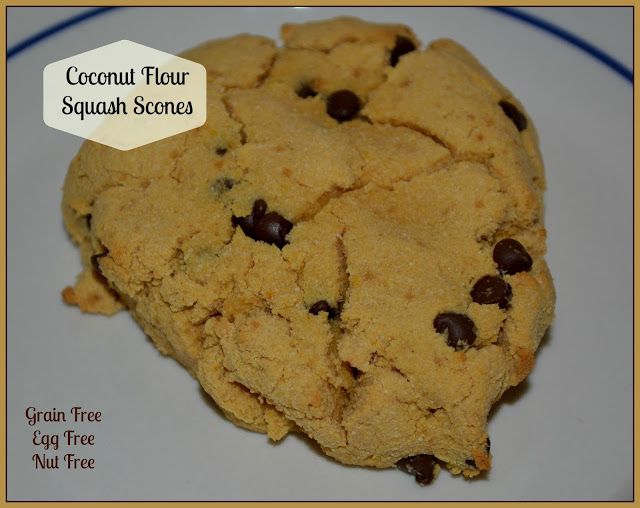
Coconut Flour Squash Scones (grain free, egg free, nut free, dairy free option)

Ever since I started a rotational diet and cut gluten back out a few months ago I’ve been making coconut flour scones. It’s a little tricky since I can’t eat eggs. And most coconut flour recipes use lots of eggs. But I like how these have turned out.

I’m not sure why I haven’t posted the recipe yet. But here it is. You don’t want to eat too many or you’ll be getting a ton of fiber. But they sure taste good!


Coconut Flour Squash Scones
makes 6-8 scones

1 cup coconut flour
1/4 cup organic cane sugar or coconut sugar
1/4 tsp. sea salt
1/4 tsp. baking soda
1/2 cup (1 stick) butter, cold, slightly cut up OR 1/2 cup organic palm shortening (coconut oil might work, but I have not tried it)
3/4 cups pureed squash or pumpkin
1 tsp. vanilla
3/4 cups milk OR milk substitute of choice
1/3 cup honey and/or maple syrup (1/3 cup total of one or a combination)
1/3 cup mini chocolate chips (optional)

Heat oven to 400 degrees. Line a baking sheet with parchment paper.

Combine the flour, sugar, salt and baking soda. Blend in butter until the mixture is crumbly (You can do this by hand. I find a food processor is easiest.). Add the squash, vanilla, milk and honey. Mix/blend until fully combined. If the dough does not hold together add more squash or milk. Stir in chocolate chips.

Drop mounds onto the prepared baking sheet. Press down slightly to flatten. Bake for 20-25 minutes, until just starting to get golden.

Allow to cool completely. The scones will hold together better if they are refrigerated. Store in the refrigerator or freezer.

Marshmallows, S’mores Ice Cream, Sea Salt Caramel Ice Cream and Instant Ice Cream…All With a Secret Ingredient

Last week I made my first batch of homemade marshmallows. I tried this easy recipe from DIY Natural. It worked very well. The texture is just like regular marshmallows. But we found them to be a little off on taste due to all the maple syrup. They were too sweet for our taste. So that’s on my to-do list to experiment with the flavor a bit.

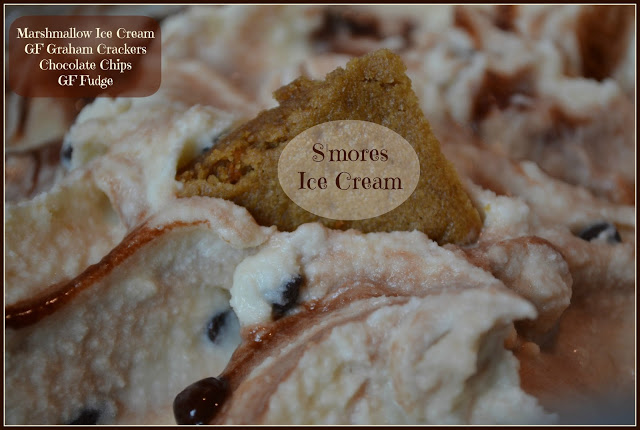
But back to the ice cream. I was thinking of ways to use the marshmallows since you can’t roast them (they just melt), and the kids won’t eat them (and I don’t even like marshmallows…of any variety…unless they are roasted). The first thing that came to mind was s’mores ice cream.

I’ve made s’mores ice cream before. Just some basic vanilla with bits of marshmallow, graham cracker and chocolate mixed in. But as I mentioned I don’t really like marshmallows. I don’t care for the texture. So if I put them in the ice cream it would kind of ruin it for me.

Simple fix…I’ll just blend some marshmallows into the ice cream mix to make it taste like marshmallow ice cream, without the marshmallow texture.

So I did. I added just two little marshmallows, turned on the blender, and to my surprise I had an instantly thick glob of ice cream batter. So thick that my blender wouldn’t even mix it. I had to add some milk to thin it out.

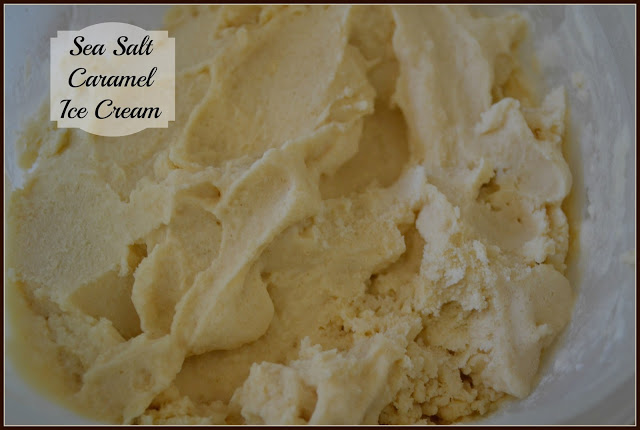
It was almost like instant ice cream. So I ended up making a few batches of ice cream to experiment. I came up with three different ice creams that are all great! And they all have one common ingredient…gelatin.

Gelatin has amazing health benefits. And it is a great thickener. Ice cream is a super food. Now it just got even better with gelatin.


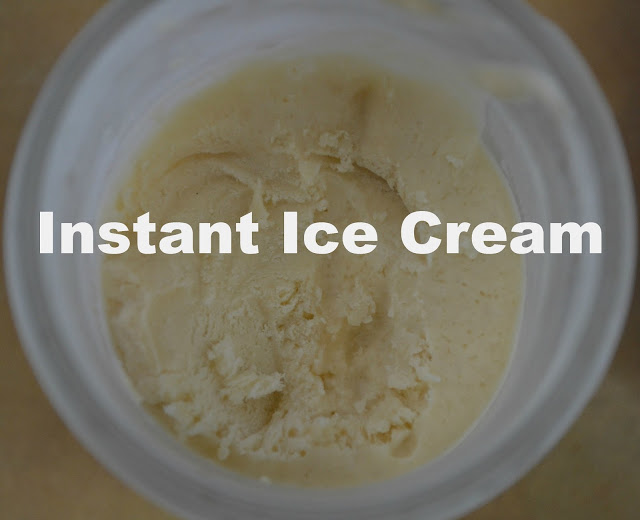
You can add gelatin to your ice cream batter and make the ice cream as usual. Or if you don’t have an ice cream mixer or don’t have the time you can make instant ice cream. Simply blend the batter with gelatin and pour it into a container. In a few minutes you’ll have a non-frozen ice cream that you can eat as-is. Or you can stick in the freezer to eat later. Pretty cool.

What are some fun ways that you use gelatin?

S’mores Ice Cream

3 cups heavy cream (preferably raw, NOT ultra-pasteurized)
2-4 egg yolks (optional…I don’t use them since I can’t eat eggs, but it adds tons of nutrition)
1/2 cup any combination of cane sugar, coconut sugar, honey and/or maple syrup
2 tsp. vanilla
2 tsp. gelatin
3/4 cups crumbled graham crackers (gluten free, whole wheat, soaked, sourdough) and chocolate chips
3 Tbsp. fudge sauce (optional)

Combine cream, yolks, sweetener, vanilla and gelatin in a blender. Blend until mixed (about 20 seconds). Adjust sweetness to taste (make it a little overly sweet as the sweetness will go down after processing). Process in an ice cream mixer according to directions (I use a Kitchen Aid attachment. It takes 15 – 20 minutes).

Transfer the ice cream to a freezer-safe container. Stir in the graham crackers and chocolate chips. Gently swirl in fudge if desired. Freeze until firm. Remove from the freezer 5 minutes before serving.

Sea Salt Caramel Ice Cream

3 cups heavy cream
2-4 egg yolks (optional…I don’t use them since I can’t eat eggs, but it adds tons of nutrition)
1/2 cup any combination of cane sugar, coconut sugar, honey and/or maple syrup
2 tsp. vanilla
2 tsp. gelatin
1 Tbsp. butter
1/2 tsp. sea salt

Combine cream, yolks, sweetener, vanilla, gelatin, salt and butter in a blender. Blend until mixed (about 20 seconds). Adjust sweetness to taste (make it a little overly sweet as the sweetness will go down after processing). Process in an ice cream mixer according to directions (I use a Kitchen Aid attachment. It takes 15 – 20 minutes).

Transfer the ice cream to a freezer-safe container. Freeze until firm. Remove from the freezer 5 minutes before serving.

Instant Vanilla Ice Cream

3 cups heavy cream
1/2 cup any combination of cane sugar, coconut sugar, honey and/or maple syrup
2 tsp. vanilla
3 tsp. gelatin

Combine cream, sweetener, vanilla and gelatin in a blender. Blend until mixed (about 20 seconds). Adjust sweetness to taste.

Transfer the ice cream to a freezer-safe container. Place it in the refrigerator for a few minutes if you want a non-frozen treat. Place it in the freezer and let firm for a frozen treat. Remove from the freezer 5 minutes before serving.

Homemade Corn Tortillas

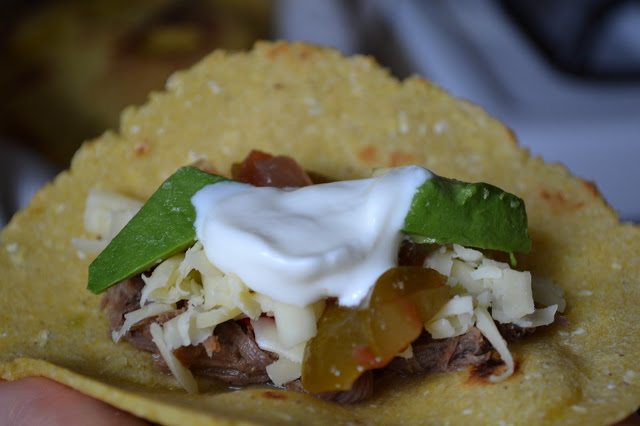
Tacos are a staple on our menu. We don’t eat a lot of Mexican food. But we all love tacos. They are easy to make. Each person can assemble them with their preferred toppings. And tacos actually make a really great gluten free meal.

The problem…finding taco shells or soft tortillas that don’t have gluten. The bigger problem…finding taco shells or tortillas that don’t contain nasty chemicals and vegetable oils.

My daughter was asking for tortillas the other day. We looked at the corn tortillas at the store. The only pack without gluten contained parabens!!! Seriously? I’ll make exceptions once in a while for some ingredients, but not parabens. No way.

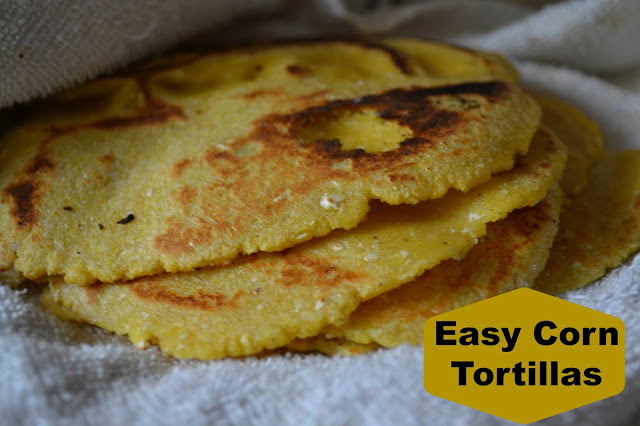
As luck would have it shortly after that Health Starts in the Kitchen posted a recipe for homemade corn tortillas. Perfect!! And they are so easy. If I had known they were this easy I would have tried making them a long time ago.

I do not have a tortilla press myself. I just rolled the dough in plastic wrap. I think a tortilla press would be great for getting them just the right thickness and size. Maybe someday 🙂

At least I have an easy alternative for healthy gluten free tacos with delicious soft tortillas.

Thanks Health Starts in the Kitchen for this great recipe!!

I only made a half recipe. It was more than enough for a meal for us. I’ll just post the half recipe. You can make a big batch and freeze them to have on hand. I also kneaded my dough by hand. I tried my stand mixer, but with only 1 cup of flour it didn’t fill the bowl enough to work.

Homemade Corn Tortillas
makes about 8 tortillas

1 cup organic corn flour/corn meal
1/2 – 1 cup warm water
1/2 tsp. sea salt

Place the flour and salt in a bowl or stand mixer bowl. While mixing gradually add 1/2 cup of water. As the dough combines, add additional water to create a dough with the texture of play-dough. Knead the dough for 10 minutes then let rest for 10 minutes.

While your tortilla dough is resting, begin heating your cast iron griddle (keep it dry/no fat).

Scoop 1/4 cup portions of dough and press in a tortilla press or roll between plastic wrap.

Fry each tortilla until lightly browned on each side, about 1-2 minutes on a cast iron pan.

Store wrapped in a clean dish towel if dry-fried to be soft (this helps keep them warm and pliable if you are going to eat them fresh) or to drain on paper towel if fat-fried to be crispy.

Store in a sealed container in the refrigerator or freezer.

Gluten Free Yellow Cake With Vanilla Buttercream

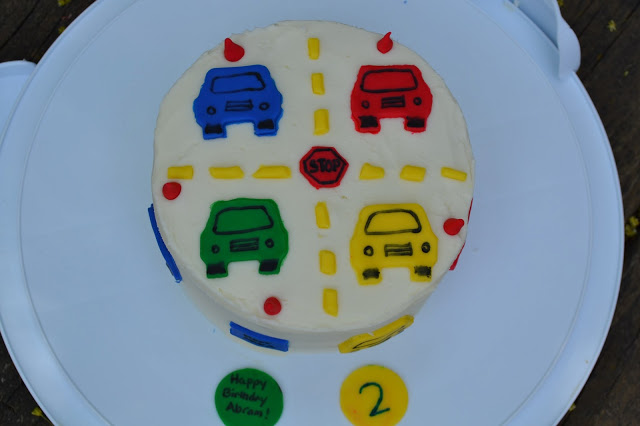
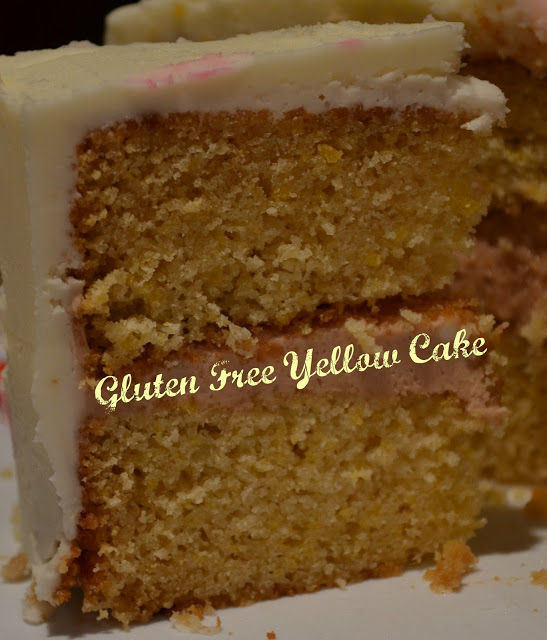
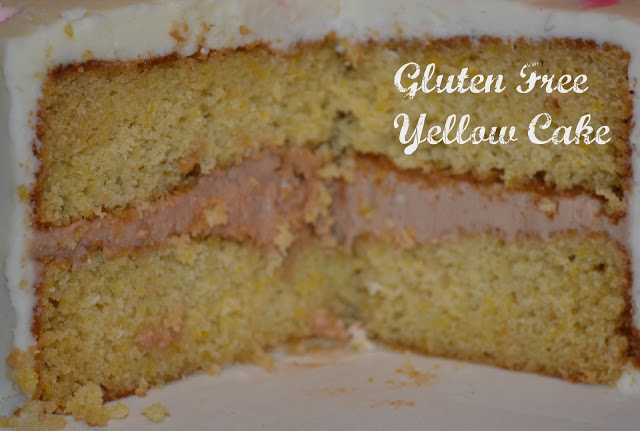
For my son’s second birthday last week I made a yellow cake. I decided to stick with gluten free so that my daughter could eat it. It turned out so well!! Not too dry. Not too dense. We all enjoyed it.

The other nice part? It’s really easy to make 🙂

Gluten Free Yellow Cake
makes an 8″ or 9″ layer cake or 9×13 cake or about 30 cupcakes

1 1/2 cups white rice flour
1/4 cup brown rice flour
1/4 cup tapioca flour
1/4 cup amaranth flour
1 1/2 cups organic cane sugar
1/2 cup butter, room temperature
1 1/4 cups milk
2 tsp. baking powder
1 tsp. baking soda
1 tsp. sea salt
1 tsp. vanilla
3 eggs, separated
1/2 tsp. cream of tartar

Heat oven to 350 degrees F. Grease and line with parchment paper the bottom of your cake pan(s).

Beat the egg whites with the cream of tartar until stiff peaks form. Set aside.

Beat the egg yolks for 2 minutes. Add the remaining ingredients. Beat for 2 minutes. Fold in the egg whites.

Pour the batter into the prepared pan(s).

Bake for about 35 – 45 minutes (for 8″ or 9″ rounds), 40 – 50 minutes (for 9×13) or 30 minutes (for cupcakes). Let cool for 10 minutes, remove to a cooling rack and let cool completely.

Vanilla Buttercream
makes enough to frost a 2 layer 8″ or 9″ cake or a 9×13 cake

3 cups powdered sugar (you can make your own!)
1/3 cup butter, softened
1/3 cup organic palm shortening
2 tsp. vanilla
milk (if needed)

Place butter and shortening in a bowl or stand mixer bowl. Beat until smooth (about 30 seconds). Gradually add the powdered sugar. If the frosting becomes too thick add more butter or shortening or add milk a tsp. at a time. If the frosting is too soft/loose add more sugar.

The frosting can be made in advance and stored in the refrigerator for a few weeks. Allow it to come to room temperature and stir or beat it before using.

Gluten-free Goldfish® Crackers

Gluten Free Goldfish® and Cheez-It® Crackers (egg free, corn free, nut free)

Make snack time fun for kids with allergies with these gluten-free Goldfish® and Cheez-It® crackers! They’re so good your kids will never know the difference.

Since going gluten-free I’ve had to periodically send separate snacks to school for my daughter. I do my best to send food that is as close as possible to what the other kids are eating. Usually it’s pretty simple.

But when we got to Goldfish® I had a problem. I’m not a fan of most store-bought crackers as they are highly processed. Not to mention they typically have more junk added if they are gluten-free.

That meant I had to experiment. It’s what I love to do in the kitchen.

Cheese Crackers Without Artificial Color

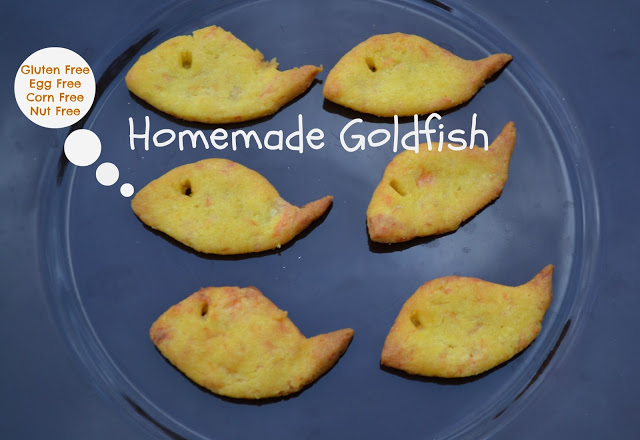
I brainstormed about how to make them look kind of orange, like the real thing. I decided to add squash and some yellow cheese. And it worked!!

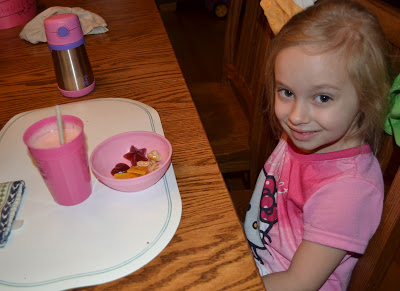
Both kids had some for breakfast (I do most of my baking in the morning before they get up…and they instantly run to the kitchen and start eating if they smell something good).

I couldn’t keep their hands off. They paired the crackers with homemade gummies (full of nutrient-dense gelatin) and strawberry lemonade (made with locally grown strawberries and real lemon juice). Delicious!

Gluten-Free Goldfish® Crackers

You can make these crackers in any fun shape or size you like. I decided to try to make them look like the “real” thing. I also made some stars, circles and letters.

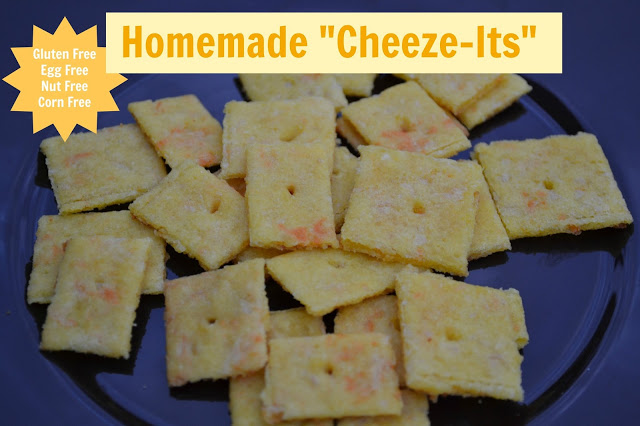
Gluten-Free Cheeze-Its®

Squares look a lot like Cheeze-Its®. So that is another option if you are going for the swap.

This is a fun snack for kids, and it’s very healthy. No vegetable oils. No gluten, egg, corn or nuts. Just real ingredients.

Gluten-Free Goldfish® or Cheez-It® Crackers

makes about 2 cups of crackers

1/2 cup white rice* or brown rice flour
1/2 cup tapioca flour*
1/2 tsp. sea salt*
1/4 tsp. baking soda
2 Tbsp. melted butter
4 Tbsp. pureed winter squash (this adds color, so the deeper the color the cheesier the crackers will look)
1 Tbsp. water
2/3 cup finely grated cheese (cheddar works well, a yellow cheese like colby will add extra color)
1/2 tsp. organic cane sugar, sucanat or coconut sugar*

Heat oven to 350 degrees F.

Mix the flours, salt, soda, butter, cheese and squash. Add 1 Tbsp. of water. Mix. A ball of dough should form that does not crumble. Knead it with your hand for a minute or two to get it all combined. If after mixing the dough for a couple minutes it is still crumbly gradually add water a tsp. at a time. You don’t want the dough too wet or the crackers will not get crisp.

Place half of the dough on a piece of parchment paper. Place another piece on top of the dough. Roll until the dough is about 1/8 – 1/4″ thick. Cut into desired shapes or cut into squares with a pizza cutter. Transfer shapes to a parchment lined baking sheet. Transfer parchment paper with squares to a baking sheet. Repeat of the second half of the dough.

Bake for about 20 minutes, until crisp and just starting to get golden on the edges. Allow to cool completely.  

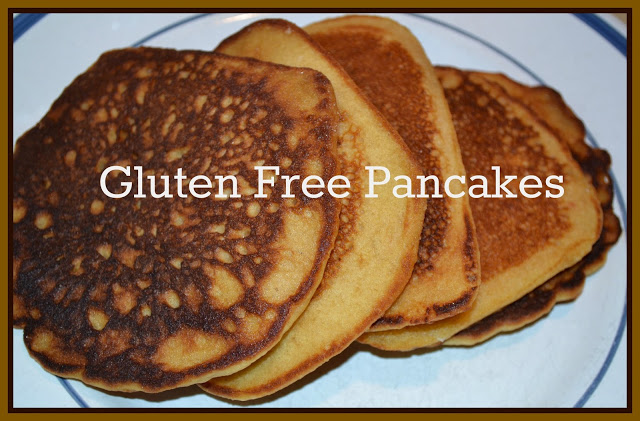
Gluten Free Pancakes

My whole family enjoys breakfast for dinner sometimes. A few days ago I decided to make pancakes. I made a simple batch of gluten free pancakes…that everyone loved!! I’ve never seen my daughter eat that much pancake in one sitting. Even my husband asked if it was a new or special recipe because they were really good.

This is an adaption from a recipe I got from my mother-in-law shortly after I got married. We’ve been making these for years. But now we can enjoy them in a gluten free form…and not miss a thing 🙂

Gluten Free Pancakes
makes about 8 pancakes

1/2 cup white rice flour
1/3 cup tapioca flour
1/4 cup teff flour
1 egg
1/2 cup buttermilk, kefir or sour milk (2 tsp. vinegar + milk to equal 1/2 cup)
1/2 cup smooth, unsweetened applesauce
1 Tbsp. organic cane sugar, sucanat or coconut sugar
1 tsp. baking soda
1/2 tsp. sea salt

In a medium bowl whisk egg. Add remaining ingredients and mix well. If the batter is really runny add extra tapioca flour until desired thickness.

Scoop 1/4 – 1/3 cup batter onto a hot griddle coated with butter or coconut oil. Cook pancakes until the edges dry and bubbles form. Flip and cook the other side for a few minutes until cooked through. Repeat until the batter is used.

You can keep the cooked pancakes on a baking sheet in the oven on low heat until all of the pancakes are done.

Store leftovers in a seal container in the refrigerator or freezer.

To reheat wrap the pancakes in a damp paper towel. Heat at 350 degrees in an oven or toaster oven for 3-6 minutes, until warmed.

Soaked Gluten Free Breakfast Cookies

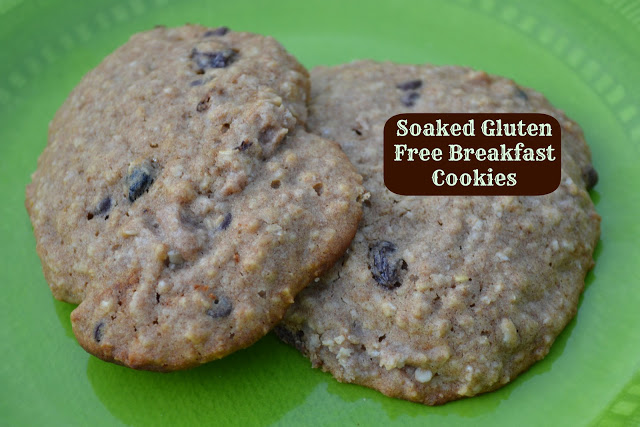
I keep adapting some of our favorite recipes to make them gluten free. The other day I took some breakfast cookies out of the freezer…and couldn’t let my daughter have one. So of course I had to tackle that challenge this week 🙂

Soaked, gluten free and delicious! Fresh baked this morning for a nice treat for the family. Do you ever have cookies for breakfast? If not you should give these a try.

Soaked Gluten Free Breakfast Cookies
makes 10 – 12 cookies

1 cup oats
1 cup any combination of gluten free flour (I used white rice, brown rice and teff flours)
1/2 cup butter or coconut oil
1/3 cup kefir, buttermilk, sour milk or water + lemon juice
1/3 cup honey
1 egg
1/2 tsp. salt
1/2 tsp. baking soda
1/2 tsp. cinnamon
1/2 tsp. vanilla
1 cup add-ins (chocolate chips, nuts, dried fruit, coconut)

Melt the butter or coconut oil. Mix the oats, flour, butter and kefir. Let soak 7 – 24 hours.

Heat oven to 350 degrees F.

Add the remaining ingredients to the soaked mixture. Mix well. Drop large mounds onto a parchment lined baking sheet.

Bake 20 minutes, until golden.

Serve warm or allow to cool and store in an airtight container. They freeze very well.