Home » Kid-friendly Recipes » Page 28

Category: Kid-friendly Recipes

It is so important to cook homemade, healthy food. But it’s not always easy to find kid-friendly recipes.

That’s where I come in. I’ve got hundreds of kid-tested and approved recipes that won’t keep you in the kitchen for hours or stretch your budget too thin.

I focus on allergy-friendly, whole foods. But I always cook with kids in mind. I take all sorts of feeding challenges into account too.

We’ve dealt with every allergy possible, so I’ve created recipes that are gluten free, nut free, dairy free, egg free, soy free, corn free, coconut free and more!

Kid-friendly recipes don’t have to be boring. And they are certainly not limited to chicken nuggets and pizza every night.

A nourished child will enjoy a wide variety of fruits, vegetables, proteins, carbohydrates and fats. Get your kids in the kitchen with you and start cooking! Have fun with food and your kids will learn to love eating.

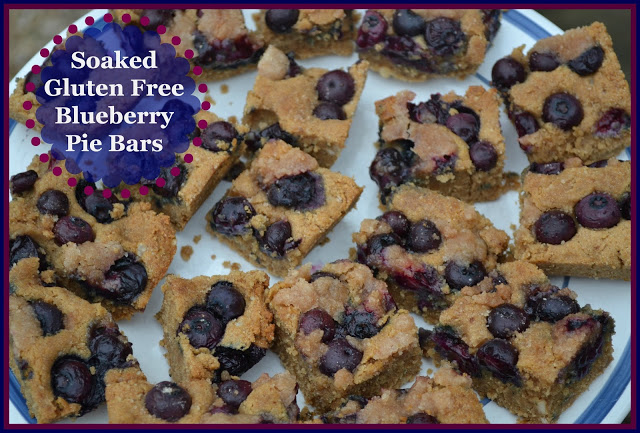
Soaked Gluten Free Blueberry Pie Bars

I LOVE blueberry pie. And we’ve been eating quite a bit of it lately. But I don’t always have time to make a full pie when the craving hits.

So I came up with blueberry pie bars! They are easy to make. And easier to eat than a piece of pie. A great snack or breakfast. They have all the flavors of a pie without the effort of making a pie.

These bars are soaked, gluten free, egg free, nut free, corn free and can be dairy free. Very allergen friendly and easy on the tummy.
There is no way to replace a real blueberry pie. But these blueberry pie bars come pretty close.
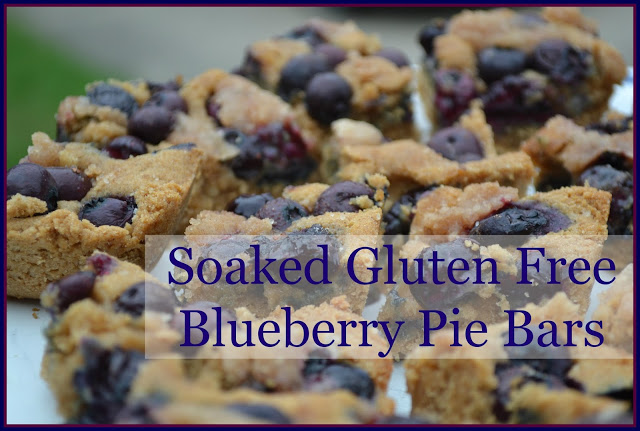
Soaked Gluten Free Blueberry Pie Bars
makes 16 bars
1 1/2 cups amaranth flour*
1/2 cup tapioca flour*
1/4 cup coconut flour*
1/3 cup coconut oil* (melted)
1/3 cup water + lemon juice (1 Tbsp.)
1/2 tsp. cinnamon
1/4 tsp. nutmeg
4 Tbsp. organic cane sugar, sucanat or coconut sugar*
1 tsp. baking soda
1/2 tsp. sea salt*
1 tsp. cream of tartar (optional – it helps bind things together)
1/2 cup honey
3/4 cups fresh blueberries
1/2 tsp. cinnamon
2 Tbsp. organic cane sugar, sucanat or coconut sugar
1 Tbsp. butter or coconut oil
1 Tbsp. tapioca flour
Combine the flours, coconut oil and lemon water. Cover and let sit 7-24 hours.
Heat the oven to 350 degrees F. Grease an 8″ or 9″ square baking dish.
Add the cinnamon, nutmeg, sugar, soda, salt, cream of tartar and honey to the soaked flour. Mix well with a hand or stand mixer until combined (this can take a little work – make sure it is well mixed and will stick together when pinched with your fingers).
Press the dough into the prepared pan. Pour the blueberries on top and gently press them part way into the dough.
Combine the cinnamon, sugar, butter and tapioca flour. Sprinkle over the blueberries.
Bake 25 – 30 minutes, until golden and baked through. Allow to cool completely before cutting into squares.
These will hold up better in the refrigerator. Store in a sealed container.

*These are affiliate links. It will not change the cost for you if you buy through the link, but I will get a small commission. It helps me earn a small amount to keep putting in the time and effort to do what I do 🙂
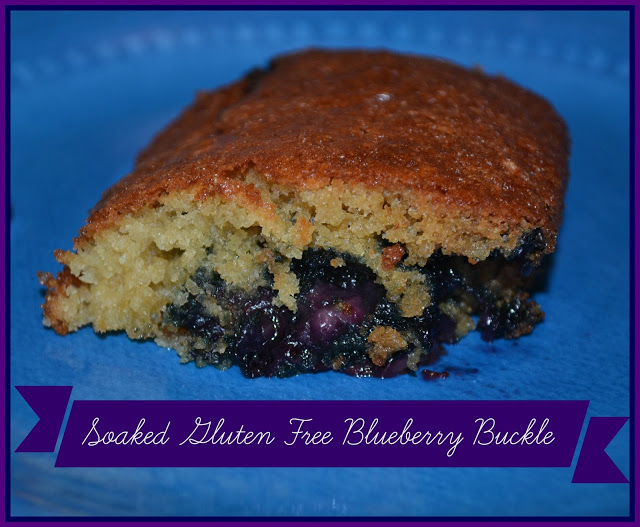
Soaked Gluten Free Blueberry Buckle

It’s blueberry season! Time for another blueberry recipe. Growing up my mom made blueberry buckle often when we had fresh blueberries.

This year I decided to recreate  her recipe in a gluten free form. This was absolutely delicious. I just finished the last little bit this morning. It didn’t last long.

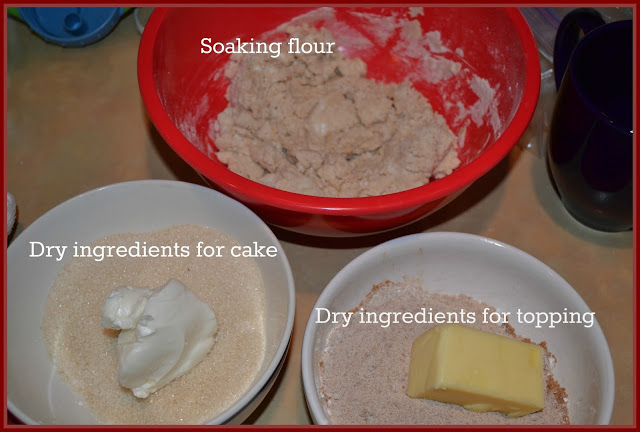
I prepared all of the ingredients in the evening. Then in the morning it only took minutes to get it in the oven for a warm breakfast.

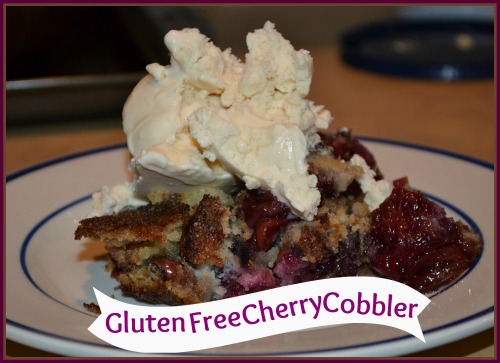
Soaked gluten free grains and cooked fruit are quite easy on the gut. So it’s a great way to start the day. Or you could serve it for dessert. Top it with a little ice cream. A wonderful treat.


Soaked Gluten Free Blueberry Buckle

1/2 cup white rice flour*
1/2 cup tapioca flour*
1/2 cup amaranth flour*
1/2 cup soaking liquid (yogurt, kefir, buttermilk, milk + vineger or water + lemon juice)

3/4 cups organic cane sugar, sucanat or coconut sugar*
1/4 cup palm shortening* or butter, softened
1 egg
1 1/2 tsp. baking soda
1/2 tsp. sea salt*
1/4 tsp. cream of tartar (optional)
2 cups blueberries

1/2 cup organic cane sugar, sucanat or coconut sugar
1/3 cup tapioca flour
1/2 tsp. cinnamon
1/4 cup butter, softened (coconut oil or palm shortening would also work)

Combine the flours and soaking liquid. Cover and let soak 7-24 hours.

If desired combine the sugar, shortening, soda, salt and cream of tartar and combine the sugar, tapioca flour, cinnamon and butter. Cover and set aside until ready to bake.

Heat the oven to 375 degrees F.

Add the sugar, shortening, egg, soda, salt and cream of tartar to the soaking mixture. Mix well until any lumps are removed, 1-2 minutes (a hand mixer or stand mixer works well for this). Fold in the blueberries.

Pour the batter into a greased 8×10 or 7×11 pan (a 9×13 pan will work, the cake will just be a little thinner).

Mix the sugar, flour, cinnamon and butter. Sprinkle over the batter.

Bake for 30 – 35 minutes.

*These are affiliate links. It will not change the cost for you if you buy through the link, but I will get a small commission. It helps me earn a small amount to keep putting in the time and effort to do what I do 🙂

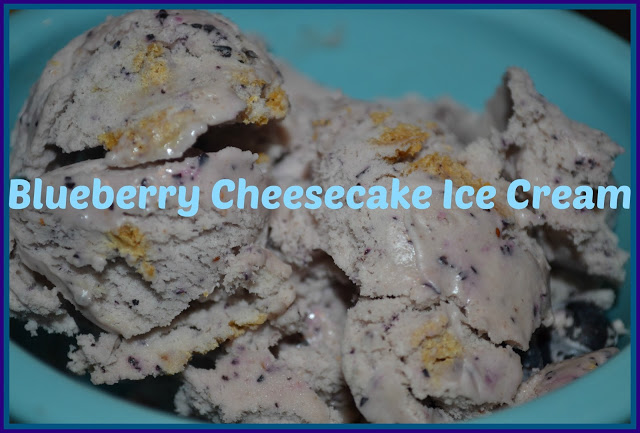
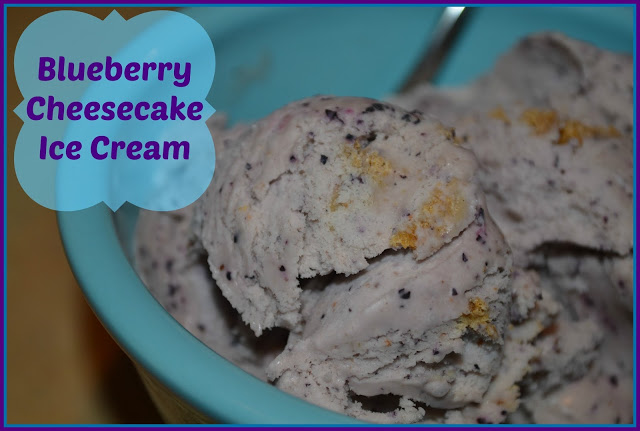
Blueberry Cheesecake Ice Cream (gluten free, egg free, nut free, corn free)

What’s that? More ice cream? Yep. My all time favorite food. Especially in the summer. And this flavor certainly does not disappoint!

Fresh Michigan blueberries, real sour cream, soaked gluten free graham crackers. The perfect combination for a mid-summer treat.

This ice cream is very easy to make. And it tastes like cheesecake in ice cream form. And what’s not to love about fresh, juicy blueberries? They are at their peak right now in Michigan, and they are my favorite fruit. So be prepared for some blueberry recipes on the blog.

Blueberries. Cheesecake. Ice cream. Enough said. You’re going to love it. No artificial flavor or color. Just pure blueberry joy.

Blueberry Cheesecake Ice Cream

2 cups cream (preferably raw, NOT ultra-pasteurized)
1/4 cup sour cream
1/2 – 2/3 cup blueberries
1 Tbsp. tapioca flour* or arrowroot (optional)
2 tsp. organic vanilla
1/2 cup organic cane sugar, honey or maple syrup (or any combination)
1-4 egg yolks (optional)

1/4 cup fresh blueberries (optional)
1/2 cup crumbled graham crackers (gluten free, soaked, whole wheat, sourdough)

In a blender combine the cream, sour cream, blueberries, tapioca flour, vanilla, sugar and eggs. Blend until smooth. Taste for sweetness/blueberry flavor and adjust to liking. Process in an ice cream maker according to directions (I use a Kitchen Aid attachment and it takes about 15 minutes).

During the last minute of processing add the blueberries and graham crackers. Transfer the ice cream to a freezer safe container and freeze until firm.

*These are affiliate links. It will not change the cost for you if you buy through the link, but I will get a small commission. It helps me earn a small amount to keep putting in the time and effort to do what I do 🙂


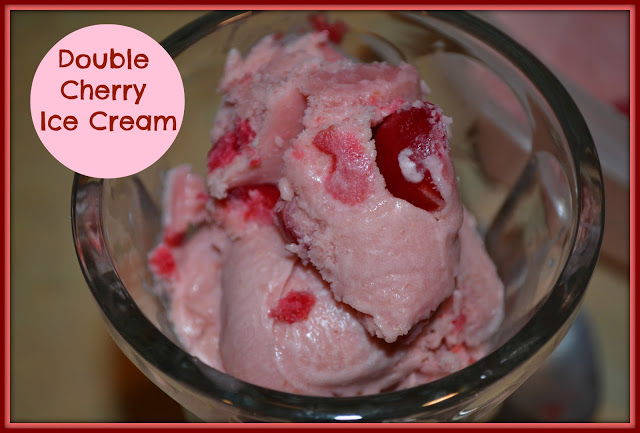
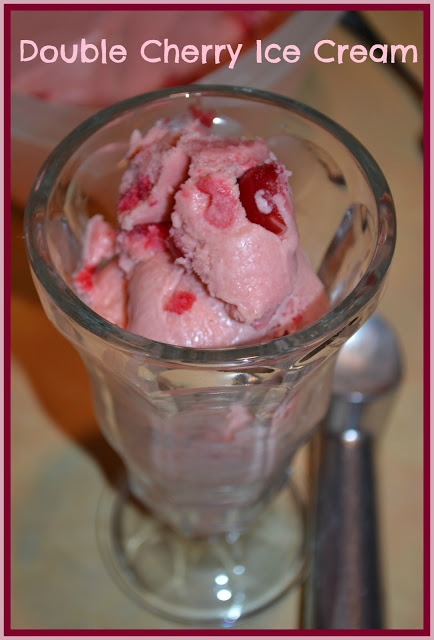
Double Cherry Ice Cream

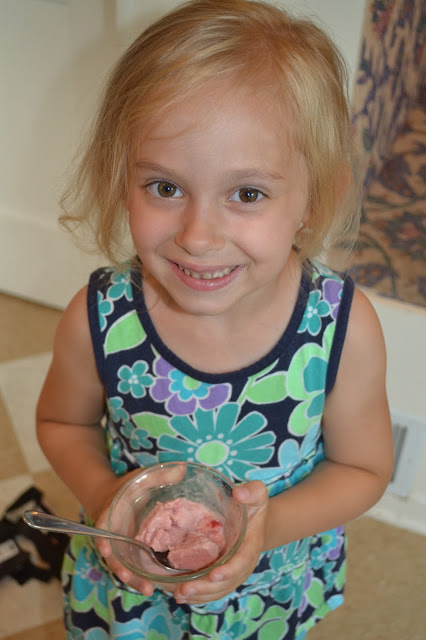
Since we have fresh tart cherries I had to do more than just make a pie with them. I decided to make tart cherry ice cream.


Sometimes fruity ice creams can get really hard or taste more like sorbet than ice cream. But this turned out very well. It’s still smooth and creamy. And it scoops well straight out of the freezer. No need to let it sit for 10 minutes to soften.

The whole family is enjoying this cherry ice cream. It definitely has the tart cherry flavor. But it’s also sweet. You might need a little more sugar than you’d put in most ice creams to get a good balance.


Eat it plain, drizzled with hot fudge or on top of cherry pie. Any way you serve this ice cream, it’s good!


Double Cherry Ice Cream

2 cups cream (preferably raw, NOT ultra-pasteurized)
1/4 cup tart cherry juice (not something to buy separately…just the natural juice from your cherries)
2/3 cup tart cherries, pitted
1/2 – 2/3 cup organic cane sugar, sucanat, coconut sugar, maple syrup or honey (or any combination)
2 tsp. organic vanilla
1 Tbsp. tapioca flour (optional)
1-3 egg yolks (optional)
1/4 cup tart cherries, chopped
1/4 cup mini chocolate chips* (optional)

Blend the cream, cherry juice, cherries, sweetener, vanilla, tapioca flour and egg yolks until smooth. Process in an ice cream maker according to manufacturer directions (this is the kind I use* and it takes 15 – 20 minutes). During the last minute of processing add the chipped cherries and chocolate chips.

Transfer the ice cream to a freezer safe container and freeze until solid.


*These are affiliate links. It will not change the cost for you if you buy through the link, but I will get a small commission. It helps me earn a small amount to keep putting in the time and effort to do what I do 🙂

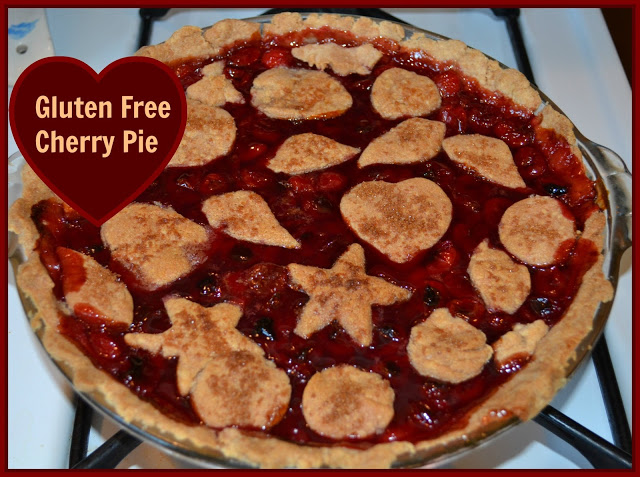
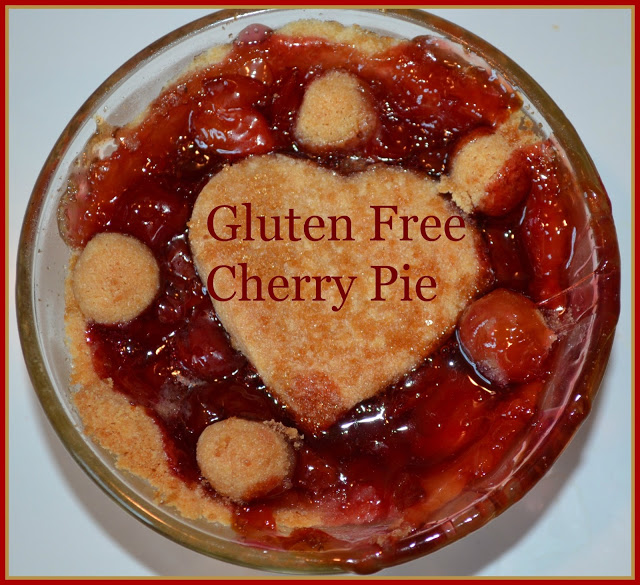
Gluten Free Cherry Pie (Egg Free, Nut Free, Corn Free, Dairy Free)

For the last couple of years when cherry season rolls around my husband says we must get tart cherries for pie. Neither of us grew up eating fresh cherry pie. I honestly hated cherry pie since whenever I did have it it was made from a can of pie filling.


But since tasting freshly baked, real cherry pie we are both huge fans. It does take a little more work than some pies since you have to make a filling instead of just putting the fruit/sugar right into the crust. But it doesn’t take long. And it’s well worth the effort.

Of course this year I made a gluten free, corn free version so the whole family could enjoy it. This was my first experiment with making a gluten free pie crust. It tasted great. But it didn’t roll as well as a traditional crust. So I just pressed the dough into the pan for the bottom crust. And we rolled and cut out shapes (like sugar cookies) for the top. I still have some experimenting to do. So be on the lookout for an updated pie crust. In the mean time, this one tastes great!


This was all around a wonderful treat. Even my little guy that doesn’t care for sweets/desserts kept asking for more. Maybe I’ll have to make more tart desserts for him. Top the pie with homemade vanilla ice cream or freshly whipped cream. A perfect mid-summer dessert.

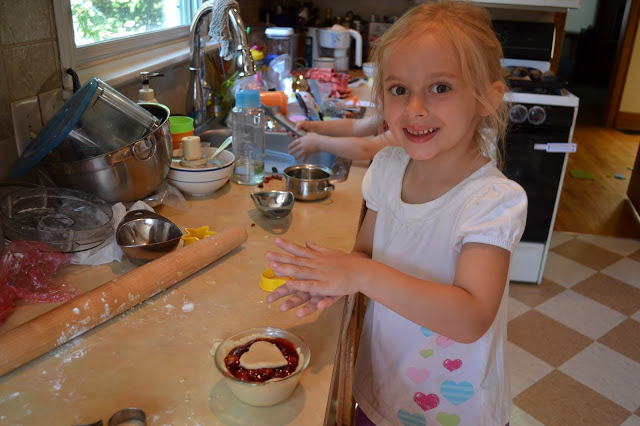
It’s also a fun treat to make with your kids. Let them make their own pie. It’ll taste even better that way. Don’t mind the mess. Just enjoy some time baking with your kids.


Gluten Free Cherry Pie

Filling:
4 1/2 cups tart cherries, pitted
1 1/2 cups organic cane sugar, sucanat or coconut sugar*
4 Tbsp. tapioca flour*, arrowroot or cornstarch
2 tsp. gelatin (optional)

1 1/2 Tbsp. butter to dot (optional)
1 Tbsp. organic cane sugar, sucanat or coconut sugar for sprinkling (optional)

Crust:
1 cup amaranth flour*
1/2 cup tapioca flour*
1/2 cup white rice flour*
1 tsp. sea salt*
2/3 cup + 2 Tbsp. organic palm shortening, butter or lard
1/3 cup water + 1 tsp. vinegar
1 tsp. ground flax seeds (optional – helps bind the dough)

Prepare the crust:

Combine the flours and salt (and flax seeds) in a food processor or bowl. Cut/pulse in half of the fat until it looks like corn meal. Cut/pulse in the other half of the fat to look like small peas.

Add the water + vinegar and blend until fully combined/the dough comes together.

Split the dough into two equal parts. At this point you can cover and refrigerate the dough or use it right away.

Press one half of the dough into the bottom and up the sides of a 9″ pie pan. Set aside or refrigerate until ready to use.

Prepare the filling:

Place the cherries in a medium sauce pan. Cook over medium heat until the cherries have released a lot of juice. This will take about 5 minutes.

Combine the sugar, tapioca and gelatin. Add this mixture to the cherries. Cook, stirring, until the filling thickens.

Remove from heat and allow to cool slightly.


Prepare the pie:

Heat the oven to 375 degrees F.

Pour the filling into the prepared pie crust. Dot with butter. Roll the other half of the pie dough. Cut into shapes and place them on top of the filling. Sprinkle with sugar.

Bake for 50 – 55 minutes, until the crust is golden. Allow to cool completely before cutting. You can warm the pie when serving.

*These are affiliate links. It will not change the cost for you if you buy through the link, but I will get a small commission. It helps me earn a small amount to keep putting in the time and effort to do what I do 🙂


Gluten Free Corndogs

Last year I started the routine of having fun finger foods for dinner on Sunday evenings. I don’t always stick to that plan anymore. But this week we did. I made corndogs! That is definitely a fun finger food.


I’ve tried making corndogs quite a few times in the past. But I always tried baking them. They were ok. But not great.

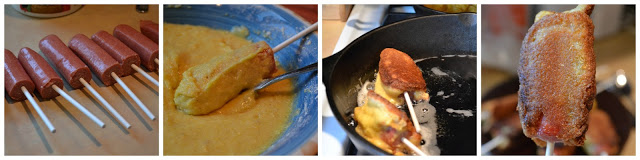
This time I fried them. And made sure the batter was thick enough to stick to the hot dogs. And it worked.

The kids thought it was fun. They didn’t even know what a corndog was. Although now I think they might always want their hot dogs served on sticks.


It was a fun experiment and a perfect July finger food. Maybe next I’ll have to try elephant ears to get the full carnival experience at home.

Gluten Free Corndogs

6-8 grassfed nitrite/nitrate free hot dogs
1/2 cup organic cornmeal
1/2 cup total white rice flour + tapioca flour (I do 2:1)
1/3 cup organic cane sugar, sucanat or coconut sugar
1 tsp. baking soda
1/2 tsp. sea salt
1 egg
1/3 cup milk or milk substitute
2 Tbsp. butter or coconut oil, melted

coconut oil, palm shortening, lard and/or tallow for frying

Directions:

Cut hot dogs in half. Place each half on a popsicle stick or sucker stick.

Combine the cornmeal, rice flour, tapioca flour, sugar, baking soda and salt. Add the egg, milk and butter. Mix well.

Heat enough oil over medium heat in a cast iron skillet to cover the bottom of the pan.

When the oil is hot, one at a time dip a hot dog in the batter, coating it fully. Place the hot dog in the oil. Cook on each side a few minutes, until golden.

Continue the process until all of the corn dogs have been cooked. Be sure not to crowd the pan so you can easily flip the corndogs. Add extra oil if it gets low.


Serve warm with ketchup or mustard.

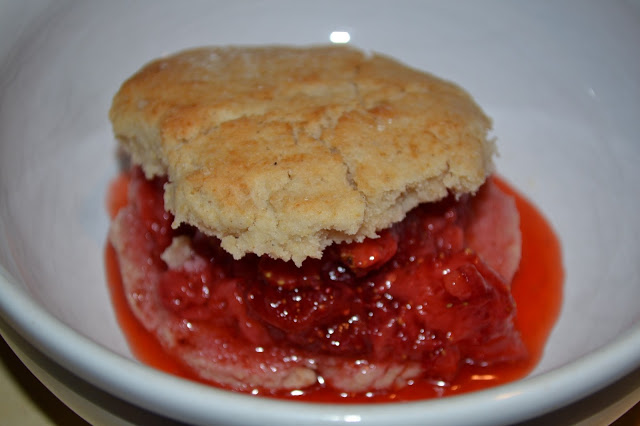
Gluten Free Strawberry Shortcake

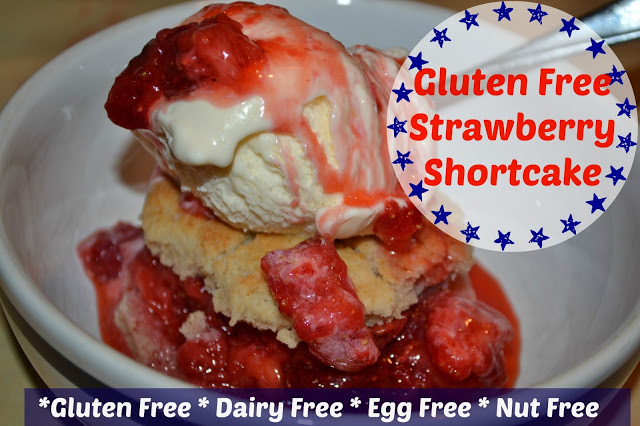
Summer is here! That means one thing – strawberries. Gluten free strawberry shortcake is the perfect way to enjoy this amazing early summer berry.

Gluten Free Strawberry Shortcake | Homemade Dutch Apple Pie
Do you love strawberry shortcake in the summer? I’ll confess…I’ve never liked it.  Whenever we had it growing up I opted for just vanilla ice cream with the sweetened strawberries on top.
 
I’ve tried it with a variety of cakes. Shortcake, spongecake, angel food cake, etc. Just not my thing.
 
But my family enjoys it. So yesterday the kids and I made this gluten free version of shortcake to eat with our fresh strawberries.

This gluten free strawberry shortcake is so easy to make!

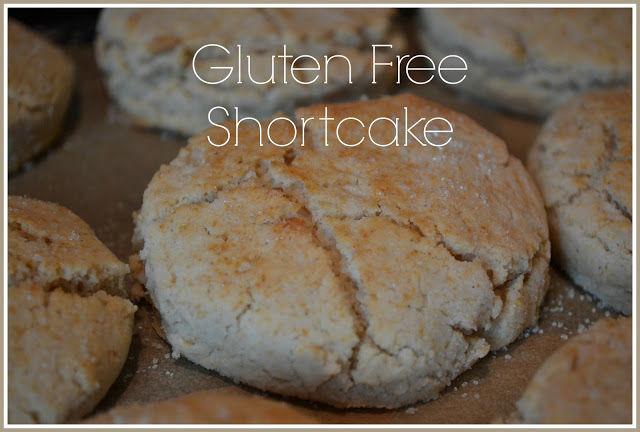
 The dough comes together in minutes and bakes quickly too.  You could have fresh, warm strawberry shortcake in front of you in about twenty minutes, start to finish.
 
I’ve never been a shortcake fan, but I found myself repeatedly “taste testing” this gluten free strawberry shortcake. I think I’m a convert now. Better yet, my whole family really enjoyed this!
 
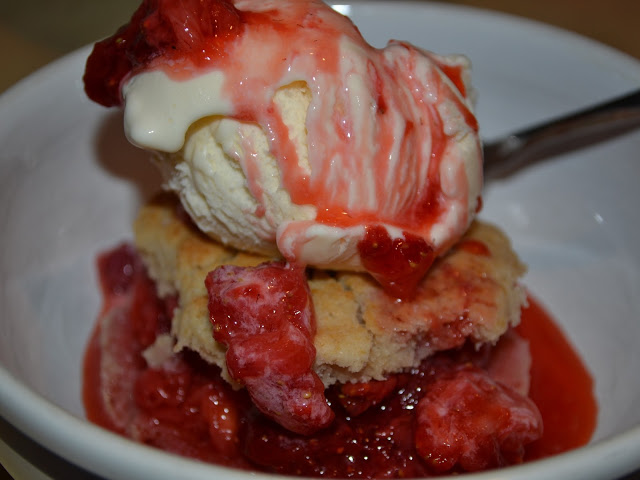
Top the shortcake with slightly sweetened strawberries. Add fresh vanilla ice cream to complete the perfect summer treat.
 
 
Are you a strawberry shortcake lover? If not this gluten free strawberry shortcake might change your mind.
Gluten Free Strawberry Shortcake
makes 6-9 shortcakes
 
Ingredients:
1 cup white rice flour or brown rice flour
1/2 cup amaranth flour or brown rice flour
1/4 tapioca flour
1/4 cup sorghum flour
1/3 cup organic palm shortening or butter
2 Tbsp. organic cane sugar, sucanat or coconut sugar
3 tsp. baking powder
1 tsp. salt
3/4 cup milk or milk substitute
 
sweetened strawberries (hull and chop strawberries; add sweetener to taste; let sit for 10 minutes; mash)
 
Directions: 
1. Heat oven to 450 degrees F. Line a baking sheet with parchment paper.
2. Cut the shortening into the flour, sugar, baking powder and salt (I do this in my food processor) until it looks like fine crumbs.
3. Add milk. Mix until just blended.
4. Place dough on a lightly floured surface. Knead a few times to make sure the dough is mixed well.
5. Pat dough into a disk 1/2″ thick. Cut into rounds (I used a drinking glass with about a 3″ diameter). Repeat until dough is used up.
6. Place rounds about 1″ apart on the baking sheet. Bake 12 minutes, until golden.
7. Serve fresh out of the oven or reheat for a few minutes before serving.
8. Slice warm shortcake in half. Spread butter on both sides if desired. Top the bottom half with sweetened strawberries. Place remaining half on top. Top with more strawberries and whipped cream or ice cream if desired.


In order for me to support my blogging activities, I may receive monetary compensation or other types of remuneration for my endorsement, recommendation, testimonial and/or link to any products or services from this blog.

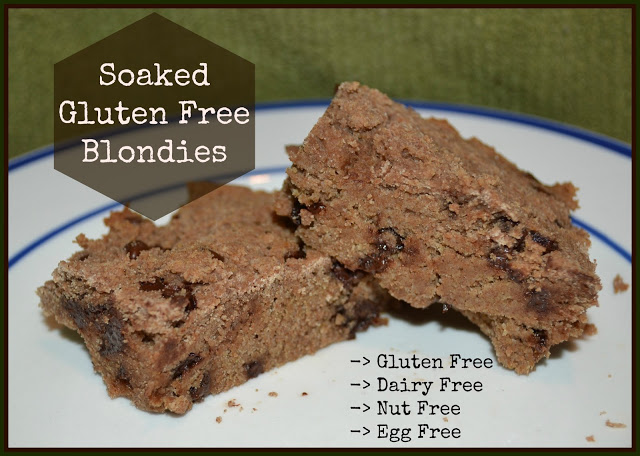
Soaked Gluten Free Blondies (Egg Free, Dairy Free, Nut Free)

I am definitely a chocolate lover. But sometimes I like to go blond instead of brown 🙂  I made a new batch of blondies this morning.

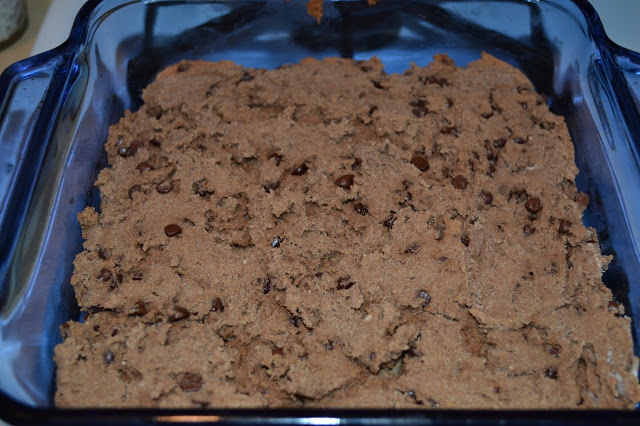
They are soaked and gluten free, so they are easy on the tummy. And they are soft and delicious!

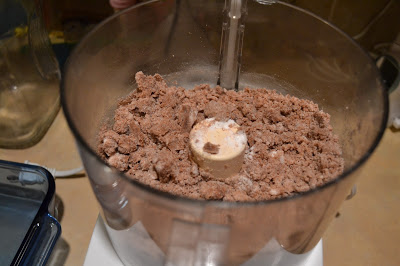
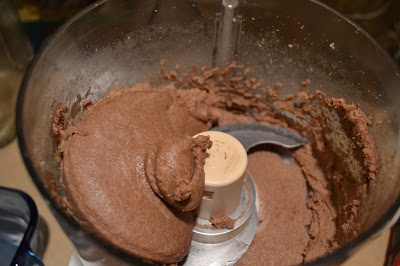
The other great thing about them is that they are really easy to make. I experimented today and made them in my food processor.

It worked great! I added the flour and soaking liquid last night. Then this morning I just added the remaining ingredients, turned on the fp for a minute and my batter was done. Simple. You can also do it with a stand mixer or with a hand mixer or even by hand (it just takes a little more time and muscle by hand).

I did add some mini chocolate chips to give a subtle chocolate flavor. But you could make these without the chips.

How about you…are you a brownie or a blondie person?


Soaked Gluten Free Blondies
makes a 9″ square pan

1 cup white rice flour
1 cup teff flour
1/4 cup + 2 Tbsp. coconut oil, melted
2 Tbsp. lemon juice + water to equal 1/2 cup
1/3 cup honey
1/2 tsp. salt
1/2 tsp. baking soda
1/2 tsp. cream of tartar
1/3 cup chocolate chips (optional)

Mix the flour, coconut oil and lemon/water mixture. Cover. Let soak 7 – 24 hours.


Heat oven to 350 degrees F. Grease a 9″ square baking pan.

Add the honey, salt, soda and cream of tartar to the flour mixture. Mix well (until lumps are gone).

Stir in the chocolate chips.

Spread the batter into the prepared pan.

Bake 20 – 25 minutes. Let cool 5 – 10 minutes. Cut into bars.


These hold up well in the refrigerator or freezer.

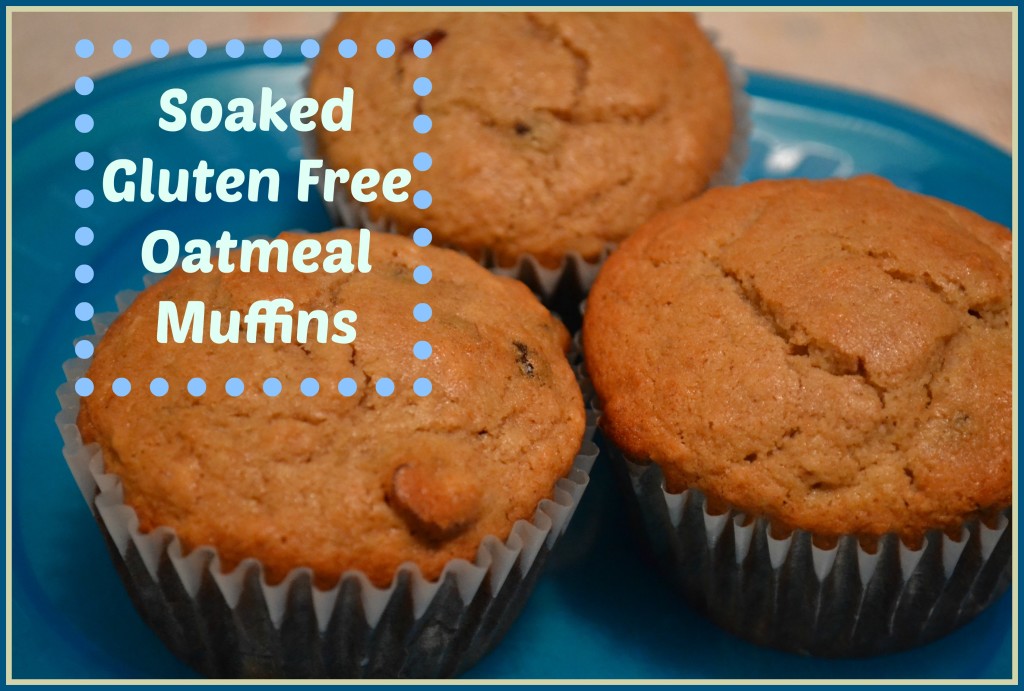
Soaked Gluten Free Oatmeal Muffins

Soaked gluten free oatmeal muffins make a simple, nutritious and delicious breakfast or compliment to a warm bowl of soup. Soak the flour one day. Bake the muffins the next. Easy.

Almost every single morning the first word out of my son’s mouth is “munin.” He is on a muffin kick! So I try to keep muffins on hand.

Today I made a gluten free version of some oatmeal muffins I’ve made many times before.

This is a great base recipe. You can add any kind of fruit, nut, etc. to change the flavor. Today’s recipe included cranberries and chocolate chips. Cinnamon raisin is always good too.

These muffins are gluten free and soaked to make them easier to digest. They can also be dairy free if you use lemon juice + water for soaking.
If you’re looking for a new breakfast treat try these muffins.

Soaked Gluten Free Oatmeal Muffins | Just Take A Bite
Soaked Gluten Free Oatmeal Muffins
makes 12 muffins

1 cup rolled oats
1 cup buttermilk OR yogurt OR kefir OR 2 Tbsp. lemon juice + water to equal 1 cup
2/3 cup white rice flour
1/3 cup amaranth flour
1 egg
4 Tbsp. coconut oil (melted butter would work too)
1/3 – 1/2 cup brown cane sugar, sucanat or coconut sugar
1 tsp. baking powder
1/2 tsp. baking soda
1/2 tsp. salt
1 tsp. cinnamon (optional)
1/2 – 1 cup add-ins (raisins, nuts, seeds, fresh fruit, dried fruit, chocolate chips)

Mix oats, flour and soaking liquid. Cover and let sit 7 -24 hours.

Heat oven to 400. Mix the remaining ingredients into the oat mixture (I use a hand mixer for this to work out any lumps).

Fill muffin cups 3/4 full. Bake for 18-20 min.