Over the course of the last week I have made two blueberry pies. And the second one is almost gone already! I won’t say who ate most of it…
I will say that the whole family loves blueberry pie! It’s been a wonderful treat for all of us.
I’ve made three gluten free pies so far this summer and have been experimenting with crust. My latest version was quite good. Plus it is soaked for easier digestion.
Gluten free crust can be tricky because it doesn’t hold together as well as a wheat crust when you roll it. But I worked around that by rolling the dough onto wax paper and then just laying the whole thing on top of the pie. It worked really well! This crust recipe will work for any kind of pie, quiche, etc.
I prepared the dough earlier in the day to let it start soaking. Then I rolled the dough/put the bottom crust in the pan in the evening and assembled the rest of the ingredients. The next morning I had a blueberry pie in the oven in less than 10 minutes!
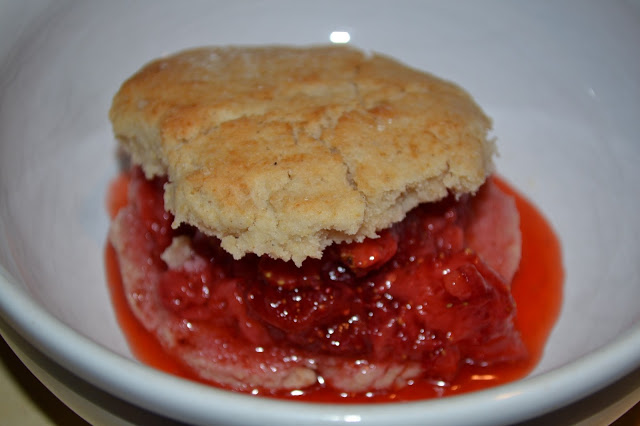
Blueberry pie is great plain or topped with ice cream or whipped cream. I’ve even been enjoying cutting it up into little pieces and mixing it into yogurt for a delicious breakfast or lunch.
I have to give credit to my mom – the original blueberry pie recipe is hers. I’ve just modified it a bit to make it gluten free.
Blueberry is my absolute favorite flavor of pie. And I’m so thankful I can still enjoy this amazing summer treat with fresh Michigan blueberries.
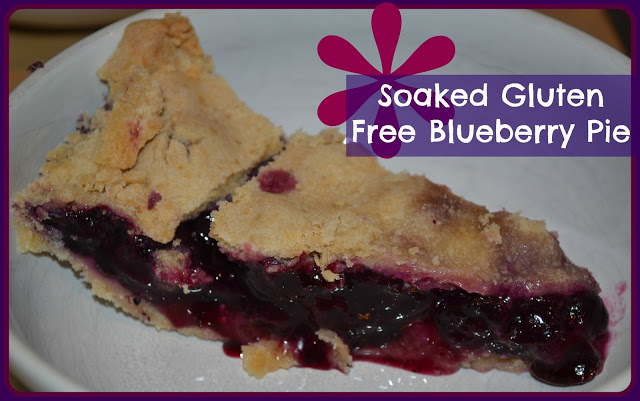
Soaked Gluten Free Blueberry Pie
makes 1 pie
CRUST:
1 cup amaranth flour* (or sorghum or teff)
1 cup tapioca flour*
1/3 cup white rice flour*
1 Tbsp. organic cane sugar
1/2 tsp. sea salt*
1 tsp. cream of tartar (or flaxseed)
1/2 cup + 1 Tbsp. butter, palm shortening or lard (or any combination – I used butter and shortening)
2 Tbsp. lemon juice or yogurt
4 Tbsp. water
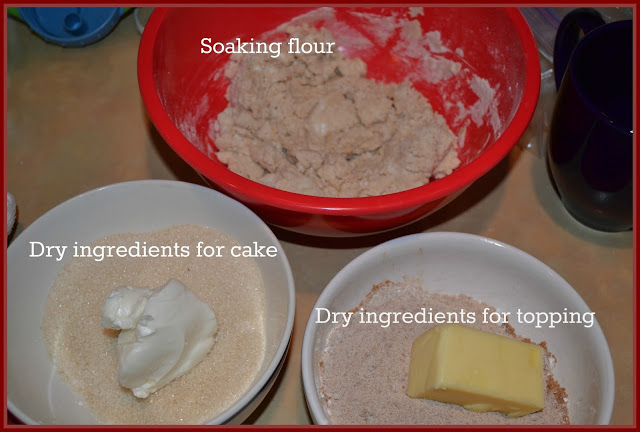
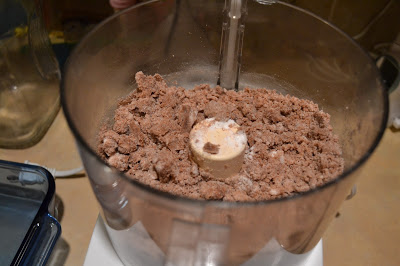
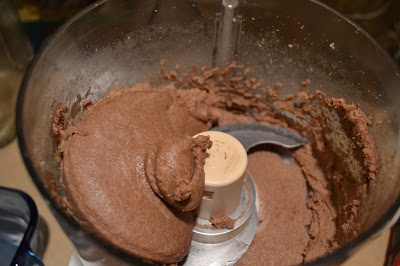
In a food processor (or bowl – you can do it by hand, it’s just harder) combine the flour, sugar, salt, cream of tartar and 1/4 cup of fat. Pulse until crumbly. Add the remaining fat and pulse until combined. Add the soaking agent and water. Blend until a dough forms. If the dough is still crumbly gradually add more water.
Gather all of the dough into a ball. At this point you can cover it and refrigerate it until ready to use. Or you can split it in half and roll it out. Place one half in the bottom of a 9″ pie plate (I just pressed the bottom half into the pan). Cover and refrigerate. Roll the 2nd half of the dough onto wax paper until it is large enough to cover the pie. Cover it with a second piece of wax paper and refrigerate.
Let the dough soak (either as a ball or rolled out) for 7-24 hours. If soaking the dough as a ball, after soaking split it in half and roll out as instructed above. You might have to knead the dough a few times when it’s cold to prevent crumbling.
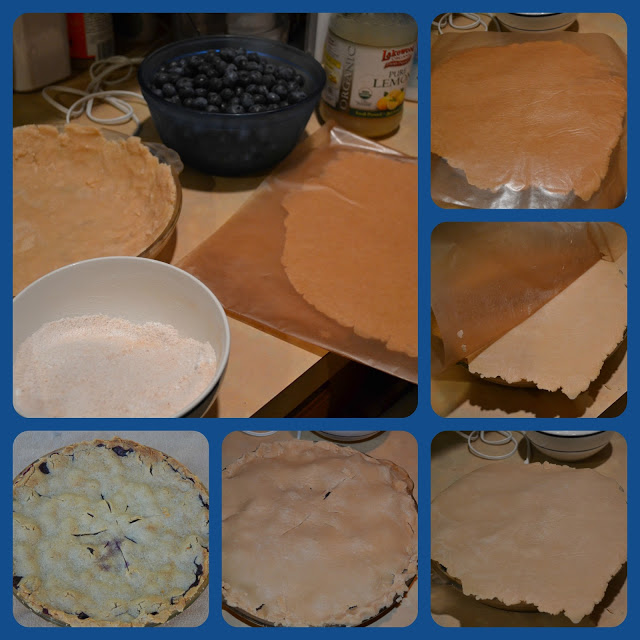 |
| Preparation of all components the night before and simple baking in the morning. |
PIE:
4 1/2 cups fresh blueberries (or frozen, thawed)
1 cup organic cane sugar, sucanat or coconut sugar*
2 tsp. gelatin (optional – helps the filling to gel)
6 Tbsp. tapioca flour OR 4 Tbsp. arrowroot OR 3 Tbsp. tapioca flour + 2 Tbsp. arrowroot
1/8 tsp. sea salt
1/4 tsp. nutmeg
1/4 tsp. cinnamon
2 Tbsp. lemon juice
Prepare the pie crust (bottom crust in pan/top crust rolled out). Heat the oven to 450 degrees F.
Combine the filling ingredients. Pour the mixture into the prepared crust. Top with the remaining crust. Flute/seal the edges. Cut slits into the top of the crust.
Bake the pie at 450 degrees F for 10 minutes. Reduce the heat to 350 (leave the pie in the oven) and bake for another 35 – 40 minutes, until the the crust is golden and crisp.
Allow the pie to cool and set completely before serving.
Store covered in the refrigerator.
*These are affiliate links. It will not change the cost for you if you buy through the link, but I will get a small commission. It helps me earn a small amount to keep putting in the time and effort to do what I do 🙂