I LOVE blueberry pie. And we’ve been eating quite a bit of it lately. But I don’t always have time to make a full pie when the craving hits.
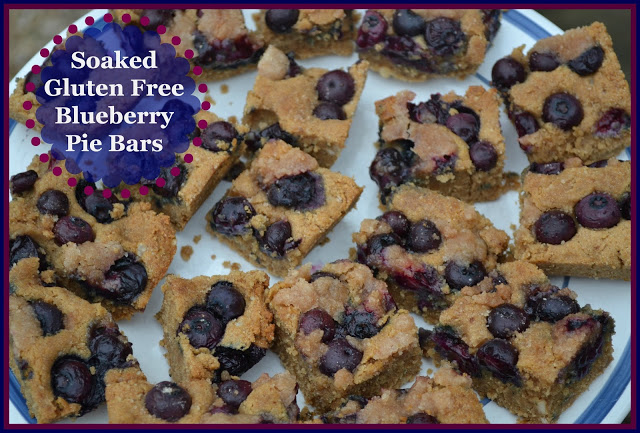
So I came up with blueberry pie bars! They are easy to make. And easier to eat than a piece of pie. A great snack or breakfast. They have all the flavors of a pie without the effort of making a pie.
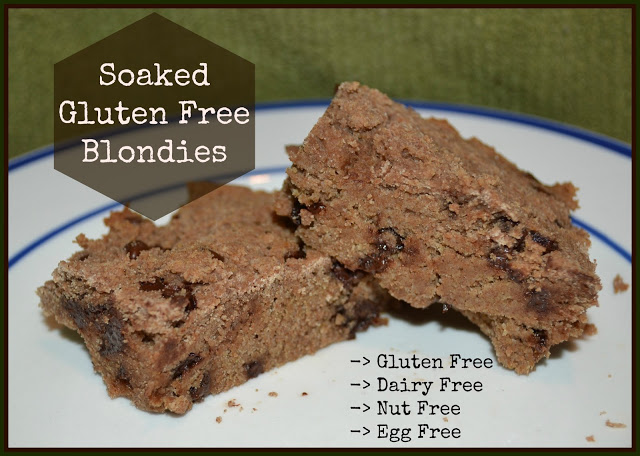
These bars are soaked, gluten free, egg free, nut free, corn free and can be dairy free. Very allergen friendly and easy on the tummy.
There is no way to replace a real blueberry pie. But these blueberry pie bars come pretty close.
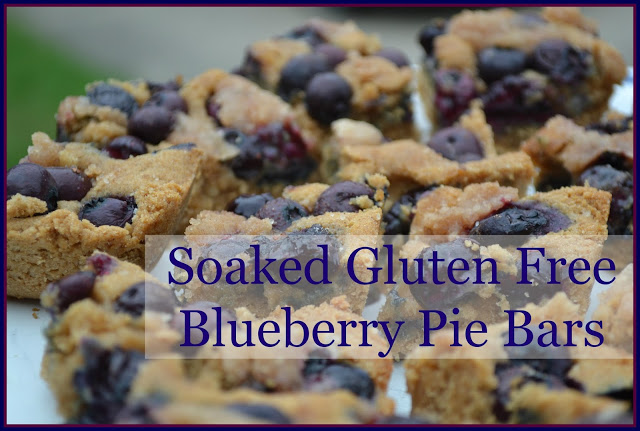
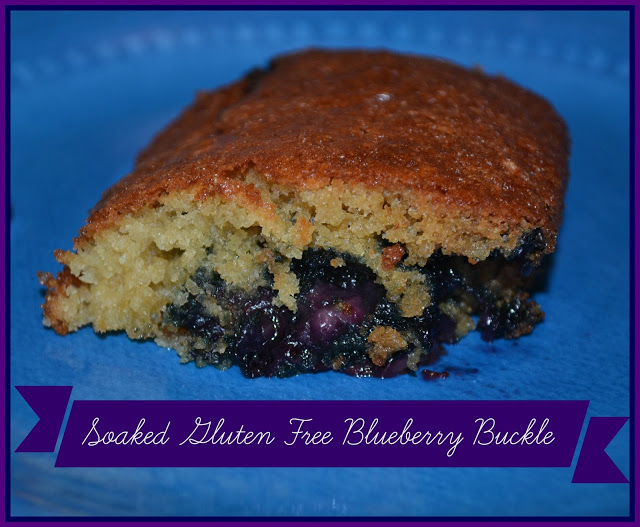
Soaked Gluten Free Blueberry Pie Bars
makes 16 bars
1 1/2 cups amaranth flour*
1/2 cup tapioca flour*
1/4 cup coconut flour*
1/3 cup coconut oil* (melted)
1/3 cup water + lemon juice (1 Tbsp.)
1/2 tsp. cinnamon
1/4 tsp. nutmeg
4 Tbsp. organic cane sugar, sucanat or coconut sugar*
1 tsp. baking soda
1/2 tsp. sea salt*
1 tsp. cream of tartar (optional – it helps bind things together)
1/2 cup honey
3/4 cups fresh blueberries
1/2 tsp. cinnamon
2 Tbsp. organic cane sugar, sucanat or coconut sugar
1 Tbsp. butter or coconut oil
1 Tbsp. tapioca flour
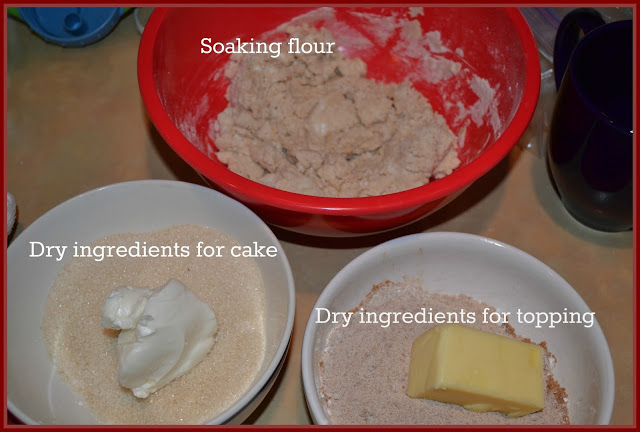
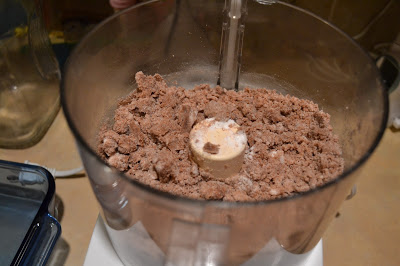
Combine the flours, coconut oil and lemon water. Cover and let sit 7-24 hours.
Heat the oven to 350 degrees F. Grease an 8″ or 9″ square baking dish.
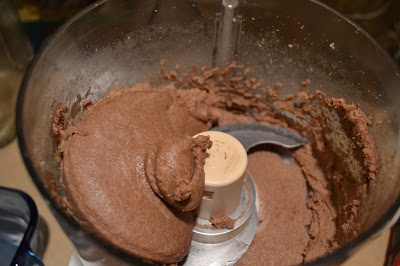
Add the cinnamon, nutmeg, sugar, soda, salt, cream of tartar and honey to the soaked flour. Mix well with a hand or stand mixer until combined (this can take a little work – make sure it is well mixed and will stick together when pinched with your fingers).
Press the dough into the prepared pan. Pour the blueberries on top and gently press them part way into the dough.
Combine the cinnamon, sugar, butter and tapioca flour. Sprinkle over the blueberries.
Bake 25 – 30 minutes, until golden and baked through. Allow to cool completely before cutting into squares.
These will hold up better in the refrigerator. Store in a sealed container.
*These are affiliate links. It will not change the cost for you if you buy through the link, but I will get a small commission. It helps me earn a small amount to keep putting in the time and effort to do what I do 🙂