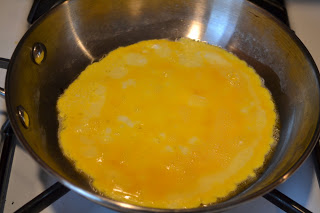
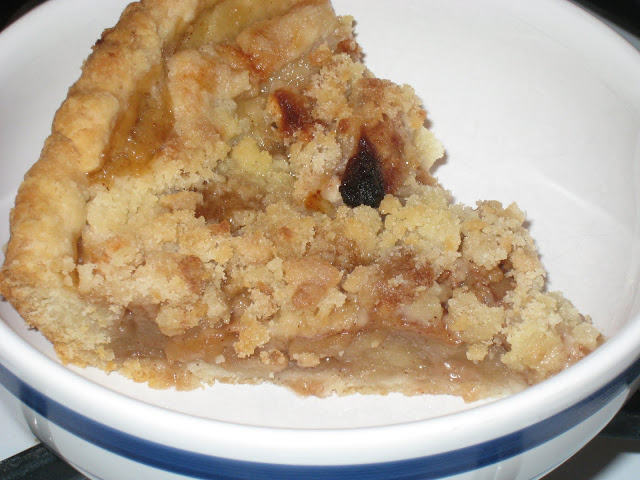
We are currently getting 3 gallons of milk a week. And since I can’t drink milk yet, that is a fair amount to use. So I was trying to think of things to make with it last week and decided to make a batch of creamy chocolate pudding. Then as I was thinking about what dessert to make when we have guests this weekend I thought it would be fun to do a parfait. So I came up with the idea of a pumpkin pie pudding parfait. I didn’t want my first experiment to be on guests, so I made some last night. I made a slightly sweetened pie crust and a pumpkin cream cheese mixture. And layered that with the pudding. Turned out great! When I make it for real I’ll use vanilla pudding. But it was good with chocolate too. And I love that this uses all (well, mostly all…I did use some powdered sugar) good, homemade ingredients…even the cream cheese was from our homemade raw yogurt. I didn’t measure anything when I made the pumpkin filling. And I only made a small batch. So I’ll have to guess on that. This is a fun, healthy, fall dessert.
This post is linked to Fat Tuesday at Real Food Forager.
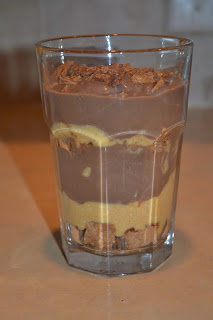
Pumpkin Pie Pudding Parfait
serves 2
Pie Crust:
1 cup whole wheat flour
1/2 cup palm shortening or butter
1 tsp. salt
1/4 cup cane sugar
1/4 cup water
Mix flour, salt and sugar. Blend in shortening until crumbly. Add water until soft dough forms. Roll onto parchment paper and bake at 375 for about 25-30 minutes…until golden. Let cool.
Pumpkin Filling:
1/2 cup pumpkin
1 cup cream cheese (preferably homemade)
1/2 cup powdered sugar
2 Tbsp. honey or maple syrup
Mix all ingredients together. Adjust sweetness to taste. Chill.
Creamy Vanilla Pudding (Heavenly Homemakers recipe):
(this is a full recipe of pudding…you don’t need this much for 2 parfaits)
2 1/2 cups milk
3 egg yolks
1/2 cup real maple syrup (grade B is best for you) or honey
4 Tbsp. arrowroot powder (or organic corn starch)
1/4 tsp. sea salt
1 Tbsp. butter
1 tsp. vanilla
In a medium saucepan, whisk together milk, egg yolks, maple syrup, arrowroot powder and salt. Cook over medium heat, stirring CONSTANTLY until pudding begins to thicken. Stir over the heat for about 15 more seconds. Remove immediately from the heat, and continue to stir until pudding is creamy. (I use my whisk the whole time for stirring and find this works great!) Add butter and vanilla and continue to stir until mixed. Pour into a glass container, cover and chill.
Parfait:
Just before ready to serve assemble the parfait. Layer chunks of pie crust, pumpkin filling and pudding. Then repeat. End with pie crust.
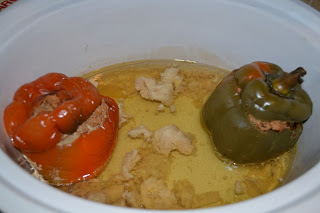
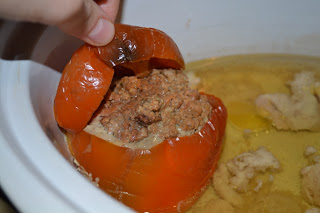


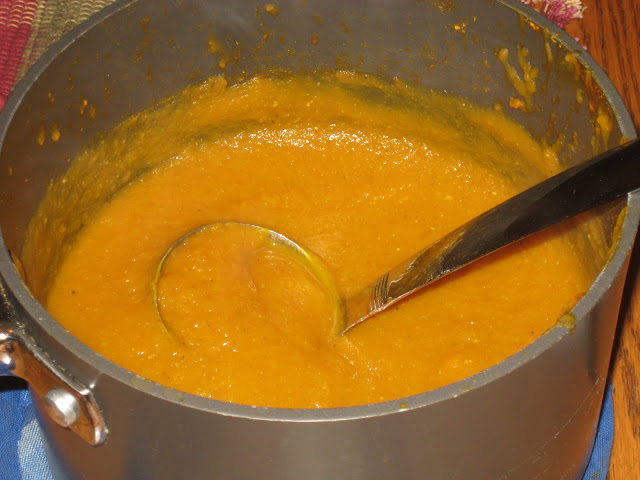 I’ve been making a lot of things with pumpkin this month…but all sweet stuff. I decided to be brave and try something savory. I made pumpkin soup for dinner last night. I got the recipe from
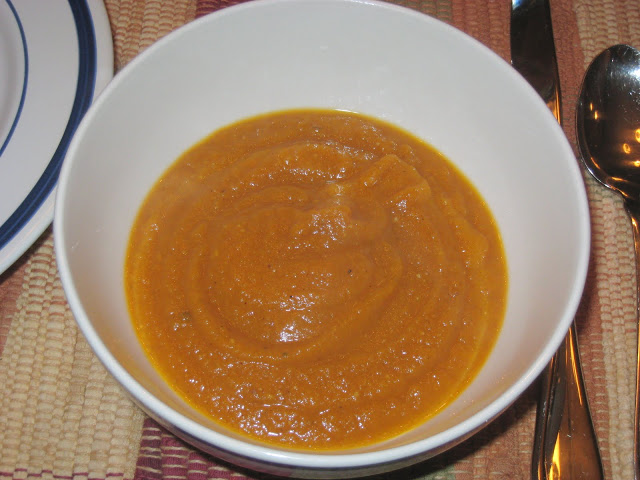
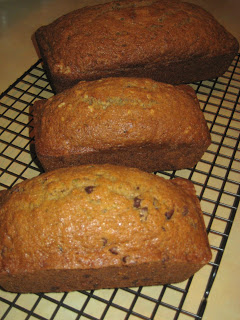 I made a batch of zucchini bread this morning. Yum!! I used my mom’s recipe. It’s almost identical to my MIL’s recipe except a few spices.
 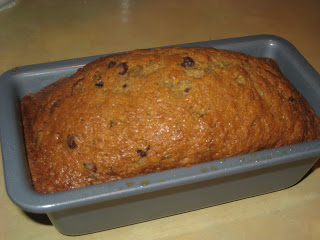 I decided to do a little variation. I did 2:1 white flour to whole wheat flour. I used 1/2 canola oil and 1/2 coconut oil.
 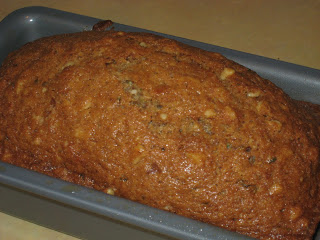 And I made 3 loves…1/2 the batter as is, 1/4 with mini chocolate chips and 1/4 with chopped walnuts. I can’t wait to try some 🙂 Zucchini bread is always good. I also grated some zucchini to freeze so I can make zucchini bread in the winter 🙂
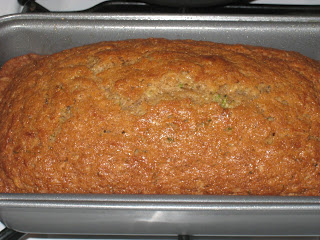 Zucchini Bread
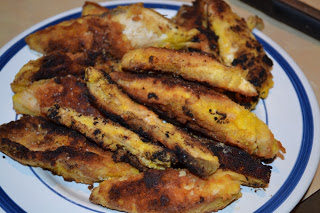
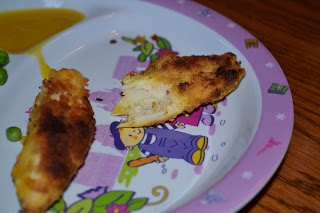
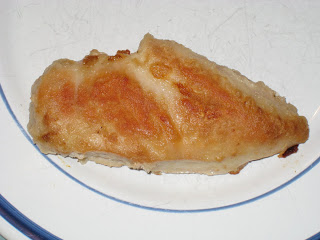 This chicken recipe is from my mother-in-law. It’s not really fried, bit it tastes like it is.