
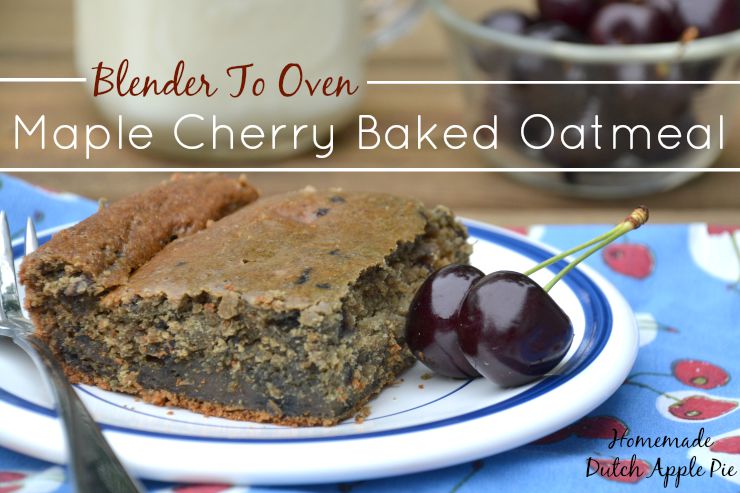
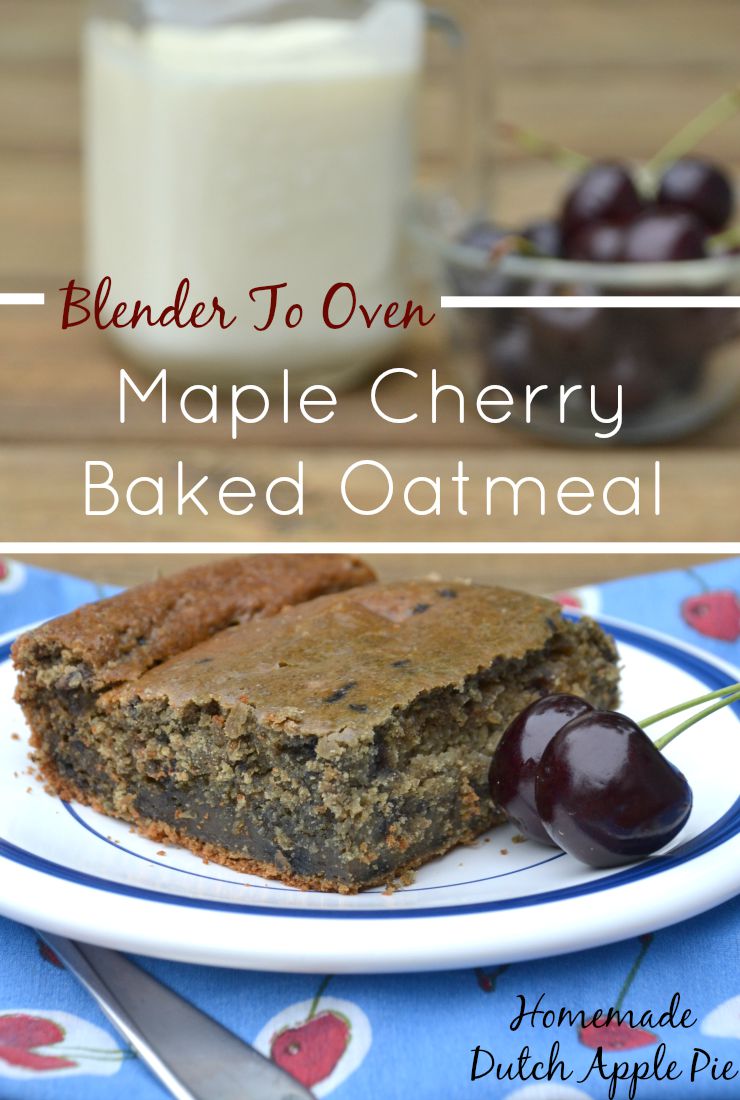
Maple cherry baked oatmeal is a simple way to use fresh fruit and soaked grains for a quick prep breakfast. Toss the ingredients in the blender and bake.
During the hottest days of the summer the last thing you want to do is spend a half hour in the kitchen baking.
That doesn’t mean you want to eat cold cereal for breakfast every morning.
The solution?
Soak some oats. Grab your blender. And you are already half way to a great breakfast.
Maple cherry baked oatmeal is so simple to make. All of the ingredients go into the blender. Then simply pour the batter into a baking dish and your work is done.
Change the texture.
I’ve mentioned before that my oldest has problems with certain textures. One of the foods she struggles with most is oats.
Crunchy granola? Fine. Oatmeal? No way! One bite and she has had enough. She practically gags on it.
My solution is to blend the oats.
Then baked oatmeal tastes more like cake! She loved this.
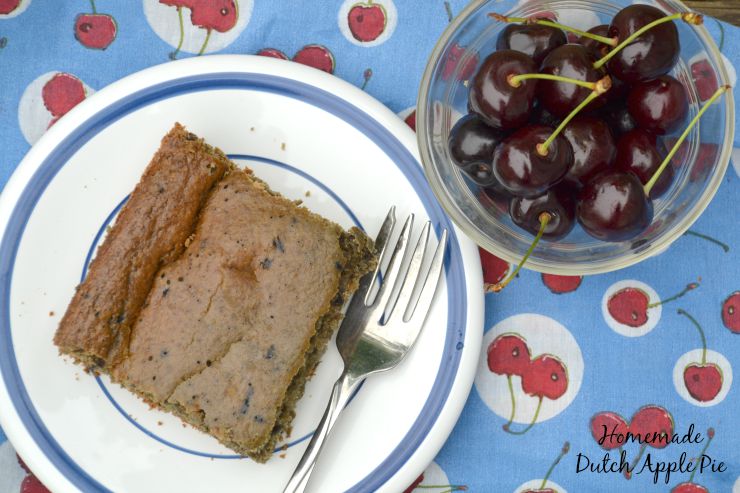
Cherries add sweetness.
The combination of sweet cherries and maple syrup is perfect. You get a burst of flavor and natural sweetness.
You can do almost all of the preparation for this maple cherry baked oatmeal in advance. Soak the oats the morning before to reduce the phytic acid content. The night before pit your cherries.
Then in the morning all you have to do is put everything in the blender and bake. Freshly baked breakfast will be waiting for you when you are finished getting everyone ready for the day.
An added bonus is that you do your baking before it gets too hot. If you have a toaster oven that is a great solution too!
What about allergens?
If you are gluten free be sure to buy gluten free oats. There is one egg in maple cherry baked oatmeal. It can be replaced with gelatin or flax eggs.
Any type of fat you tolerate can be used in this baked oatmeal.
If you are like me and don’t tolerate oats, simply replace the oats with another gluten free grain like brown rice or amaranth. You’ll never know the difference!

- 2 1/2 cups oats
- 1/2 cup sorghum flour (or brown rice, white rice or amaranth)
- 1 1/2 cups warm water
- 1 Tbsp. lemon juice
- 1 egg
- 1/3 cup maple syrup
- 1/3 cup organic cane sugar or coconut sugar
- 1/2 tsp. unrefined sea salt
- 1 tsp. baking soda
- 1 tsp. organic vanilla
- 3 Tbsp. liquid fat (olive oil, avocado oil, melted butter, coconut oil, lard or tallow)
- 1 cup pitted sweet cherries (20 - 25 cherries)
- Optional add-ins: chopped nuts, dried fruit, fresh fruit, chocolate chips, coconut flakes, seeds
- Combine the oats, flour, water and lemon juice. Let sit 24 hours.
- Heat the oven to 350*F. Grease a 7x11 baking pan.
- Add the soaked oats and the remaining ingredients to a blender.
- Blend until pureed.
- Pour the pureed mixture into the prepared pan.
- Stir in any optional add-ins.
- Bake 1 hour.
- Let oatmeal cool 10 minutes before serving.
- Serve plain, topped with butter, with milk or yogurt.
- Store in a sealed container at room temperature for up to 3 days, in the refrigerator for up to a week or in the freezer for up to 9 months.
- Some or all of the oats can be replaced with brown rice flour or amaranth flour.
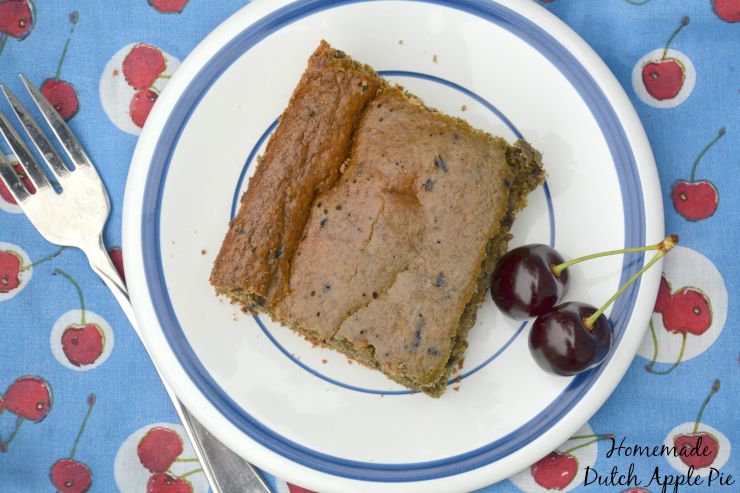
Breakfast is served.
Both of my big kids loved this baked oatmeal. No texture issues at all.
I bumped up the nutrition factor by spreading lots of butter on top, as if it was a muffin.
Maple cherry baked oatmeal can also be served with milk poured on top or whole milk yogurt. I thought it tasted great plain, sprinkled with a bit of sea salt to support my adrenals (until my baby girl got horrible reflux and I couldn’t eat any more of it. If you have reflux use caution. Oats can be problematic).
This makes a great breakfast year round. Use cherries from your freezer stash to make a batch of maple cherry baked oatmeal during the winter. You’ll have a healthy and delicious breakfast all week long.
You can also make a double batch and stock your freezer for easy school morning breakfasts. It makes a simple addition to school lunches as well. It can be eaten like a muffin. What kid wouldn’t love a bowl of chicken noodle soup and baked oatmeal packed in their lunch?!
No cherries left?
No problem. Try blueberries! Or any fruit you like.
Make maple cherry baked oatmeal an extra special breakfast by stirring in chopped nuts, dried fruit, cut up fresh fruit or chocolate chips after you pour the batter in the pan.
Try some maple cherry baked oatmeal this summer. Then enjoy it all winter using your frozen fruit. Pair it with a protein like eggs or bacon and add some healthy fat like butter or yogurt. You’ve got the perfect breakfast your kids will love.
Are you an oatmeal fan or does the texture bother you? Have you tried it with the oats pureed?
In order for me to support my blogging activities, I may receive monetary compensation or other types of remuneration for my endorsement, recommendation, testimonial and/or link to any products or services from this blog.
This post is linked to Savoring Saturdays.


 Saturday mornings I like to make fun breakfasts and often let my kids choose what we have. That usually includes things like:


