Last year I started the routine of having fun finger foods for dinner on Sunday evenings. I don’t always stick to that plan anymore. But this week we did. I made corndogs! That is definitely a fun finger food.
I’ve tried making corndogs quite a few times in the past. But I always tried baking them. They were ok. But not great.
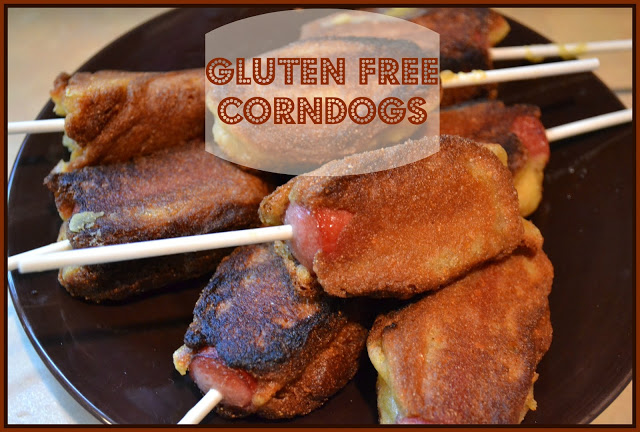
This time I fried them. And made sure the batter was thick enough to stick to the hot dogs. And it worked.
The kids thought it was fun. They didn’t even know what a corndog was. Although now I think they might always want their hot dogs served on sticks.
It was a fun experiment and a perfect July finger food. Maybe next I’ll have to try elephant ears to get the full carnival experience at home.
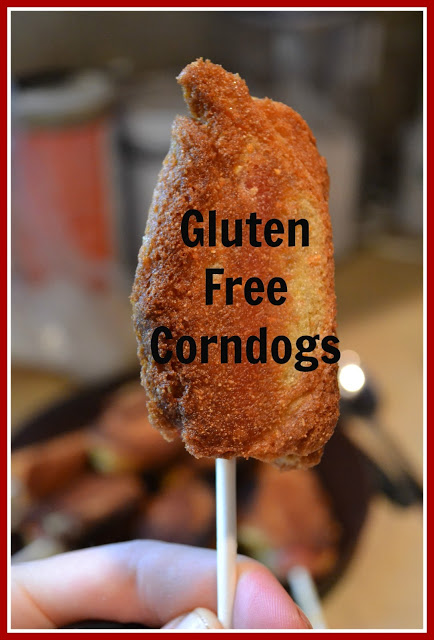
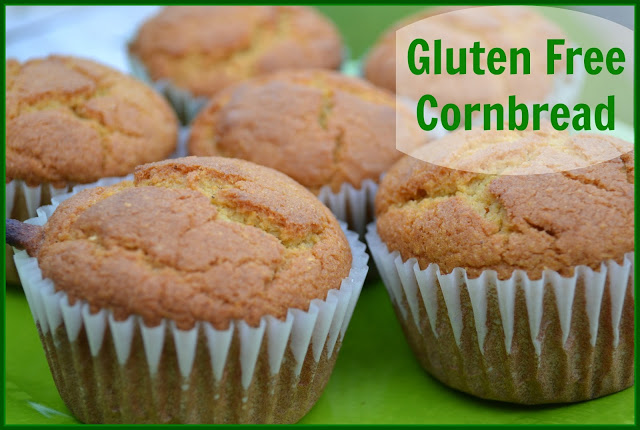
Gluten Free Corndogs
6-8 grassfed nitrite/nitrate free hot dogs
1/2 cup organic cornmeal
1/2 cup total white rice flour + tapioca flour (I do 2:1)
1/3 cup organic cane sugar, sucanat or coconut sugar
1 tsp. baking soda
1/2 tsp. sea salt
1 egg
1/3 cup milk or milk substitute
2 Tbsp. butter or coconut oil, melted
coconut oil, palm shortening, lard and/or tallow for frying
Directions:
Cut hot dogs in half. Place each half on a popsicle stick or sucker stick.
Combine the cornmeal, rice flour, tapioca flour, sugar, baking soda and salt. Add the egg, milk and butter. Mix well.
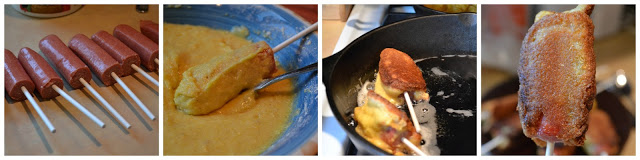
Heat enough oil over medium heat in a cast iron skillet to cover the bottom of the pan.
When the oil is hot, one at a time dip a hot dog in the batter, coating it fully. Place the hot dog in the oil. Cook on each side a few minutes, until golden.
Continue the process until all of the corn dogs have been cooked. Be sure not to crowd the pan so you can easily flip the corndogs. Add extra oil if it gets low.
Serve warm with ketchup or mustard.