As I continue on my journey towards better health, I’m trying to find foods that will help heal my gut. One that I’ve read a lot about is kefir. It’s kind of like yogurt (not as thick), but has a lot more good bacteria. Although I’ve done a fair amount of research kefir is still somewhat of a mystery to me. What it’s supposed to taste like, how you use it, etc. But I’m working on experimenting and finding the answers.
You can make kefir from grains or a powder. Based on what I read the powder is pretty easy. You just mix it with milk, let it set a bit, and it’s done. But then you have to buy more. And it’s not cheap!! On the other hand, if you use grains to make kefir you only have to buy them once. They can last forever! Guess which one I chose? Grains of course. But they are a bit trickier (I think). I got my grains last week and followed the instructions that came with them. The grains themselves are definitely growing. So I know I’m doing something right. But the kefir itself…I’m still working on that. It was really hot when I started the process, so I think the process was going faster than usaul. After a few days of adding milk, letting it sit, dumping the milk and repeating I got what I thought was my first actual batch of kefir. It smelled and tasted like spoiled milk to me. Maybe it was bad. Or maybe it was just really strong kefir (some people compare it to buttermilk). Either way I couldn’t drink it. Just to be safe I dumped it and rinsed the grains. And started over. I know I have healthy, growing grains, so I started fresh. And I didn’t let it ferment nearly as long. So yesterday I made my first new batch. I only let it go about 12 hours. And it actually tasted good. Similar to milk, but you could tell there was more to it than that…a little tangy and a little sweet at the same time. I’ve got another batch going now (the tough part about kefir…you have to keep making it/keep feeding the grains). We’ll see how that one goes. The down side is that it uses up a lot of milk. But if I use the kefir in place of milk and buttermilk than I guess it evens out.

So I’m in the experimentation phase. But hoping that even my mild kefir will have some health benefits. And maybe over time I’ll develop a taste for stronger kefir and can let it ferment longer. I’m also figuring out how to use my kefir. Last night I mixed some in with my yogurt. That worked well (maybe a 1:3 ration, kefir to yogurt). I’m planning to make kefir smoothies. And I want to use it in some baking. Plus just drink it plain sometimes (if I can 🙂 And maybe even use it on my granola. Mmm. That sounds good.
For now I’m not going to post a “recipe”/method of how to make keifr. If you buy the grains you should get directions with them. And I’m still figuring it out. When I get more comfortable with it maybe I’ll update this post and give some directions/tips.
If you’re looking for grains, I ordered mine here (but from a different seller that isn’t listed right now). And if mine keep growing well, maybe I’ll have some to give away 🙂
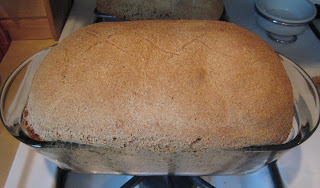
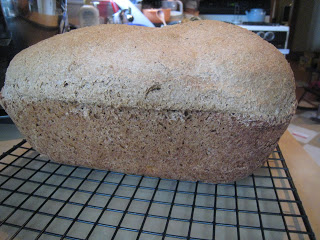
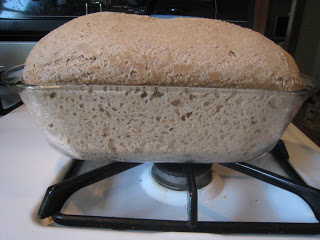
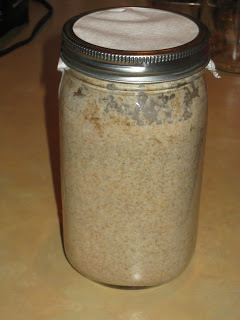
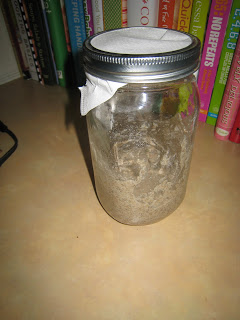
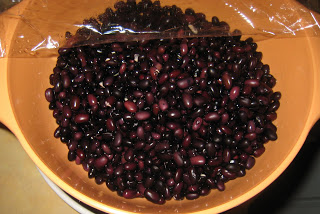
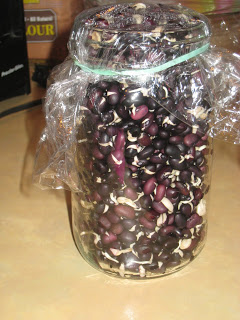
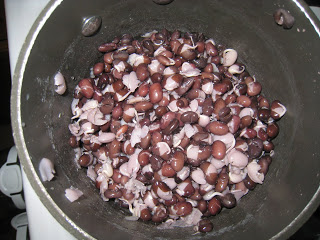
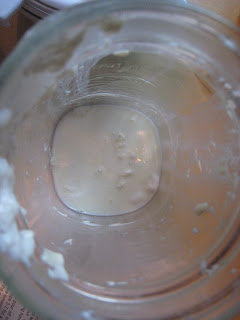
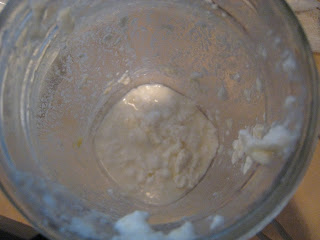
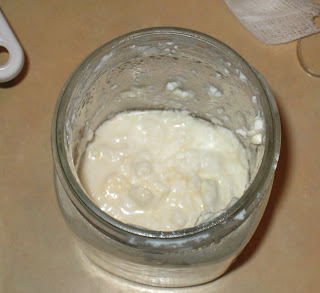
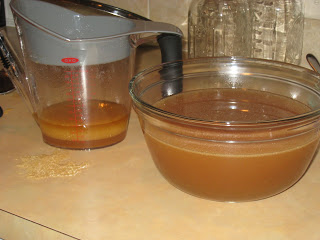
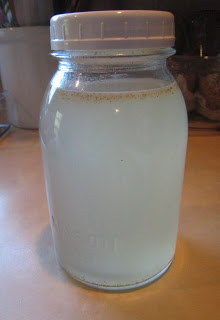
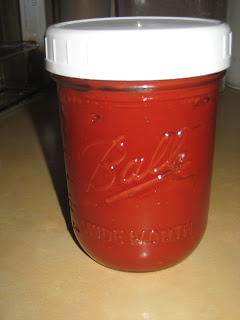
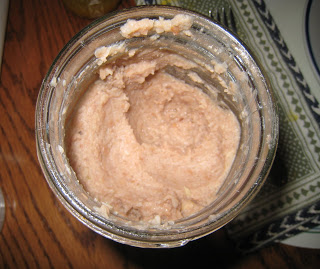
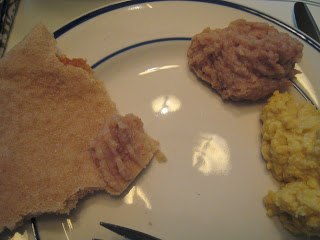
Note – the pictures are from various stages in the process. You can see the grains growing. I’ll have to take a picture some other time when I have the grains clean.


 Now that I have a