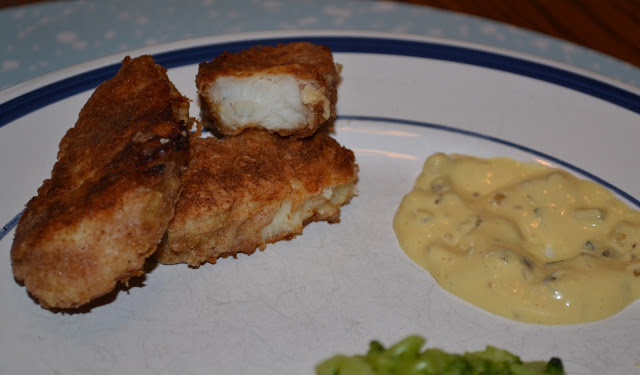
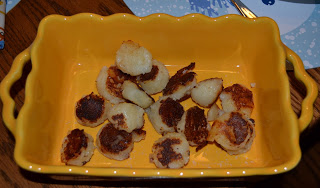
I’m still trying to eat fish once a week and come up with new ways to prepare it. I saw a recipe on Angela’s blog (Healing My Body Through My Tummy) for almond crusted tilapia. It sounded easy, healthy and good! So I made a version of it last night. I used Angela’s recipe more for the concept than the full recipe. I used ground crispy almonds and sunflower seeds. And I used homemade mayo instead of olive oil. Turned out great!!! Justin and I loved it. Rebecca…you just never know. Some nights she devours fish, some nights she won’t touch it. Doesn’t mean she doesn’t like the recipe. This was so easy to make. And a very healthy dinner. I will defintely make it again and play around with what kinds of nuts/seeds I use. I’ll post the recipe the way I made it. Check out Angela’s blog for the original version.

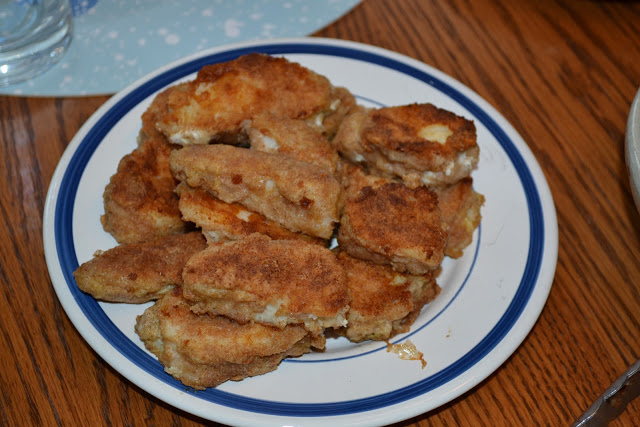
Almond Crusted Tilapia
2 tilapia filets
1/4 cup homemade mayo
1/4 cup ground crispy almonds and sunflower seeds (or whatever kind of nut/seed you like)
salt to taste
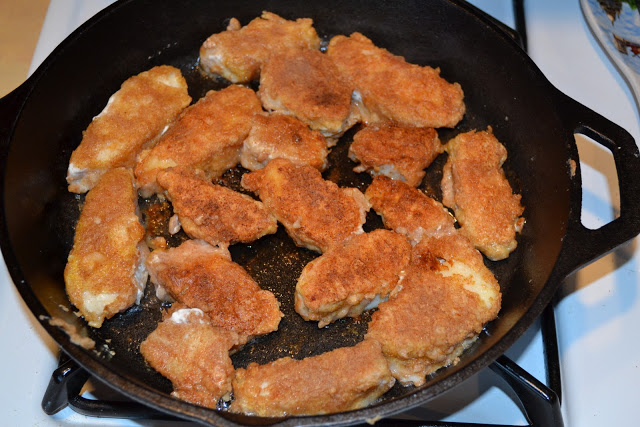
Heat oven to 425. Grind/pulse nuts/seeds in food processor until they resemble bread crumbs. Place a small amount of mayo in glass baking dish. Rub it on the bottom to grease. Place tilapia filets in pan. Spread remaining mayo on filets. Season with salt. Press nut/seed crumbs into mayo. Bake for 15 – 20 min.