Home » breakfast » Page 3

Tag: breakfast

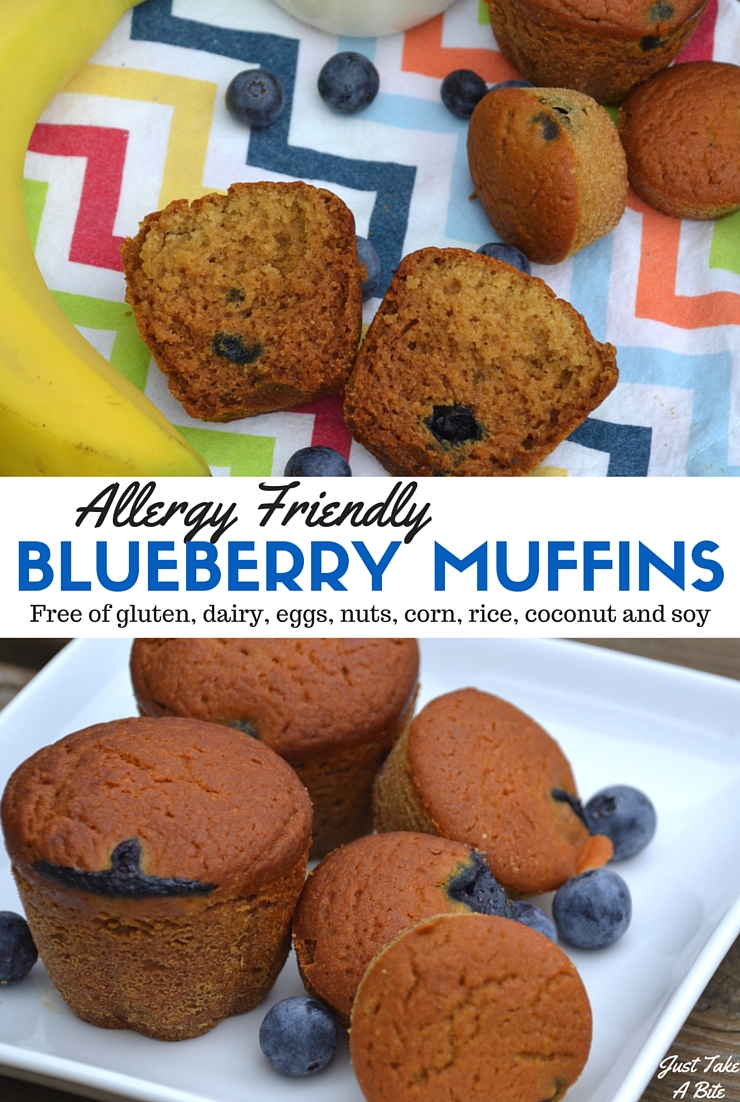
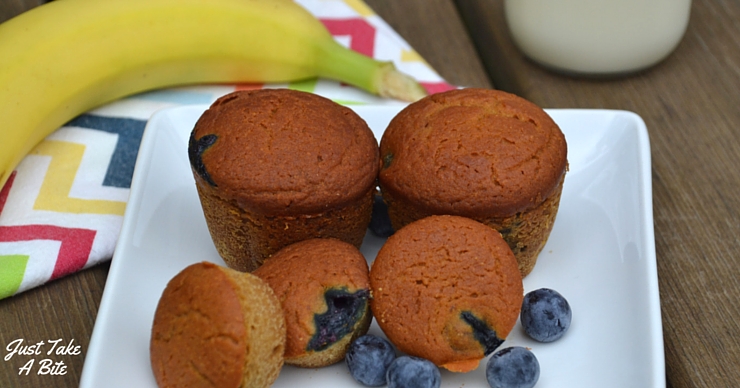
These Allergy Friendly Blueberry Muffins are free of gluten, dairy, eggs, nuts, corn, rice, coconut and soy. They are safe for just about anyone! But that doesn't mean they lack in flavor. Moist, slightly sweet and perfect for breakfast or a snack.

Allergen-Free Blueberry Muffins

Easy to make and fun to eat, these allergy-friendly blueberry muffins are naturally free of gluten, dairy, eggs, nuts, corn, coconut, rice and soy. Breakfast just got a whole lot tastier.These allergy friendly blueberry muffins are free gluten, dairy, eggs, nuts, corn, soy, rice and coconut. They are safe for just about anyone! But that doesn't mean they are lacking in flavor. Most, slightly sweet and so delicious! They make the perfect breakfast or snack.
Let’s get real. Allergen-free baking is tricky.

Sometimes it works. Sometimes it doesn’t. You make numerous batches and spend a lot of money on specialty ingredients.

When my son was little and had gotten a new round of allergy testing…and restrictions, I had to do more baking experimentation. I was very experienced with gluten-free, dairy-free and nut-free baking. But adding eggs to the list too made it a bit harder. I started my experimenting with muffins.

Kid-Friendly Gluten-Free Muffins

He has always loved muffins. When he was two he’d get out of bed, hurry downstairs and declare he needed a muffin instantly. There was (and still is) no waiting for breakfast (he’s just like his mama). And muffins top his list for breakfast fare.
These Allergy Friendly Blueberry Muffins are free of gluten, dairy, eggs, nuts, corn, rice, coconut and soy. They are safe for just about anyone! But that doesn't mean they lack in flavor. Moist, slightly sweet and perfect for breakfast or a snack.

I went through a few batches that were either crumbly or too dense. But I finally perfected a truly allergen-free muffin.

You can add whatever you like to it. My son’s favorite variety is blueberry. Me? I like chocolate chips (this is the brand we love). That’s about as close as I get to dessert these days.

Easy, Egg-Free Muffins

These muffins are super easy to make. Just mix all of the ingredients in one bowl, pour into muffin tins and bake.

Every time I make muffins my son devours them and tells me I NEED to post the recipe. So today I’m finally sharing it.
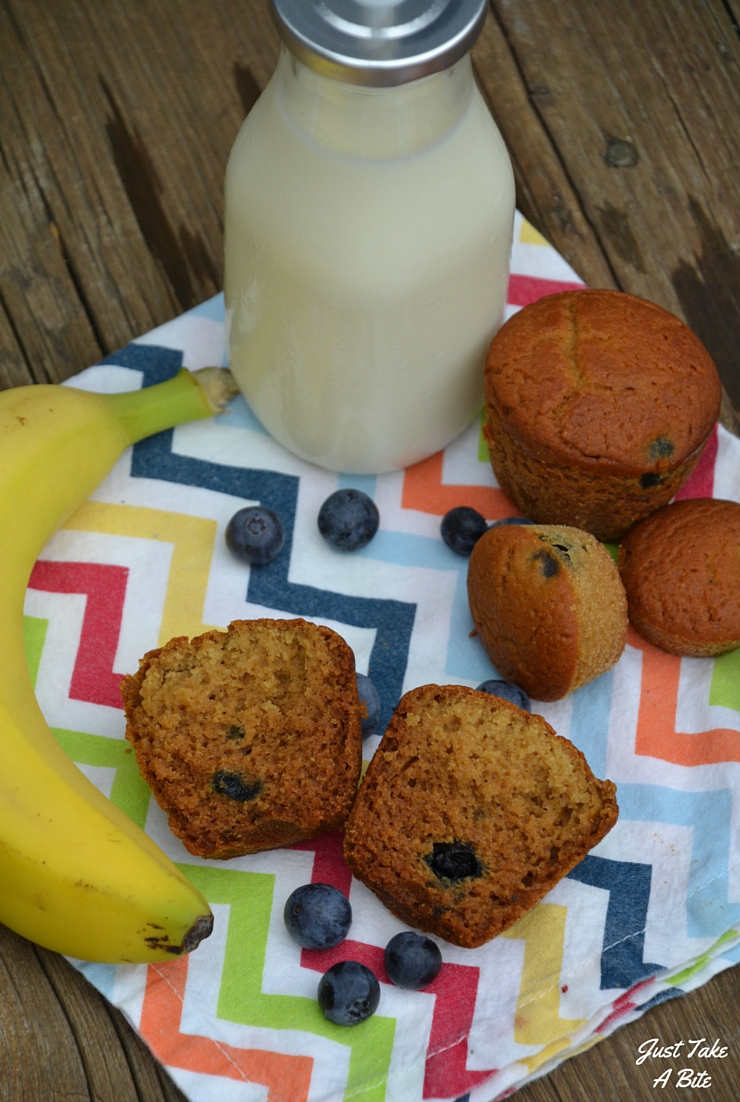
These Allergy Friendly Blueberry Muffins are free of gluten, dairy, eggs, nuts, corn, rice, coconut and soy. They are safe for just about anyone! But that doesn't mean they lack in flavor. Moist, slightly sweet and perfect for breakfast or a snack.

There are no eggs, dairy, coconut, nuts, corn, rice, gluten or soy in these allergy-friendly blueberry muffins. They are also pretty low in sweetener.

I use a combination of grass-fed gelatin (I use this brand – use the code TAKE10 for 10% off), olive oil and honey for an egg replacement. It works perfectly!

Muffins Kids Can Make

If you’re looking for a way to get your kids in the kitchen to practice their cooking skills, allergen-free blueberry muffins are perfect. They can perfect their measuring and pouring skills. And of course sample the batter to make sure it’s ok.


Not sure how to teach your kids to cook? Check out this cooking course! We’ve been using it for years!


I like to make a big batch and stock the freezer. Though with  my son’s appetite very few actually make it there. I love having an easy breakfast or perfect pairing with a bowl of nourishing soup ready whenever I need it.

Are you in need of a truly allergy-friendly muffin?

This is it! Choose your favorite additions and whip up a special breakfast treat.
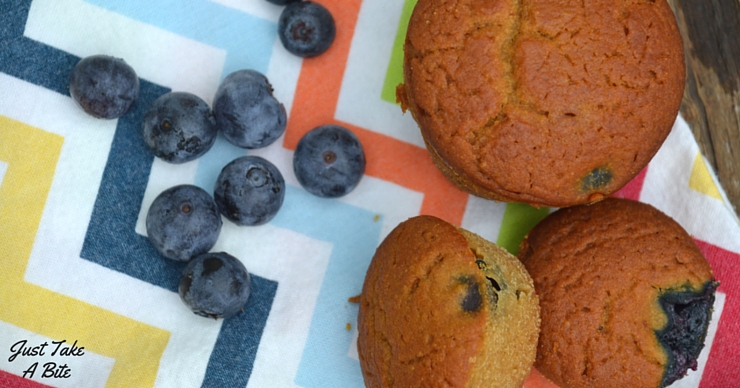
These Allergy Friendly Blueberry Muffins are free of gluten, dairy, eggs, nuts, corn, rice, coconut and soy. They are safe for just about anyone! But that doesn't mean they lack in flavor. Moist, slightly sweet and perfect for breakfast or a snack.

Allergy Friendly Blueberry Muffins
Yields 12
Moist, slightly sweetened blueberry muffins free of gluten, dairy, eggs, corn, soy, rice and coconut.
Write a review
Print
Ingredients
  1. 1 1/2 cups sorghum flour
  2. 1/2 cup tapioca flour
  3. 3/4 cups water
  4. 3 Tbsp. cane sugar
  5. 1 1/2 tsp. baking soda
  6. 1/2 tsp. unrefined sea salt
  7. 1/4 cup honey
  8. 6 Tbsp. olive oil
  9. 1/4 cup cold water
  10. 3 tsp. grass-fed gelatin
  11. 1/4 cup hot water
  12. 1/2 cup blueberries (or any other fresh fruit, dried fruit or chocolate chips)
Instructions
  1. Heat the oven to 350*F. Line muffin pan with muffin cups (paper or silicone).
  2. In a large bowl combine the sorghum, tapioca and water. Mix well, removing any lumps.
  3. Combine the 1/4 cup cold water and gelatin. Set aside.
  4. Add the sugar, baking soda, salt, honey and olive oil to the flour mixture. Mix well.
  5. Add the 1/4 cup hot water to the gelatin mixture and stir to dissolve.
  6. Pour the gelatin water into the muffin batter. Mix by hand or with a hand mixer until well mixed.
  7. Stir in fruit.
  8. Fill muffin cups 3/4 full.
  9. Bake for 30 - 40 minutes (30 minutes for mini muffins, 40 minutes for full size muffins).
Notes
  1. To make pumpkin muffins reduce the 3/4 cups of water to 1/2 cup of water and add 1/2 cup of pumpkin to the batter.
  2. One recipe makes about 12 full size muffins or 24 mini muffins.
  3. Add 3 Tbsp. maple syrup and omit the blueberries to make vanilla cupcakes.
Just Take A Bite https://justtakeabite.com/
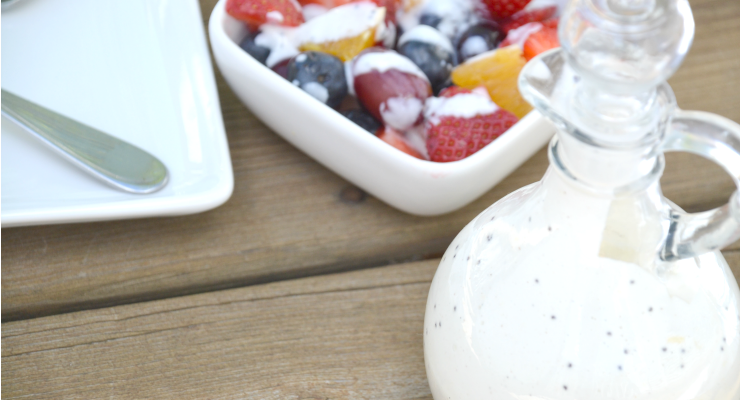
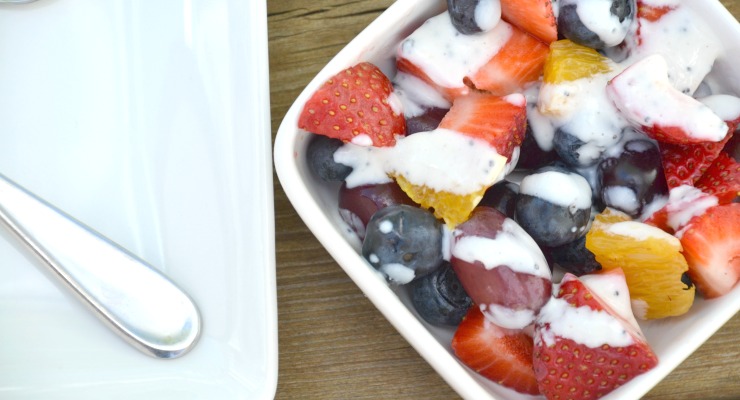
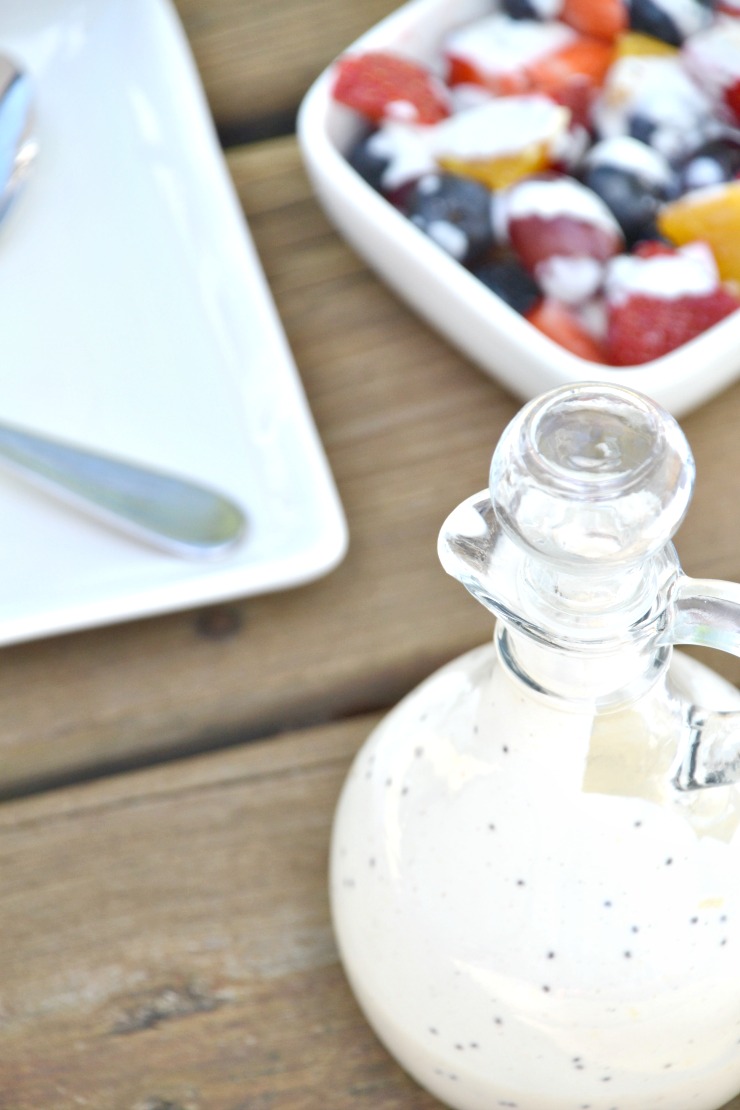
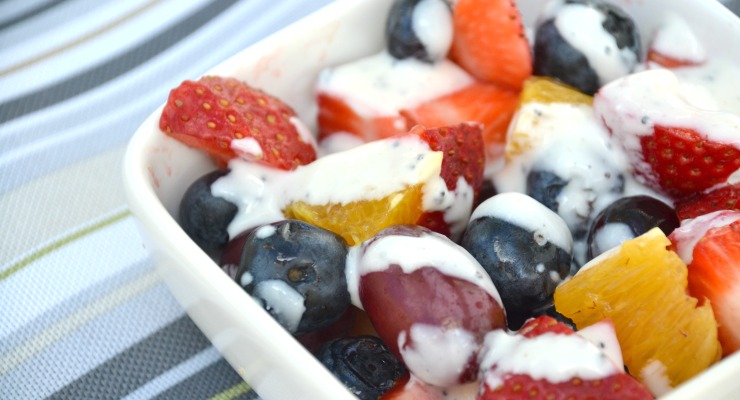
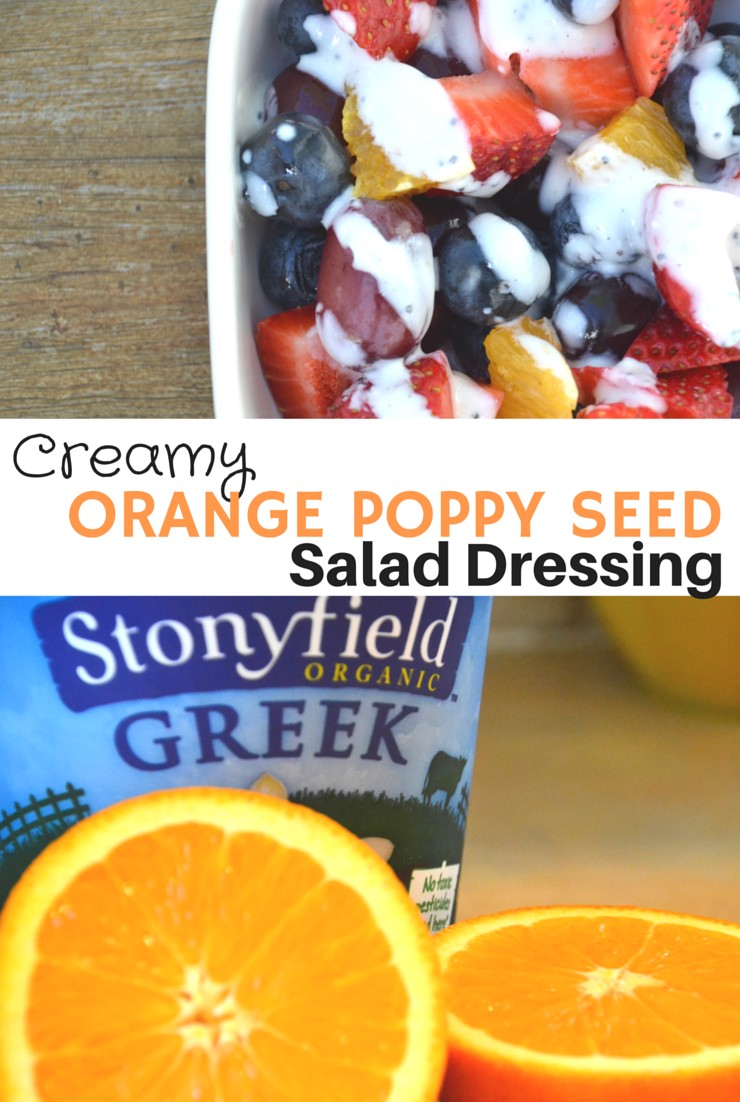
No more boring fruit. This simple creamy orange poppy seed salad dressing transforms any combination of fruit into a special side dish.

Creamy Orange Poppy Seed Salad Dressing

Nothing says spring like a fresh fruit salad. Top it with this creamy orange poppy seed salad dressing for a treat the whole family will love.

No more boring fruit. This simple creamy orange poppy seed salad dressing transforms any combination of fruit into a special side dish.

It’s no secret. I LOVE salad. I could (and sometimes do) eat it every day (I’ll be sharing my secret super food dressing soon!).

But my family…not so much. For my husband a “big” salad is about ten pieces of lettuce. So when I was challenged by Stonyfield and The Cookful to create a new salad dressing it took some real thinking. What could I make that my family would actually like?

No more boring fruit. This simple creamy orange poppy seed salad dressing transforms any combination of fruit into a special side dish.

Skip the lettuce.

Instead of going the traditional lettuce salad route I opted to create a fun fruit salad! Use any fresh fruit you have on hand (especially what’s in season!). Add a burst of flavor with Stonyfield vanilla Greek yogurt (now available in full fat!!), freshly squeezed orange juice and poppy seeds.

I used what we had on hand in the house – Fat Free Vanilla Greek Yogurt. You could also use whole milk yogurt combined with a little maple syrup. But the Greek yogurt really adds a nice thickness.

This creamy orange poppy seed salad dressing is so easy to make. My big kids can make it by themselves (they are learning to do so much from The Kids Cook Real Food eCourse!!).

No more boring fruit. This simple creamy orange poppy seed salad dressing transforms any combination of fruit into a special side dish.

Great for oral sensitivities.
My oldest has a very sensitive mouth. Any hint of tartness or tough skin in her fruit and she won’t eat it. One fruit she usually does not like is grapes. She makes some pretty good pucker faces when she tries them.
But the other day all I had in the house was a bowl of grapes. I gave her a dish topped with creamy orange poppy seed salad dressing. Not a single complaint! She licked the bowl clean. It’s that good.

No more boring fruit. This simple creamy orange poppy seed salad dressing transforms any combination of fruit into a special side dish.

Spruce up your salad.

If you like sweet salad dressings (like me!) you could even use this on a lettuce salad. Add some crispy pecans, dried cherries and feta cheese. Delicious!

Looking for some other great salad dressing recipes? The Cookful has plenty to choose from . I think the No Egg Caesar Dressing would be great.

Ready to add some extra flavor to your fruit salad?

Try this super easy creamy orange poppy seed salad dressing. No more boring fruit.

No more boring fruit. This simple creamy orange poppy seed salad dressing transforms any combination of fruit into a special side dish.

Creamy Orange Poppy Seed Salad Dressing
A creamy fruit salad dressing with a pop of orange flavor.
Write a review
Print
Ingredients
  1. 1/2 cup Stonyfield vanilla Greek yogurt (fat free or full fat)
  2. juice of 1/2 - 1 orange (depends how strong you want the orange flavor)
  3. 1/2 tsp. poppy seeds
  4. pinch unrefined sea salt
Instructions
  1. Mix all of the ingredients.
  2. Chill for 10 minutes.
  3. Serve over fruit as a salad, on the side as a dip or on a lettuce salad.
  4. Store in the refrigerator for up to 10 days.
Notes
  1. This makes enough for a large fruit salad.
  2. You can replace the vanilla yogurt with plain yogurt and 1 Tbsp. honey or maple syrup.
Just Take A Bite https://justtakeabite.com/

Have you heard of The Cookful?

It’s a great new site that really digs deep into specific food topics. They came up with some great salad dressing recipes!

I am working with Stonyfield and The Cookful on this post. I have been compensated for my time commitment, but I have not been paid to post positive reviews. Opinions are my own.

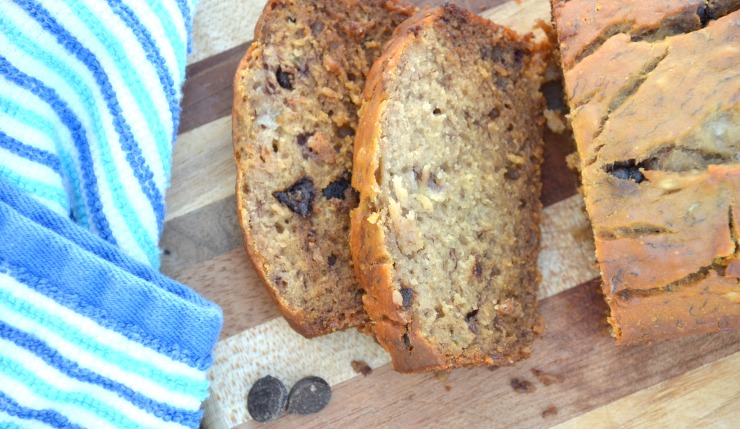
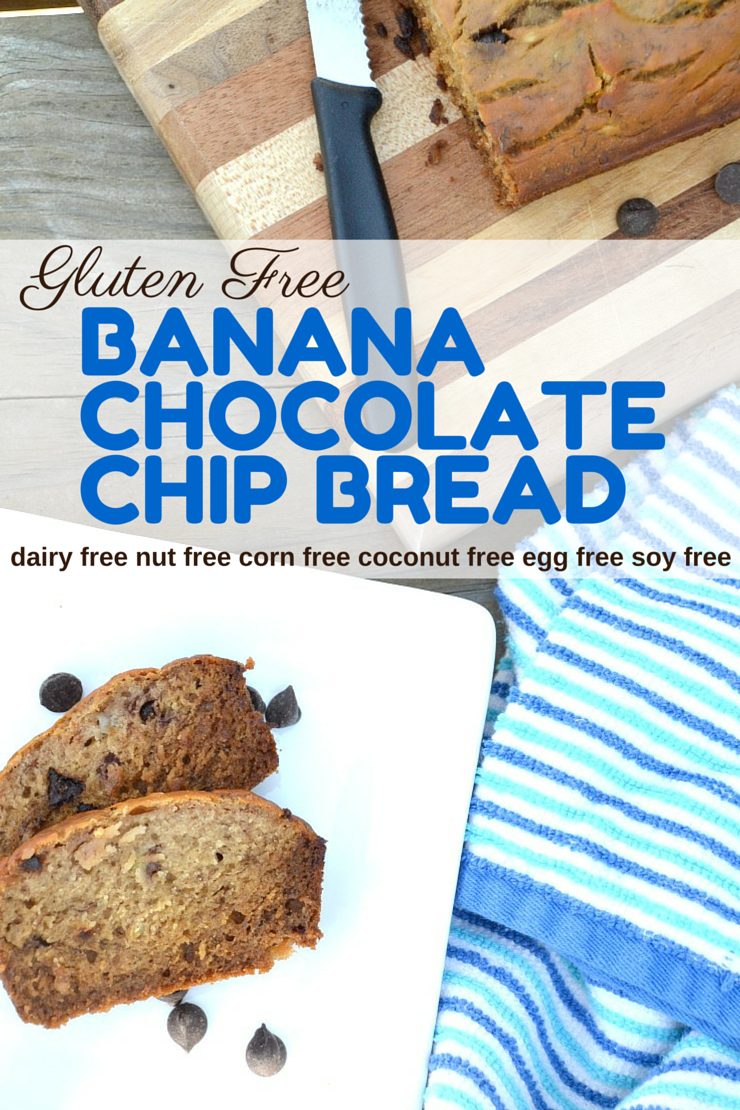
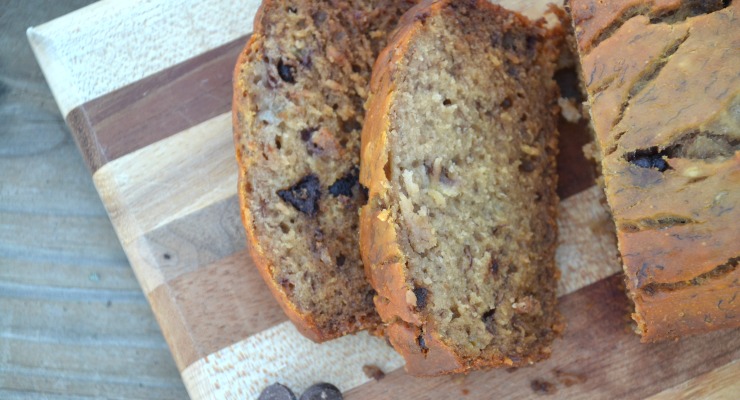
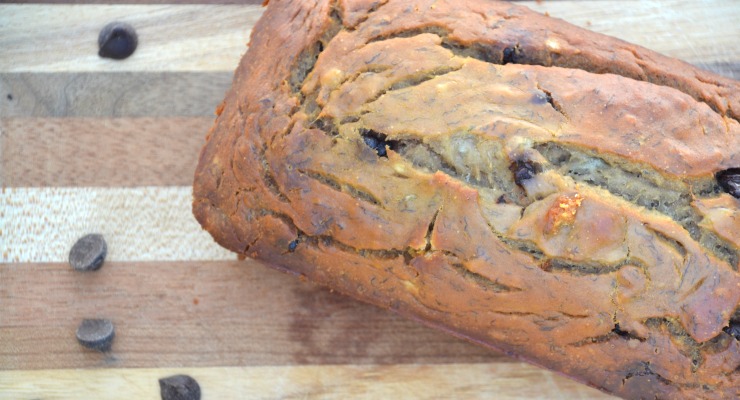
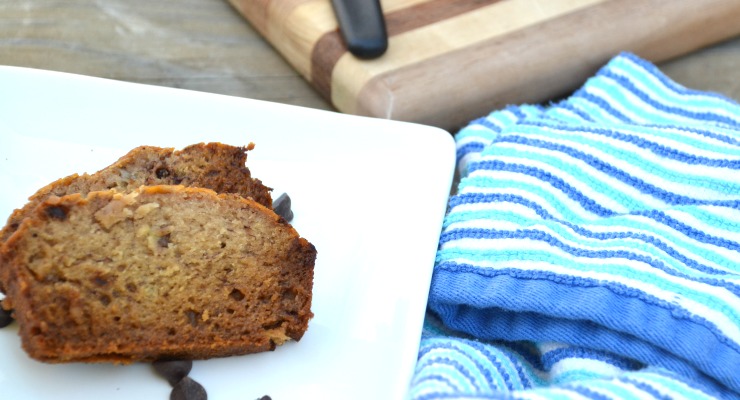
Missing your favorite banana bread because of allergies? This version is easy to make, holds together well and is free of gluten, dairy, nuts, corn, soy and coconut.

Gluten Free Banana Chocolate Chip Bread

The taste of this banana chocolate chip bread takes me back to my childhood. But my version is free of gluten, dairy, nuts, eggs, corn, soy and coconut. It’s perfect for Allergy Awareness Week!

Missing your favorite banana bread because of allergies? This version is easy to make, holds together well and is free of gluten, dairy, nuts, corn, soy and coconut.

My mom makes the BEST banana bread in the world. It’s amazing.

Growing up we would eat slice after slice. I loved putting cheese on it (yes, American cheese) for the salty sweet combination.

One of my favorite parts was that sometimes my mom would leave one loaf just a touch underdone in the middle for me. I loved the gooey doughy top. It was my special treat.

Bananas for me?

It’s been quite a few years now since I’ve been able to eat my mom’s banana bread. In fact it’s been many years since I’ve even eaten a banana. For the last ten years or more just one bite of banana would send my digestive system into spasms.

So when I had to cut them out of my daughter’s diet it was no big deal for me since I didn’t eat them anyway. A couple months ago we added them back into my daughter’s diet…with no reaction!

I started trying a little taste here and there. And gradually full bites. Then a few bites. Now I can eat a whole banana with no problem. It’s quite a miracle.

Missing your favorite banana bread because of allergies? This version is easy to make, holds together well and is free of gluten, dairy, nuts, corn, soy and coconut.

Allergy Awareness Week

When I was challenged by Enjoy Life Foods to make something with their chocolate chips for Allergy Awareness Week I thought about more homemade chocolates or brownies.

But then I had a pile of really ripe bananas to use up. It dawned on me…I can eat bananas now and haven’t made banana bread yet!

So I came up with my version of banana bread as a tribute to my mom and for those that also have a lot of allergies. This version brings me right back to my kitchen as a child, watching my mom make banana bread and waiting impatiently for it to come out of the oven.

Missing your favorite banana bread because of allergies? This version is easy to make, holds together well and is free of gluten, dairy, nuts, corn, soy and coconut.

This banana chocolate chip bread is quite moist. If you’re like my husband and have issues with texture and moisture you might want to scale back on the water in the recipe. For me it was absolutely perfect.

My little one loved it too! She will rarely eat a bite of any muffin or bread I make. But she scarfed down two pieces! Right after playing in the mud and getting a bath.

Missing your favorite banana bread because of allergies? This version is easy to make, holds together well and is free of gluten, dairy, nuts, corn, soy and coconut.

Are you in the mood for a special treat that is also allergen friendly and low in sugar?

This banana chocolate chip bread is what you need. There are only two tablespoons of honey added. The bananas add a natural sweetness (always use really ripe bananas). Of course the Enjoy Life chocolate chips just put it over the top.

Missing your favorite banana bread because of allergies? This version is easy to make, holds together well and is free of gluten, dairy, nuts, corn, soy and coconut.

Allergen Friendly.

No gluten, dairy, eggs, nuts, corn, soy or coconut. But you’ll never notice. And this bread is so easy to make (and eat) you’ll want to bake three or four loaves. Keep some in the freezer for easy breakfasts and snacks.

Want a fun way to celebrate Allergy Awareness Week?

Try some gluten free banana chocolate chip bread. The whole family will love it.

Missing your favorite banana bread because of allergies? This version is easy to make, holds together well and is free of gluten, dairy, nuts, corn, soy and coconut.

Gluten Free Banana Chocolate Chip Bread
An allergen friendly moist banana bread with chocolate chips for a boost of flavor.
Write a review
Print
Ingredients
  1. 1 cup white rice flour
  2. 1/2 tsp. unrefined sea salt
  3. 3/4 tsp. baking soda
  4. 1/2 cup mashed ripe banana
  5. 2 Tbsp. olive oil
  6. 2 Tbsp. honey
  7. 1 tsp. grass-fed gelatin
  8. 1/4 cup cold water
  9. 1/4 cup hot water
  10. 2 Tbsp. Enjoy Life chocolate chips (mini or dark)
Instructions
  1. Preheat the oven to 350*F. Grease a medium size loaf pan.
  2. In a large bowl combine the flour, salt and baking soda.
  3. In a small bowl combine the gelatin and 1/4 cup cold water. Set aside.
  4. Add the olive oil, honey, banana and chocolate chips to the flour mixture.
  5. Mix the hot water into the gelatin mix and stir until gelatin is dissolved.
  6. Pour the hot gelatin mix into the flour mixture and stir until combined.
  7. Pour the batter into the prepared pan and bake for 50 minutes, until baked through.
Notes
  1. Reduce the cold water to 2 Tbsp. for a less moist bread.
  2. You can replace half of the white rice flour with brown rice flour or sorghum flour.
Just Take A Bite https://justtakeabite.com/
I am working with Enjoy Life Foods on this post. I was compensated for my time commitment but any opinions are entirely my own. I was not paid to write a positive review.

Spread the word about Allergy Awareness Week! It’s so important that more people understand that allergies can be life threatening.

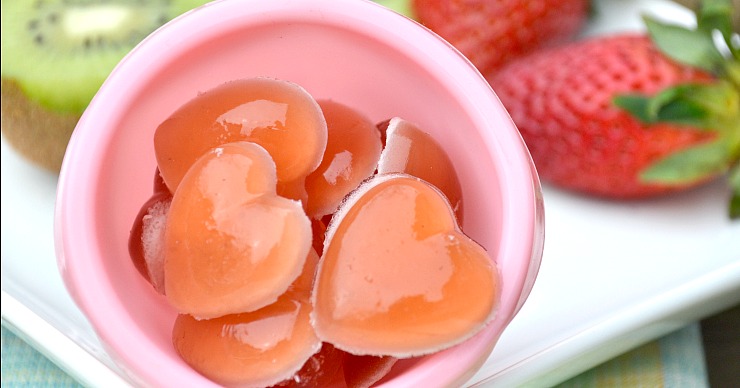
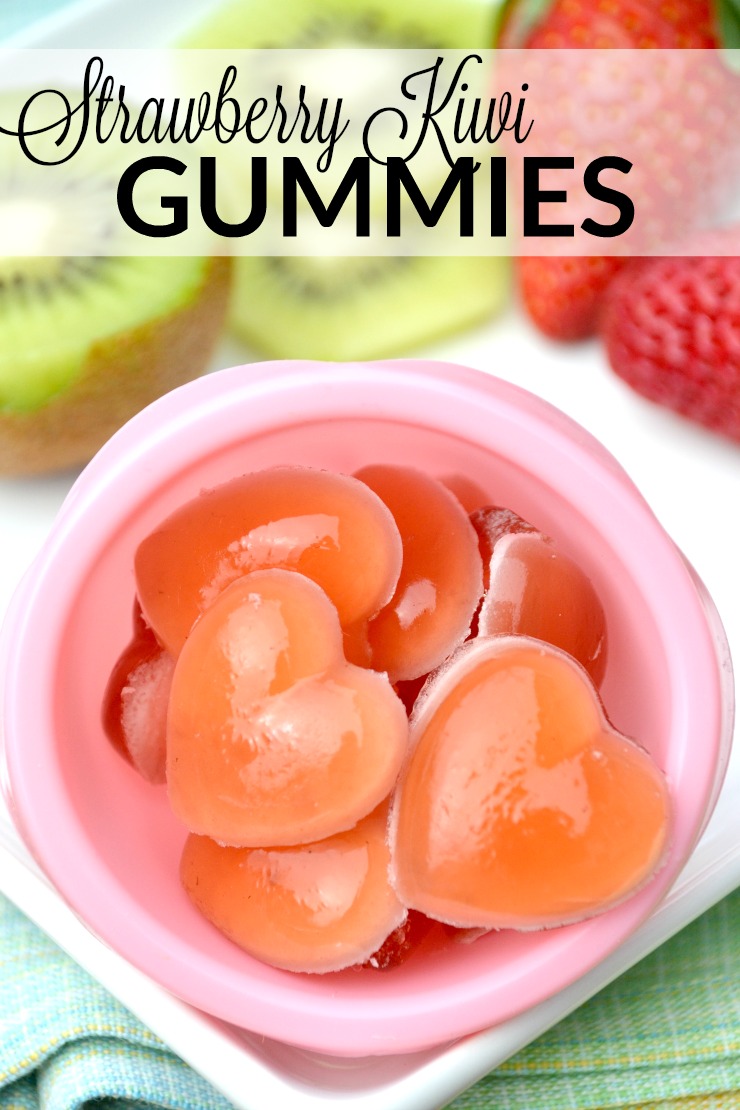
Real fruit combined with grass-fed gelatin create the perfect snack - strawberry kiwi gummies.

Strawberry Kiwi Gummies

Just because your gummies are homemade doesn’t mean the flavor has to be boring. These strawberry kiwi gummies are bursting with flavor and made from real fruit.

Real fruit combined with grass-fed gelatin create the perfect snack - strawberry kiwi gummies.

Fruit snacks are a go-to snack for many kids these days. They are easy, sweet and chewy. Kids love them. They don’t require any work on mom’s part. Just grab a bag and go.

But have you ever actually looked at the ingredients? Many contain artificial flavors and colors. Even if you get natural or organic fruit snacks they contain things like caranuba wax and “natural” flavor.

Natural flavor is actually not that different from artificial flavor and can have the same impact on your child’s health and behavior. Not to mention it’s important to avoid it if your child has allergies since it can contain anywhere from 50 to 100 unknown to you ingredients. So it could contain a hidden allergen.

Real fruit combined with grass-fed gelatin create the perfect snack - strawberry kiwi gummies.

What’s the solution? Make your own!

Homemade gummies are so easy to make. The flavor combinations are endless. And you can make all sorts of fun shapes with candy molds.

These strawberry kiwi gummies are both fun and fruity. The juice of real strawberries and kiwis is combined with grass-fed gelatin for a protein-packed, nourishing snack.

Want to learn how to make them?

Click here to head over to Super Healthy Kids where I’m sharing this simple recipe.

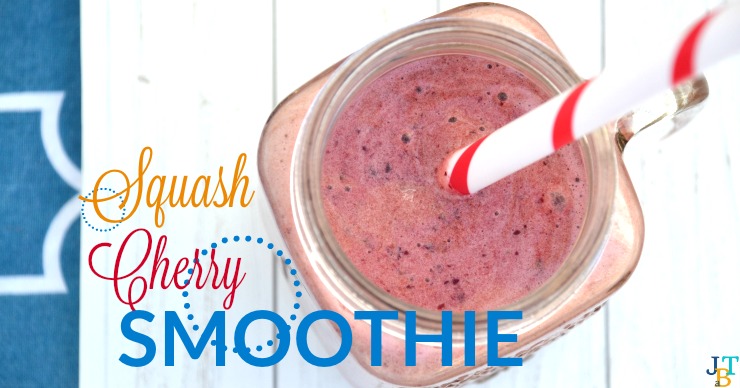
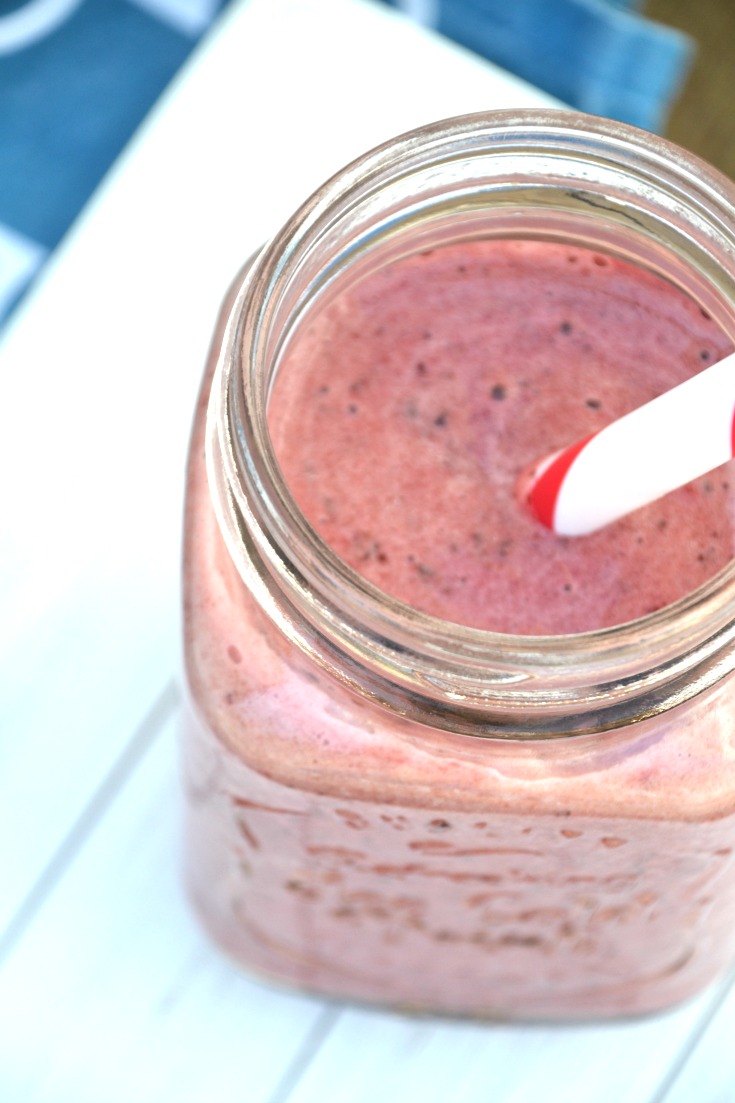
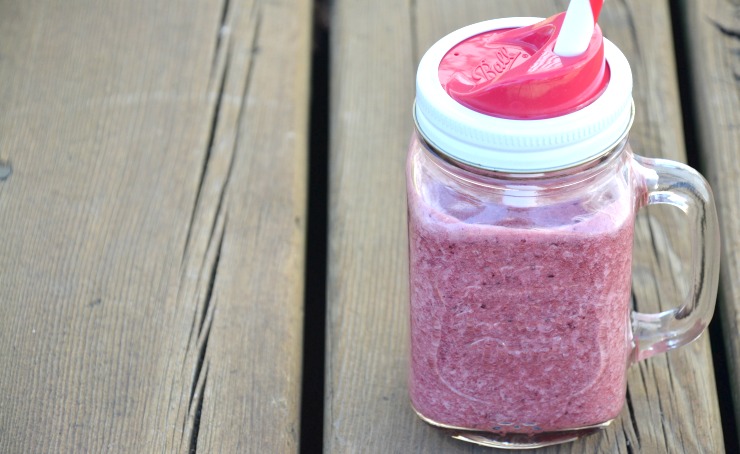
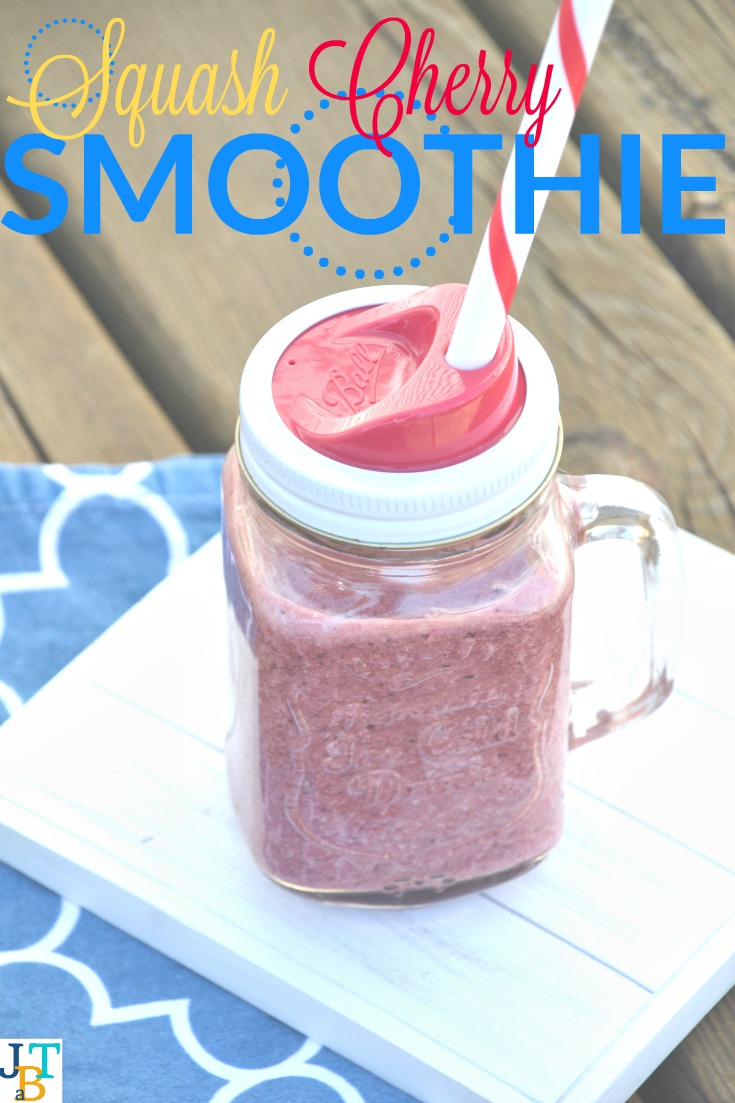
This squash cherry smoothie is so refreshing and free of allergens.

Squash Cherry Smoothie

Winter, spring, summer or fall this squash cherry smoothie packs a nutritional punch and is bursting with flavor. Plus it’s safe for those with allergies.

This squash cherry smoothie is so refreshing and free of allergens.

Smoothies are pretty popular these days. For good reason. You can add a lot of healthy stuff to them without kids complaining.

Smoothies are tough with allergies.

But when you have a lot of allergies the list of typical smoothie ingredients dwindles quickly.

I had to get creative to make smoothies for my youngest two. No dairy or dairy substitutes. No avacodo, banana, nuts or seeds. No eggs. Not too many options.

Instead of writing off smoothies I used what foods we can eat to create a delicious breakfast beverage that is full of nourishing ingredients.

This squash cherry smoothie is so refreshing and free of allergens.

Secret ingredients.

This squash cherry smoothie contains fruit, vegetables, grassfed collagen (I love this brand) and probiotics (I use Megaspore). I also sometimes add desiccated liver (this is what I use) and broth!

One of the best parts about this smoothie is that you prepare it the night before. In the morning just blend and pour! So simple.

This is a great way to use some of the cherries that we freeze in the summer.

Great for kids and adults.

My four year old LOVES this squash cherry smoothie. And he can be picky! You don’t taste all of the “extra” ingredients. You just taste cherries.

I serve squash cherry smoothie in a cup with a straw for my big kids. For my youngest I put it in a straw sippy cup. Then I can take it with us when we are running errands or driving to and from school. It is a great way to add calories and nutrients for her.

This squash cherry smoothie is so refreshing and free of allergens.

But don’t think this is just for kids. I love squash cherry smoothies for breakfast too! It is so refreshing. Plus it’s great for busy mornings. I always pair it with some kind of starch for balance and to keep my metabolism going. But the smoothie is where I pack the nutrients.

Have you ever put squash in your smoothie?

It adds a natural sweetness and is great for thickness.

Cherry season will be here again before we know it. I’ll be using up last year’s freezer stash by making lots of squash cherry smoothies!

This squash cherry smoothie is so refreshing and free of allergens.

Squash Cherry Smoothie
Serves 1
A refreshing and allergy friendly smoothie packed with nutrients.
Write a review
Print
Ingredients
  1. 1 1/2 cups frozen cherries
  2. 3/4 cups frozen or cooked squash
  3. 2 Tbsp. grassfed collagen
  4. 1 - 2 Tbsp. maple syrup
  5. 1/4 tsp. unrefined sea salt
  6. 1/2 cup water or mild broth
Optional
  1. up to 1 capsule powdered probiotic
  2. 1/2 capsule desiccated liver
  3. 1 tsp. extra virgin olive oil or avocado oil
Instructions
  1. Place the water, squash, cherries, syrup and salt in a blender.
  2. Add the collagen and any optional ingredients.
  3. Store the blender in the refrigerator over night.
  4. Blend until smooth. Adjust sweetness if necessary.
  5. Serve immediately.
Notes
  1. This makes enough for one adult or two children.
  2. Activated charcoal can be added to the smoothie to settle an allergy flair.
  3. The ingredients can separate if the smoothie sits for too long. Drink immediately after blending or keep in a cup with a lid and shake before serving.
Just Take A Bite https://justtakeabite.com/
Stonyfield Grassfed Yogurt and Whole Milk Greek Yogurt Review | Just Take A Bite

Stonyfield Grassfed Yogurt and Whole Milk Greek Yogurt Review

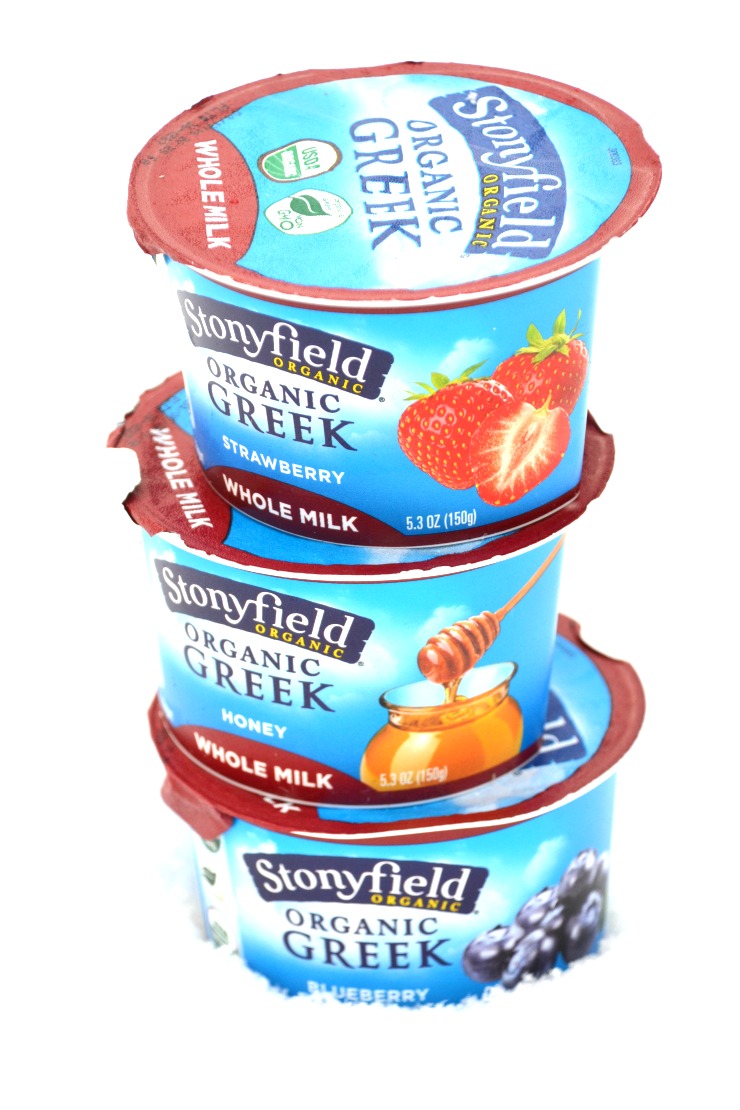
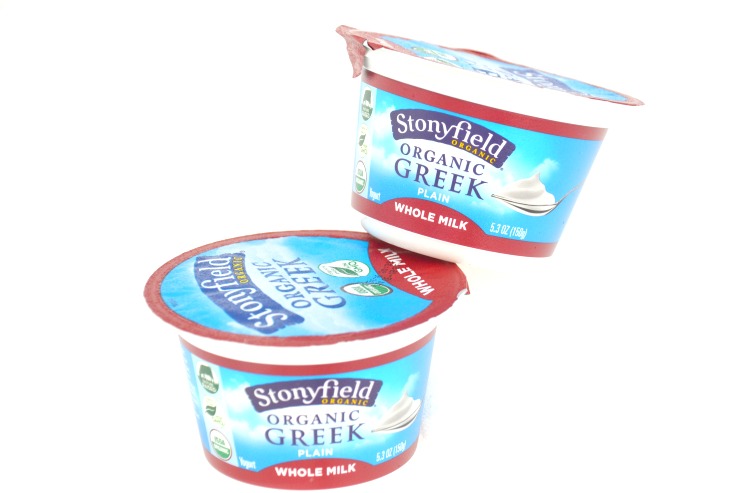
When it comes to the low-fat craze yogurt has been on board for many years. Fear not! Stonyfield is bringing back some healthy fat to your diet with their whole milk Greek yogurt and grassfed yogurt!

Stonyfield Grassfed Yogurt and Whole Milk Greek Yogurt Review | Just Take A Bite

I’m very excited to tell you about some great yogurt today! For once, a company is moving in the RIGHT direction when it comes to offering healthy choices.

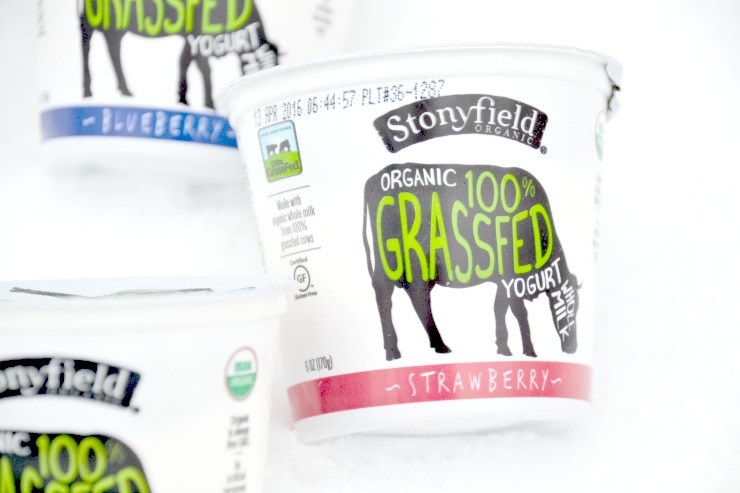
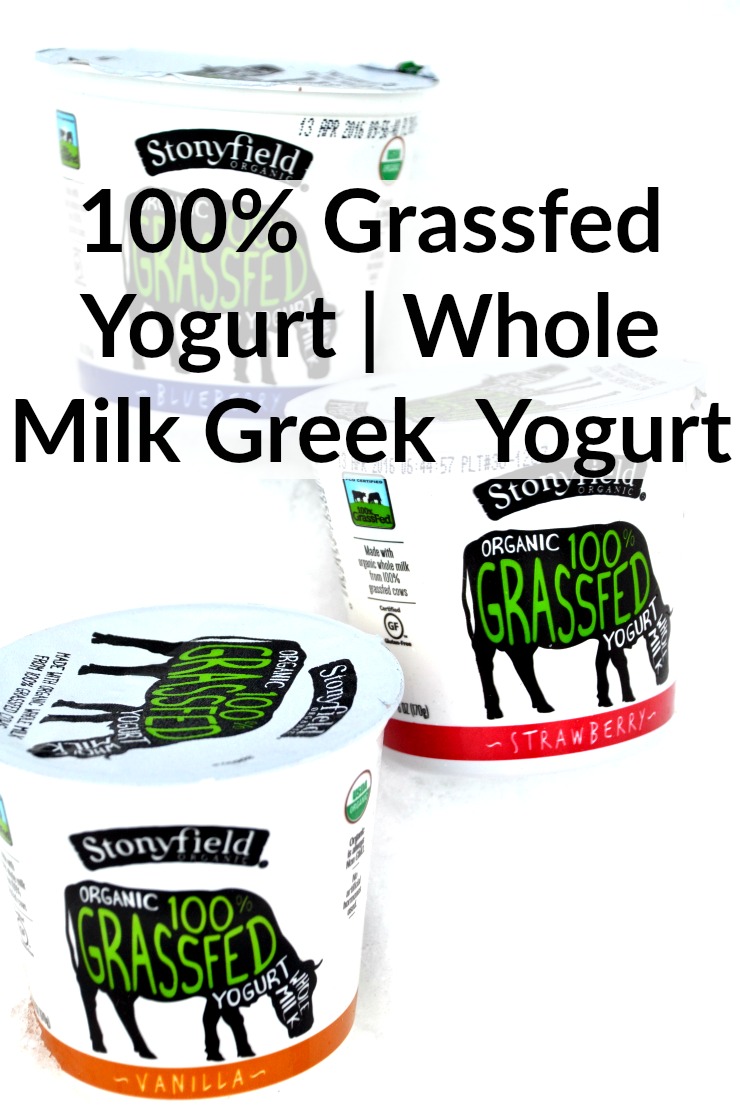
Stonyfield is now offering whole milk Greek yogurt and 100% (for REAL) grassfed yogurt.

Every time I see the grocery store shelves lined with Greek yogurt I cringe. I just don’t get it. You’ve taken all the healthy fat out. And boast about how much protein it has. All I see is a major imbalance.

If you want your protein to count you need to eat fat with it. Carbs too! (my kettle corn granola is the perfect addition!)

Stonyfield Grassfed Yogurt and Whole Milk Greek Yogurt Review | Just Take A Bite

But what really got me excited was Stonyfield’s new 100% grassfed yogurt.

Here are some details directly from Stonyfield:

While some products may claim to be made from milk sourced from grassfed cows, that does not necessarily mean that the cows were fed a 100% grassfed diet. Our Organic 100% Grassfed is made with milk from cows, who have eaten all grass, all of the time, even in winter! And we’ve heard they just LOVE the fermented grass they eat in the winter months. To make sure our consumers recognize this difference, we have sought out and gotten independent certification of it – by the PCO. Look for the label on the cup! 

How cool is that?!

We got to try all the different varieties. Since my youngest and I are dairy free I had to trust the opinions of my family.

Stonyfield Grassfed Yogurt and Whole Milk Greek Yogurt Review | Just Take A Bite

Four Year Old

My son tried the whole milk Greek + honey once before his dairy allergy diagnosis. He loved it! And of course he loved the cool container, especially since we never buy individual yogurts unless we are traveling. No complaints, except he wanted more when it was gone.

Seven Year Old

My daughter tried all of them. Her favorite hands down was the grassfed yogurt. Just the right texture and sweetness.

She didn’t care as much for the Greek because it was quite tart. Which is saying a lot since we normally only add a bit of honey or syrup to plain yogurt and aren’t used to sweet things. So I added a touch extra honey to hers.

Husband

My husband enjoyed all of them. Though he too isn’t that crazy about Greek yogurt. It is very thick and tangier than regular yogurt. He thought the sweetness was good in all of them. But would definitely choose the grassfed for overall taste and texture. Really he’d choose the Oh My Yog! over both of these. Have you tried them yet?

Stonyfield Grassfed Yogurt and Whole Milk Greek Yogurt Review | Just Take A Bite

Even though I can’t taste the yogurt I still get to weigh in! Here are my thoughts.

Likes

  • I LOVE that the yogurt is full fat (which we need!).
  • I LOVE that the yogurt is organic and some of it is 100% grassfed.
  • I like the variety of flavors.
  • I like the convenience. We can finally buy a full fat individual size yogurt if we need something when we are on the go.

Dislikes

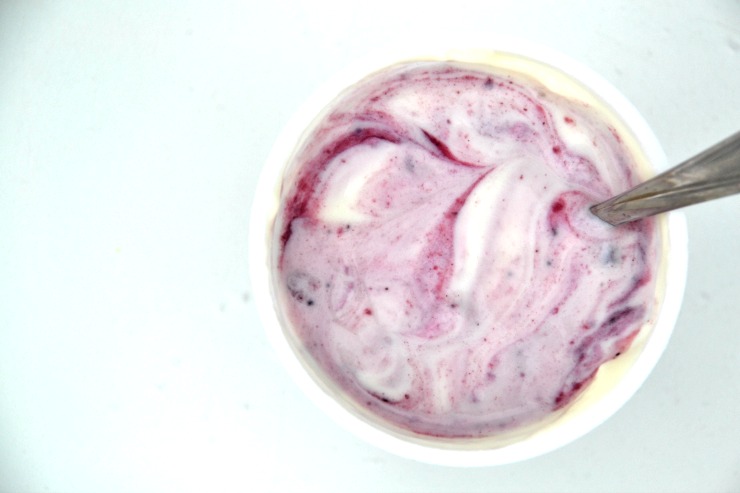
  • The flavored Greek yogurt containers have a strange design, and it was hard to get the filling out of the little cup. Especially the honey that gets hard when cold. I think it would be better to just make it fruit on the bottom and not deal with the flipping and scraping.
  • All of the yogurts besides the Greek + honey have cornstarch. With a rising number of people with corn allergies that really limits options.
  • Natural flavor – it’s in everything, even organic food. But it is almost the same as artificial flavor and has the same impact on my daughter. It makes her crazy and unable to focus. So in spite of the good quality of the yogurt I can’t let her eat it without consequences.

Stonyfield Grassfed Yogurt and Whole Milk Greek Yogurt Review | Just Take A Bite

Overall I am very happy with the latest yogurts from Stonyfield. Quality dairy that hasn’t had the healthy fat removed. I’m all for it. But we’ll be sticking to the plain yogurt and adding our own sweetener and fruit most of the time to avoid the thickener and natural flavor. That’s life with allergies!

Have you tried any of the latest Stonyfield full fat yogurts? What do you think?

I am working with Stonyfield for this review post. I have been compensated for my time commitment to use these products. However, my opinions are entirely my own and I have not been paid to publish positive comments.

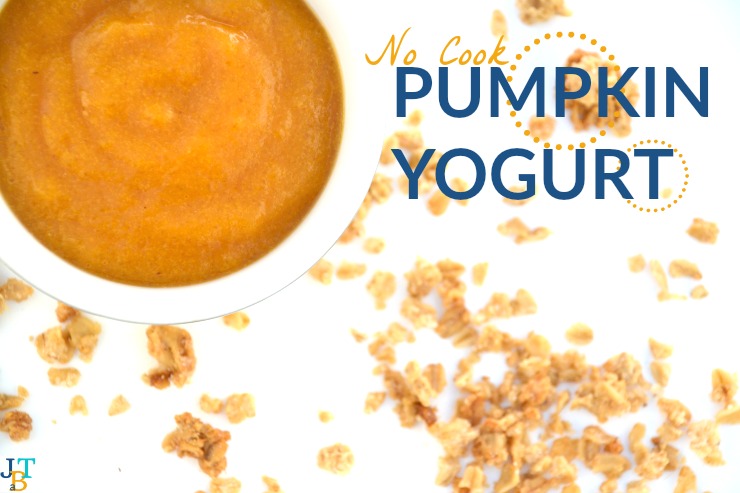
Allergen Free No Cook Pumpkin Yogurt | Just Take A Bite

Allergen Free No Cook Pumpkin Yogurt

No need to give up yogurt just because you have allergies! This pumpkin yogurt only takes five minutes to prep and still packs a nutritional punch with protein and probiotics.

Allergen Free No Cook Pumpkin Yogurt | Just Take A Bite

I’ve been dairy free for 18 months now, ever since my youngest was about a month old. This is not the first time I’ve had to go dairy free. But no matter how many times and no matter how long it lasts it’s never easy.

I LOVE dairy. Love it.

One of the things I miss most is yogurt. I used it eat it almost daily for breakfast or lunch. Add some granola…my happy place.

For most people there are some decent options to replace dairy yogurt – coconut, almond, etc. But those are all out for me too. We have that many allergies. So I’ve just gone without yogurt.

Until now.

Allergen Free No Cook Pumpkin Yogurt | Just Take A Bite

Problem solved.

My youngest it starting to notice when her siblings have yogurt and she keeps asking for it. Oh, how I’d love to give it to her!! It breaks my heart to have to say no. I feel so mean since she doesn’t understand why.

Why Won't My Child Eat Banner Image 400x335


So I came up with a solution.

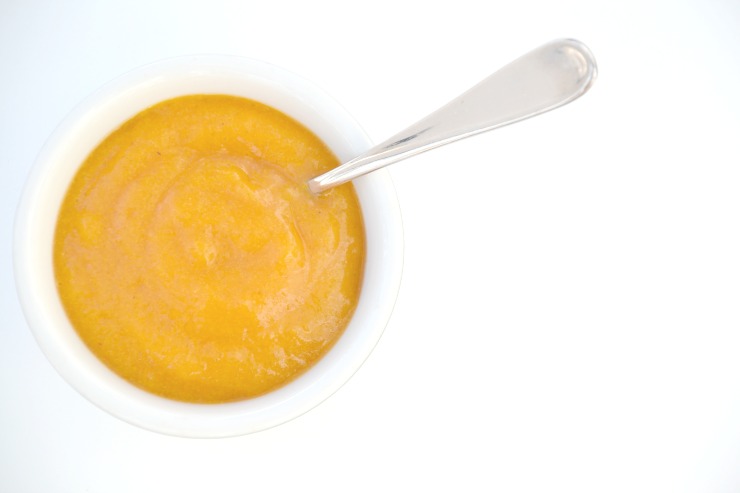
I created pumpkin yogurt. It is creamy and slightly sweet. It has lots of protein from both grass-fed collagen and gelatin plus a healthy dose of probiotics (this is the one we use). Just like the real thing.

An added bonus is you also get a big helping of vegetables!

Allergen Free No Cook Pumpkin Yogurt | Just Take A Bite

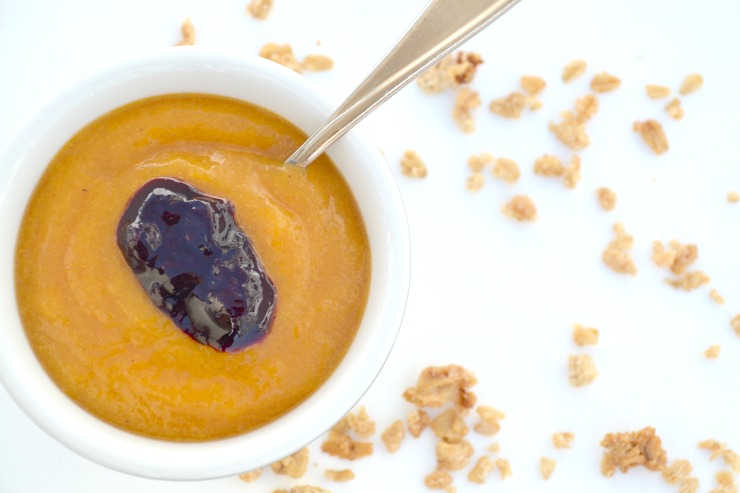
The first time I made pumpkin yogurt I added fruit and some crumbled homemade graham crackers. I was instantly taken back to my happy place. Finally! I can have yogurt again!

My little one loves it too. I gave her a small dish. Her response: “mrrrr” (more). That is all I needed to hear.

To my surprise even my four year old loves it. When I first told him I made pumpkin yogurt he made the “don’t come near me with that stuff” face. But after he tried it he had to have a second dish! Maybe me calling it pumpkin PIE yogurt helped a little.

Allergen Free No Cook Pumpkin Yogurt | Just Take A Bite

More than just great taste.

Not only is pumpkin yogurt a nutritious breakfast it is also so easy to make!

  1. Mix all of the ingredients in a blender.
  2. Pour the mixture in a jar.
  3. Let it culture for about eight hours.

That’s it.

Pumpkin yogurt makes a great breakfast, lunch or snack. Eat it plain or add your favorite fruit and crunchy topping. It is perfect for school lunches too.

Have you had to say goodbye to yogurt due to allergies?

Even if you can’t have dairy…or coconut…or nuts…or rice…you don’t have to give up yogurt. Pumpkin yogurt is allergen friendy, easy to make and oh so delicious!

why won't my child eat 728x90

Want to learn more about feeding children with allergies?

Check out my book Why Won’t My Child Eat?! It’s packed with feeding strategies, tips on pinpointing reactions and allergen friendly recipes.

Allergen Free No Cook Pumpkin Yogurt | Just Take A Bite

Allergen Free No Cook Pumpkin Yogurt
Serves 3
A creamy pumpkin yogurt that is free of common allergens.
Write a review
Print
Ingredients
  1. 3/4 cup cooked pumpkin (canned or fresh)
  2. 1 cup water
  3. 1 Tbsp. grass-fed collagen
  4. 1 Tbsp. sweetener (honey, maple syrup, cane sugar)
  5. 1/4 tsp. unrefined sea salt
  6. 1/4 tsp. cinnamon (optional)
  7. 1 1/2 tsp. grass-fed gelatin
  8. 1 capsule powdered probiotic
Instructions
  1. Combine the pumpkin, water, collagen, sweetener, salt and cinnamon in a blender.
  2. Blend on high until smooth.
  3. Add the gelatin and probiotic.
  4. Blend for about 10 seconds.
  5. Pour the mixture into a glass jar with a lid.
  6. Put the jar in a warm place for 8-10 hours.
  7. Put in the refrigerator for at least an hour before serving.
  8. Store in the refrigerator for up to one week or in the freezer for up to 6 months.
Notes
  1. Setting the mixture on a counter that gets sunlight or on a stovetop with the oven on or in an unheated oven with the light on works well for culturing the yogurt.
Just Take A Bite https://justtakeabite.com/
  In order for me to support my blogging activities, I may receive monetary compensation or other types of remuneration for my endorsement, recommendation, testimonial and/or link to any products or services from this blog. It will not change the cost of any products or services for you.

This post is linked to Savoring Saturdays.

Rainbow Egg Muffins | Just Take A Bite

Rainbow Egg Muffins

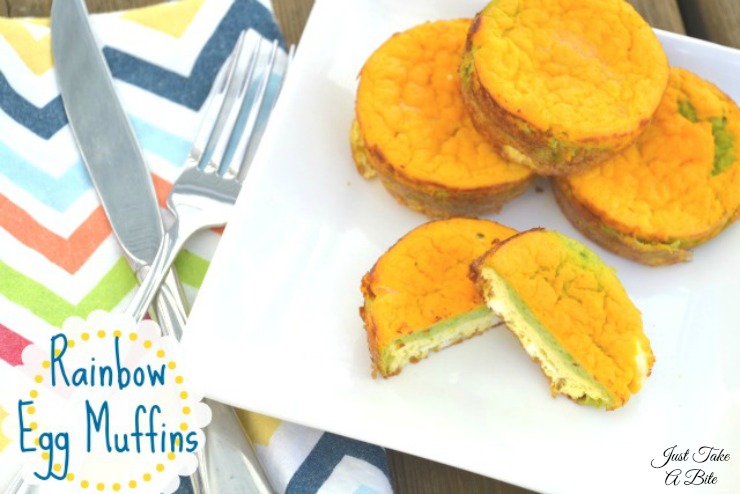
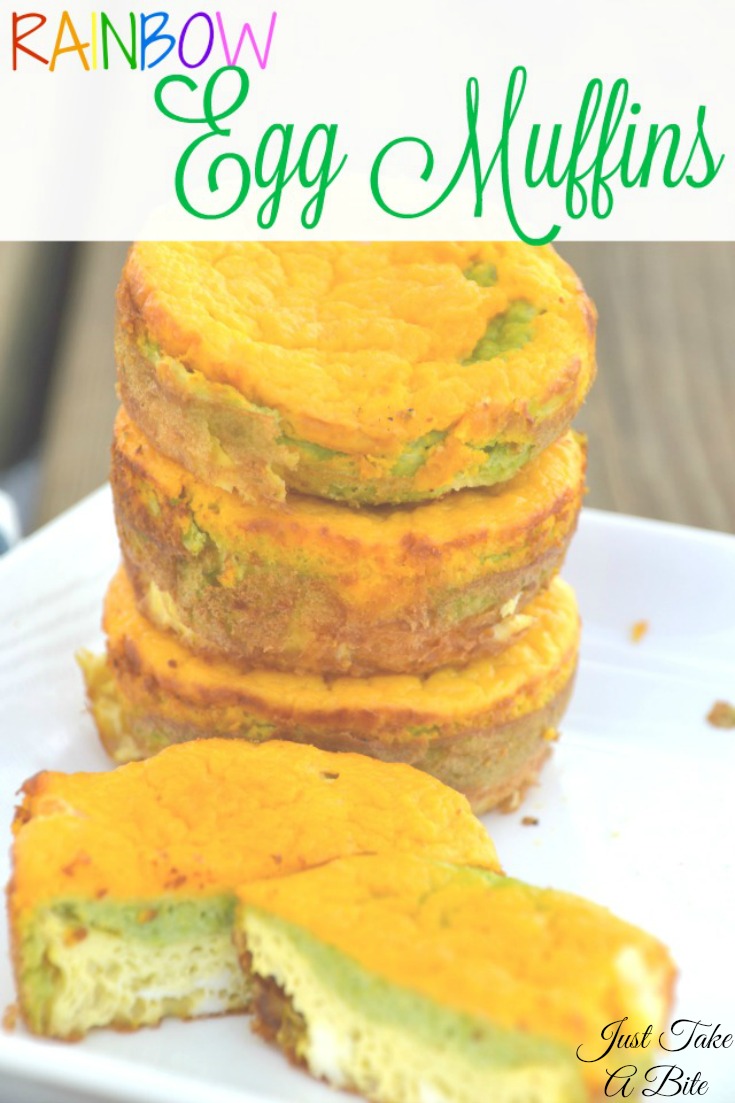
Winter is almost over! Get ready to think spring with these rainbow egg muffins. Lots of color, flavor and nutrition packed into the perfect little bite.

Rainbow Egg Muffins | Just Take A Bite

Spring is coming. I can almost taste it. After the snow and cold I am more than ready to think about new life and color returning.

And after all of the illness we’ve had I am looking forward to spending a lot of time outside in the fresh air. The end to illness can start any time now. Any time.

If you look out your window and still see everything covered in white you can at least bring spring back to your breakfast with these colorful rainbow egg muffins.

Start the day with a healthy dose of protein, vitamins and vegetables all in one. Add a slice of toast with homemade grape jelly or peach jam to make it a complete meal.


Rainbow Egg Muffins | Just Take A Bite

Rainbow egg muffins are even great for toddlers. Cut one into bite size pieces so your toddler can practice picking up food and self feeding.

What a fun Easter breakfast for the whole family!

How do they taste?

Will kids really eat them? I let my four year old be my taste tester. I put one on his plate and stepped back into the kitchen to grab something. When I got back his muffin was already half gone. The other half went down about ten seconds later.

Want the recipe? Head over to Super Healthy Kids! I’ve got this simple recipe for rainbow egg muffins plus some tips on how to cut your prep time in half.

This post is linked to Savoring Saturdays.

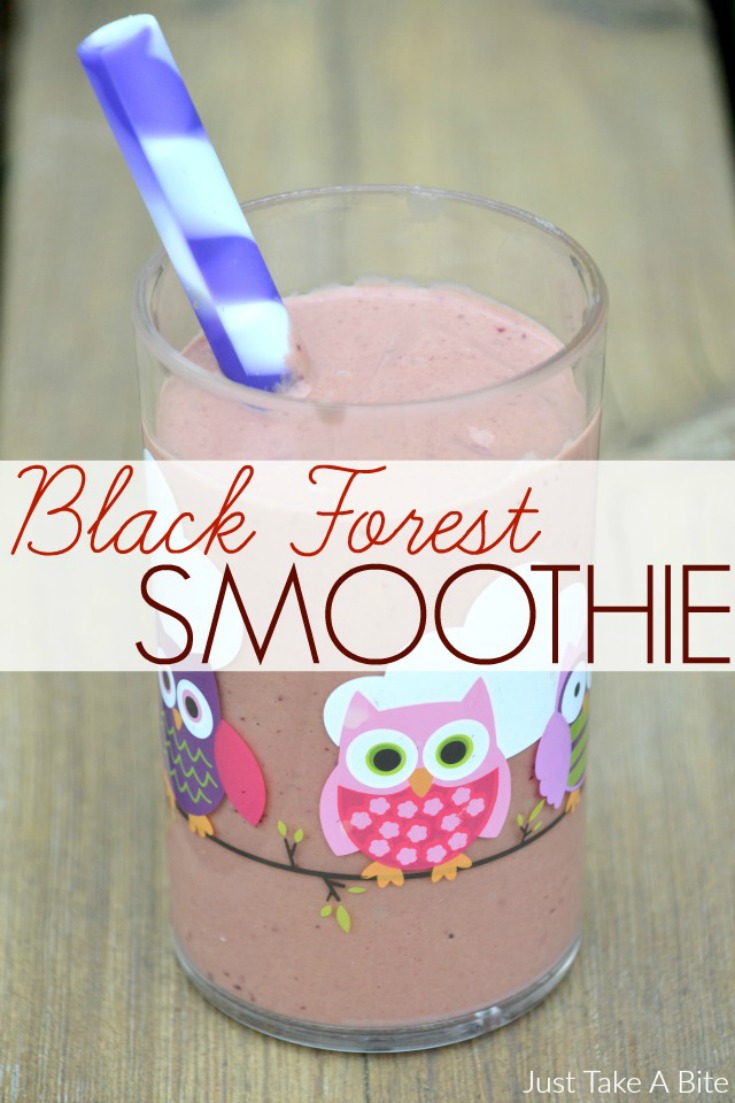
Black Forest Smoothie | Just Take A Bite

Black Forest Smoothie

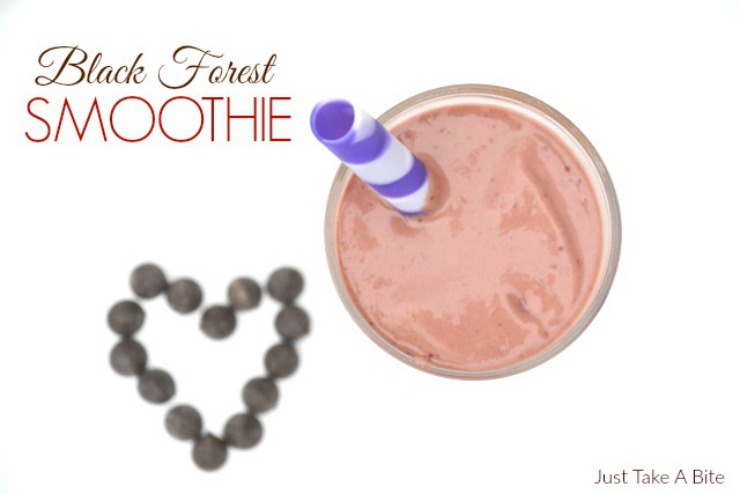
Want to say “I Love You” in a healthy way? Show your kids some extra TLC with a black forest smoothie. It  combines the delicious flavors of chocolate and cherry and is packed with nutrition!

Black Forest Smoothie | Just Take A Bite


January was great, wasn’t it? Full of motivation and enthusiasm about your goals. Everyone is eating well, getting good rest and moving their body each day.

Then February arrives. So do the sweet treats!

Don’t panic. This year take a new approach to Valentine’s Day or any holiday. Instead of showing your love with boxed chocolates and candy, promote health and wellness to show you care. It is the gift that keeps on giving.

You can show some love this February by creating nutrient dense food that still tastes great. This black forest smoothie is a great place to start. Whether you serve it for breakfast, a snack or even dessert you’ll be doing your kids a favor.

Black Forest Smoothie | Just Take A Bite


They taste chocolate and cherries. You see them filling up on healthy fats, protein, probiotics and vitamin-rich fruit. If you really want to bump up the nutrition factor you can add avocado, chia seeds, flax seeds and collagen. That sounds like a delicious and nutritious breakfast! The perfect way to show your kids some love.

Want the full recipe?

Click here to head over to Super Healthy Kids where I’m sharing this delicious black forest smoothie! The perfect breakfast for Valentine’s Day or any day.

Simple Honey Oat Bars | Just Take A Bite

Simple Honey Oat Bars

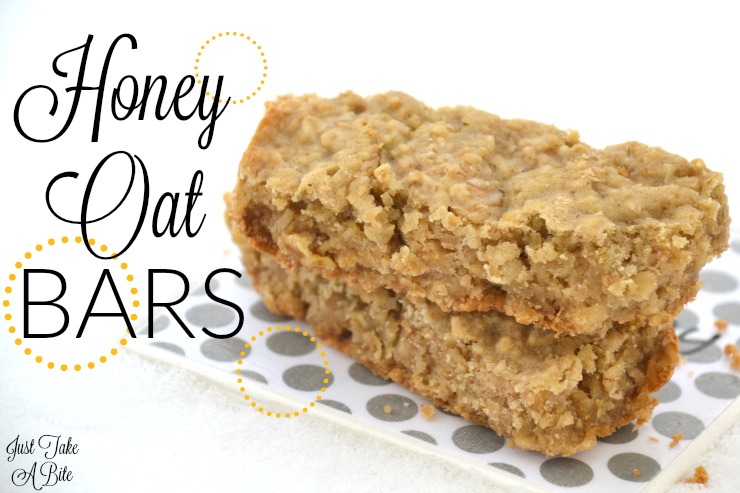
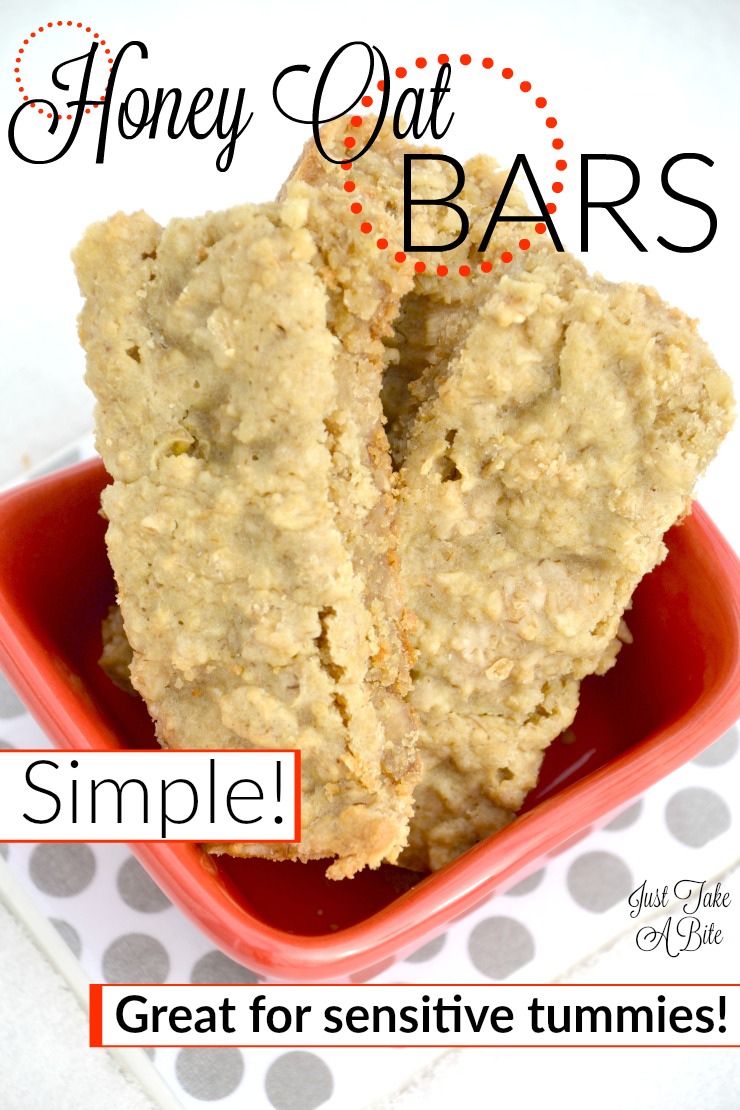
When little tummies are recovering from illness it’s best to keep food simple and skip a lot of fat and sugar. These honey oat bars come together easily and are gentle on the tummy.

Simple Honey Oat Bars | Just Take A Bite

Did I mention my son was sick? That seems to be an ongoing battle this winter. My poor boy that has such a sensitive digestive system.

He had the recent stomach virus that went around. But unlike most people that were over it in a day or two he struggled with it for a week. And he could hardly eat that whole time. He spent his days either on the couch or in the bathroom.

BRAT diet doesn’t exist here.

Add all of his allergies on top of trying to keep his diet bland and starchy and you’ve got a real challenge. No gluten, rice, corn, potatoes or bananas.

Simple Honey Oat Bars | Just Take A Bite

We decided to try oats. He basically lived on oatmeal for a week. And just when he thought he couldn’t handle another bowl of oatmeal I came up with these simple honey oat bars!

I wanted to keep them very low in fat to keep his tummy settled. So I used grass-fed gelatin in place of eggs. I also kept the sweetness low with just a touch of cane sugar and honey.

The combination of whole oats and ground oats helps the bars bind together.

Oats to the rescue.

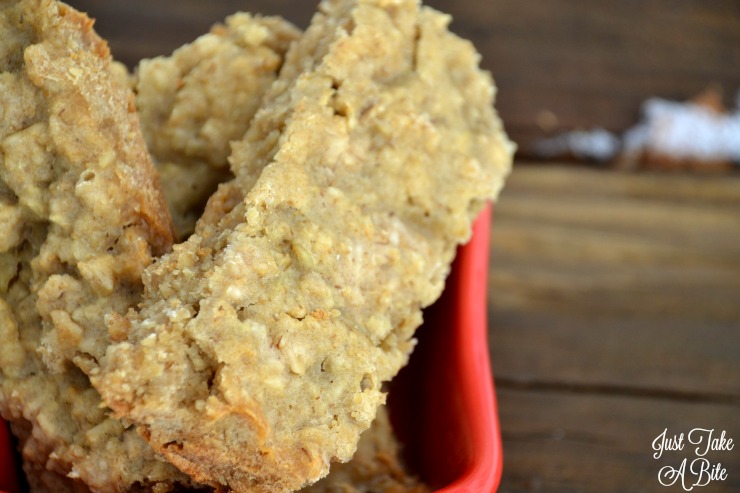
My son loved them! And they kept him going. There was starch but also protein. Not to mention the gelatin was helpful for healing his upset tummy.

My daughter tried them too and thinks they’re great…even if she’s not sick. They make an easy, low sugar breakfast to keep stashed in the freezer for busy week days.

Get your oats soaking and whip up a batch or two of these simple honey oat bars. Always have some on hand to put upset bellies at ease.

Don’t forget to add activated charcoal to the diet as well to really stop the stomach upset.

What is your go-to food when recovering from a stomach virus?

Simple Honey Oat Bars | Just Take A Bite

Simple Honey Oat Bars
Yields 10
A simple, low fat oat bar that is perfect for settling little tummies after illness.
Write a review
Print
Ingredients
  1. 1 cup oat flour (grind rolled oats in a blender)
  2. 1 cup rolled oats
  3. 1 cup warm water
  4. 2 Tbsp. lemon juice
  5. 2 tsp. grass-fed gelatin (NOT collagen)
  6. 1/4 cup hot water
  7. 1 Tbsp. organic cane sugar
  8. 3 Tbsp. honey
  9. 2 Tbsp. melted butter, coconut oil, lard or tallow
  10. 1/2 tsp. baking soda
  11. 1/2 tsp. unrefined sea salt
Instructions
  1. Combine the oat flour, oats, warm water and lemon juice. Cover and let sit for 7-24 hours (24 hours is best for oats).
  2. Heat oven to 350 degrees F. Grease or line with parchment paper an 8" square baking pan.
  3. Add the gelatin to the hot water and stir until dissolved.
  4. Add all of the ingredients to the soaked oats. Mix well.
  5. Spread in the prepared pan.
  6. Bake 35 minutes.
  7. Cool and cut into bars.
  8. Store in a covered container for up to a week at room temperature, two weeks in the refrigerator or one year in the freezer.
Just Take A Bite https://justtakeabite.com/
 In order for me to support my blogging activities, I may receive monetary compensation or other types of remuneration for my endorsement, recommendation, testimonial and/or link to any products or services from this blog. It will not change the cost of any products or services for you.

This post is linked to Savoring Saturdays.