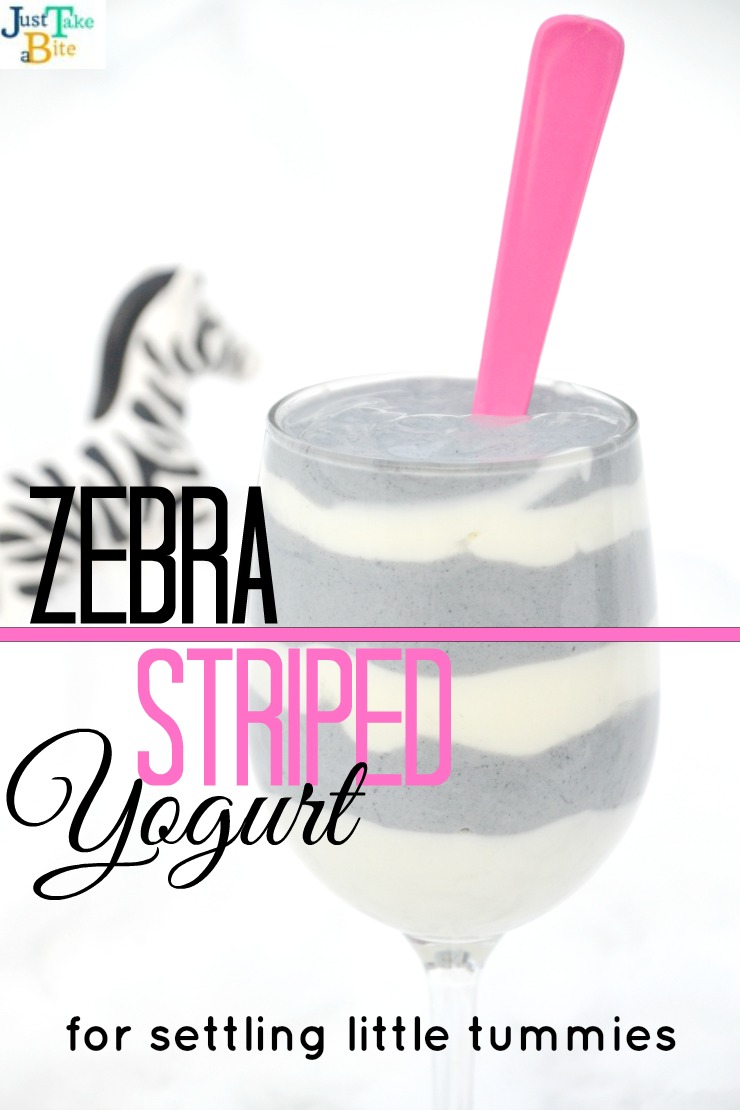
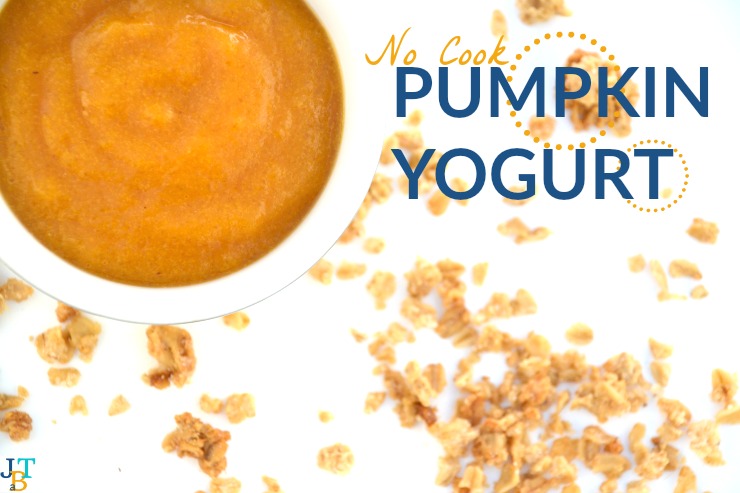
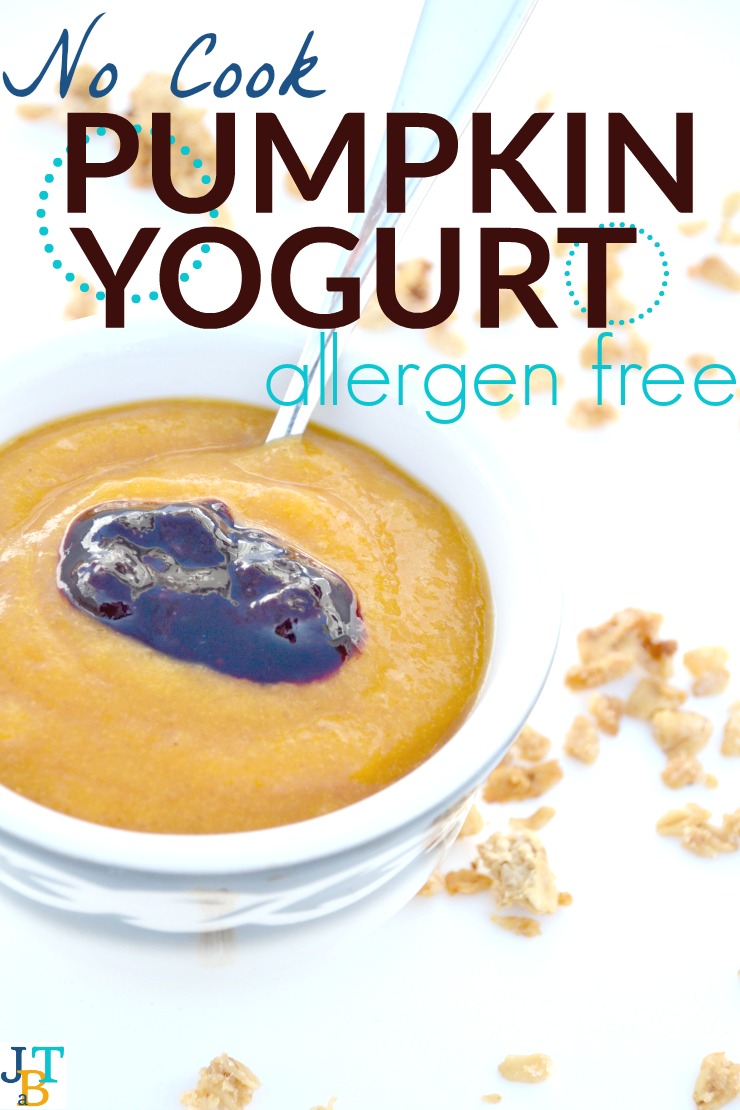
No need to give up yogurt just because you have allergies! This pumpkin yogurt only takes five minutes to prep and still packs a nutritional punch with protein and probiotics.
I’ve been dairy free for 18 months now, ever since my youngest was about a month old. This is not the first time I’ve had to go dairy free. But no matter how many times and no matter how long it lasts it’s never easy.
I LOVE dairy. Love it.
One of the things I miss most is yogurt. I used it eat it almost daily for breakfast or lunch. Add some granola…my happy place.
For most people there are some decent options to replace dairy yogurt – coconut, almond, etc. But those are all out for me too. We have that many allergies. So I’ve just gone without yogurt.
Until now.
Problem solved.
My youngest it starting to notice when her siblings have yogurt and she keeps asking for it. Oh, how I’d love to give it to her!! It breaks my heart to have to say no. I feel so mean since she doesn’t understand why.
So I came up with a solution.
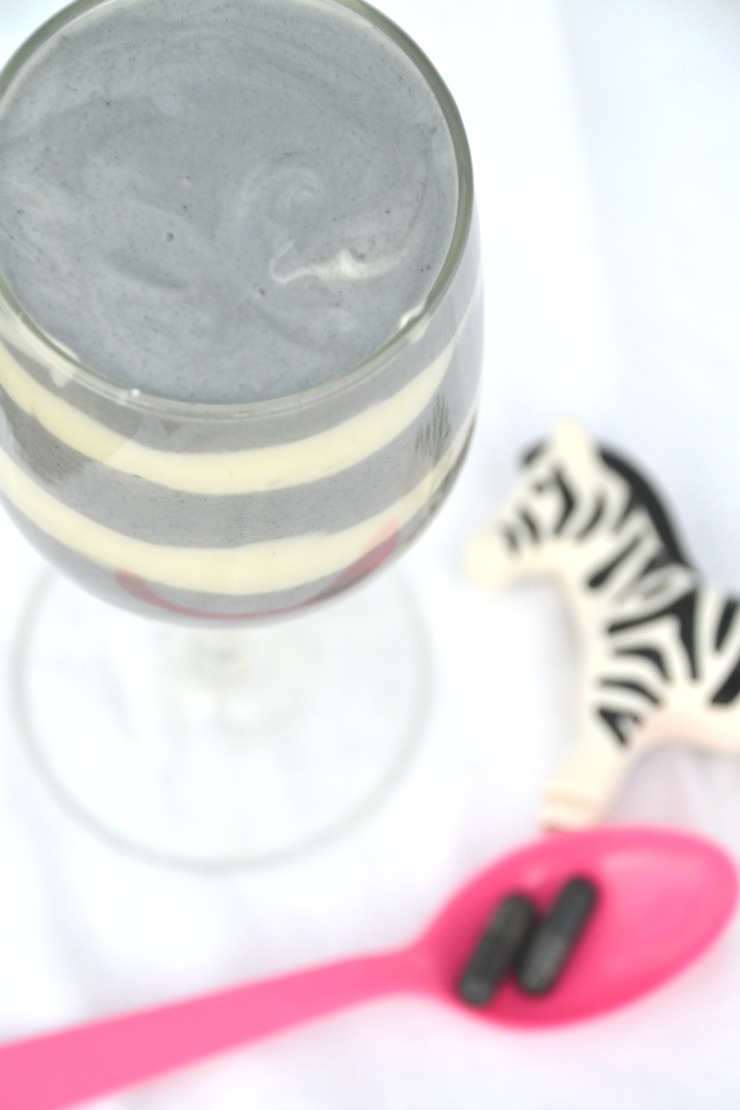
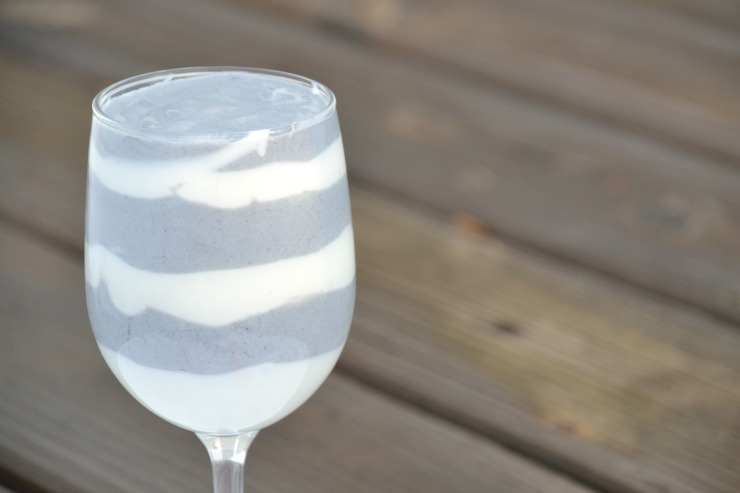
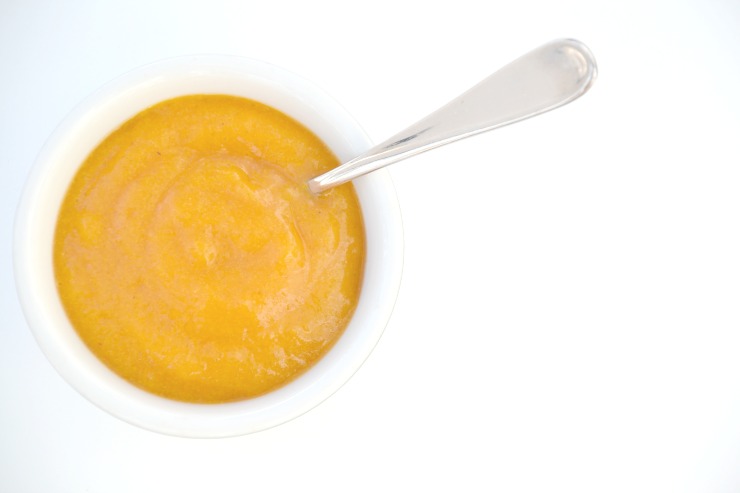
I created pumpkin yogurt. It is creamy and slightly sweet. It has lots of protein from both grass-fed collagen and gelatin plus a healthy dose of probiotics (this is the one we use). Just like the real thing.
An added bonus is you also get a big helping of vegetables!

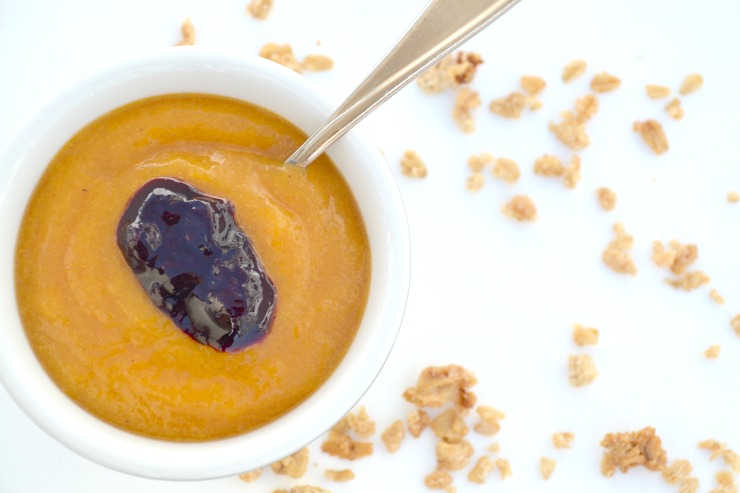
The first time I made pumpkin yogurt I added fruit and some crumbled homemade graham crackers. I was instantly taken back to my happy place. Finally! I can have yogurt again!
My little one loves it too. I gave her a small dish. Her response: “mrrrr” (more). That is all I needed to hear.
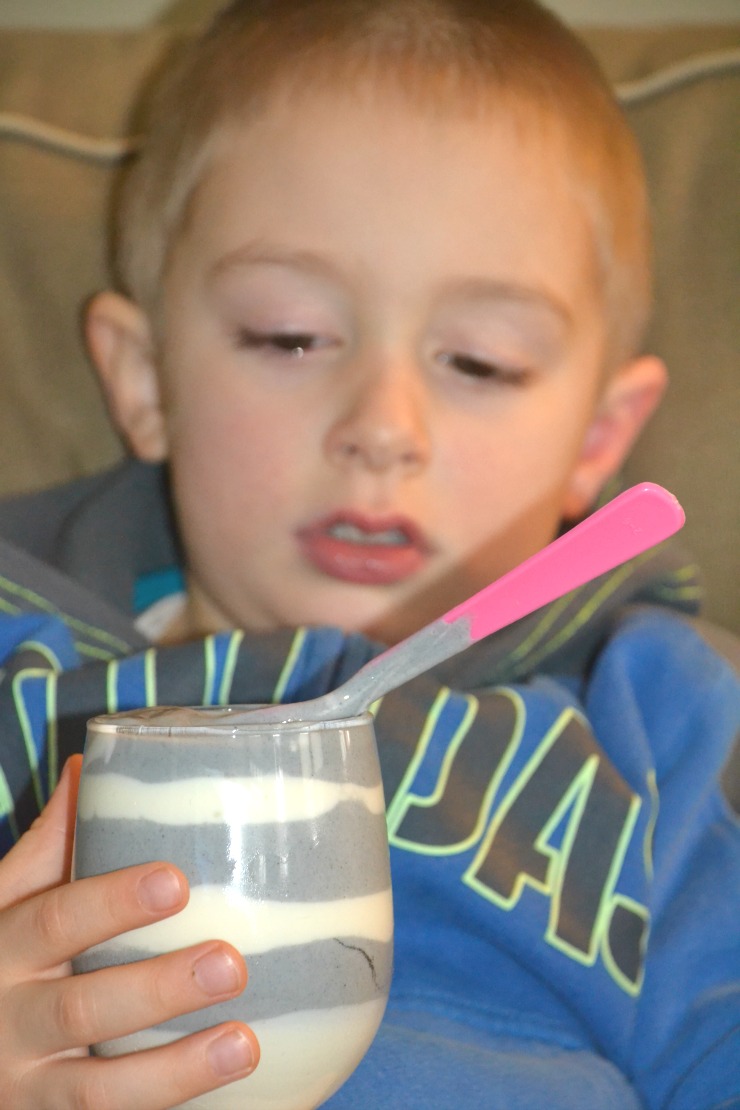
To my surprise even my four year old loves it. When I first told him I made pumpkin yogurt he made the “don’t come near me with that stuff” face. But after he tried it he had to have a second dish! Maybe me calling it pumpkin PIE yogurt helped a little.
More than just great taste.
Not only is pumpkin yogurt a nutritious breakfast it is also so easy to make!
- Mix all of the ingredients in a blender.
- Pour the mixture in a jar.
- Let it culture for about eight hours.
That’s it.
Pumpkin yogurt makes a great breakfast, lunch or snack. Eat it plain or add your favorite fruit and crunchy topping. It is perfect for school lunches too.
Have you had to say goodbye to yogurt due to allergies?
Even if you can’t have dairy…or coconut…or nuts…or rice…you don’t have to give up yogurt. Pumpkin yogurt is allergen friendy, easy to make and oh so delicious!

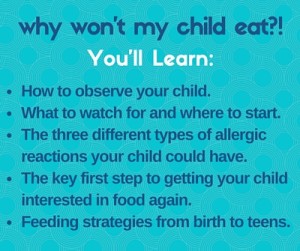
Want to learn more about feeding children with allergies?
Check out my book Why Won’t My Child Eat?! It’s packed with feeding strategies, tips on pinpointing reactions and allergen friendly recipes.

- 3/4 cup cooked pumpkin (canned or fresh)
- 1 cup water
- 1 Tbsp. grass-fed collagen
- 1 Tbsp. sweetener (honey, maple syrup, cane sugar)
- 1/4 tsp. unrefined sea salt
- 1/4 tsp. cinnamon (optional)
- 1 1/2 tsp. grass-fed gelatin
- 1 capsule powdered probiotic
- Combine the pumpkin, water, collagen, sweetener, salt and cinnamon in a blender.
- Blend on high until smooth.
- Add the gelatin and probiotic.
- Blend for about 10 seconds.
- Pour the mixture into a glass jar with a lid.
- Put the jar in a warm place for 8-10 hours.
- Put in the refrigerator for at least an hour before serving.
- Store in the refrigerator for up to one week or in the freezer for up to 6 months.
- Setting the mixture on a counter that gets sunlight or on a stovetop with the oven on or in an unheated oven with the light on works well for culturing the yogurt.
This post is linked to Savoring Saturdays.