I’ve got a solution for your busy weekday mornings. These grain free pumpkin spice breakfast cookies are so easy to make and loaded with good stuff. Plus kids love them!
*I am working with Perfect Supplements for this post. I have been compensated for my time commitment, but all opinions are my own. Some links are affiliate links. Using the links will not change the cost of anything for you.*

Life is BUSY. And just when you think your current busy situation is coming to an end…something else comes up. Last year we had so many activities. I was driving the kids here, there and everywhere. I hated it.
Fast forward a year. Now we are home a lot more. But we have a baby that requires a lot of my time and attention. It feels just as busy. Just in a different way.
Busy life = less time for making good food.
But I’m not giving up! No way. I came up with the perfect fall breakfast that you can prepare in advance. You can even make a double or triple batch to stock your freezer for weeks. And if you are teaching your kids to cook they can actually make them for you. How’s that for freeing up some time?!
Allergy Friendly Pumpkin Spice Breakfast Cookies
These pumpkin spice breakfast cookies are loaded with nourishing ingredients. Plus they taste great! They are super allergy friendly too. No grains, dairy, nuts, eggs or soy.
There is one secret ingredient that is really the star of the show.
Gelatin!
I love the grass-fed gelatin from Perfect Supplements. There is no strange smell. It gels beautifully. And since I do a lot of egg free baking it is my go-to ingredient.
These pumpkin spice breakfast cookies are also packed with coconut oil for healthy fat. Combine that with gelatin and garbanzo bean flour for protein. Plus tapioca flour for starch. It’s a complete breakfast that you can hold in your hand.
Grab a couple for the road, pair it with bacon and fresh fruit or pack one in your child’s lunch box. You get the flavors of fall in a nutritious cookie.

- 1 cup amaranth flour
- 3/4 cups tapioca flour
- 3/4 cups garbanzo bean flour
- 3/4 cups water
- 2 Tbsp. Perfect Supplements collagen
- 1 Tbsp. organic lemon juice
- 1/4 cup coconut oil, melted
- 1/2 cup pumpkin puree
- 1/2 cup organic cane sugar
- 3 tsp. Perfect Supplements gelatin
- 1/2 tsp. unrefined sea salt
- 1 tsp. baking soda
- 1 tsp. cinnamon
- 1/2 - 1 cup mix-ins of choice: raisins, dried cranberries, mini chocolate chips, sunflower seeds, pumpkin seeds
- In a large bowl combine the flour, water, collagen and lemon juice.
- Mix well.
- Cover and let sit at room temperature 7 - 24 hours.
- Heat oven to 375*F. Line two baking sheets with parchment paper or silpat.
- Add the coconut oil and pumpkin to the soaked mixture. Stir to combine.
- Add the sugar, gelatin, salt, baking soda and cinnamon. Mix well.
- Stir in your mix-ins of choice.
- Drop by large mounds onto the prepared baking pans.
- Bake for 25 - 30 minutes, until golden brown.
- Remove from oven and let cool for 5 minutes on baking pan.
- Serve warm or at room temperature.
- Store in a sealed container at room temperature for 3 days, in the refrigerator for up to a week or in the freezer for up to a year.
Prep Ahead Breakfast Cookies
I soak the seed and bean flours to help with digestion. I also prep the rest of the ingredients the night before. In the morning I just pour, mix and bake. I can have a batch of pumpkin spice breakfast cookies in the oven in about five minutes. Then we can eat some fresh and stick the rest in the freezer for a quick breakfast any day of the week.
Or if you like to do all of your prep work on the weekends that works too!
Add whatever mix-ins you like. Pumpkin seeds, sunflower seeds, flax seeds, chia seeds, mini chocolate chips, raisins, dried cranberries…they’re all good.
My kids LOVE these cookies. I think my toddler ate THREE one morning (yes, the toddler that used to barely eat anything). They are that good.

More To Love From Perfect Supplements
If you’ve never tried Perfect Supplements gelatin I highly recommend it. The quality is exceptional. But don’t stop there. Perfect Supplements carries such a wide variety of products.
Collagen
Like the collagen that I also use in the pumpkin spice breakfast cookies. I use it in all of our smoothies (like this blueberry spinach smoothie or this squash cherry smoothie). It was a life saver (literally) for my toddler when she was barely eating (check out how I got her to eat again with this “squash milk”).
Greens
We also recently tried both the fermented kale powder and the aquatic greens. They are perfect for smoothies. And the aquatic greens are especially great for those with allergies. I use it for my big kids as often as possible.
I could go on and on about all of the great products. But I’ll let you do some looking for yourself.

How to Save Money on Breakfast
Now for the best part.
You can use the coupon code TAKE10 at checkout to get 10% off your entire order!
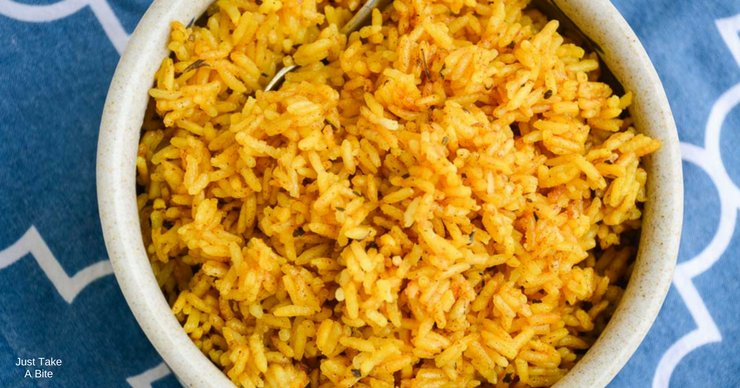
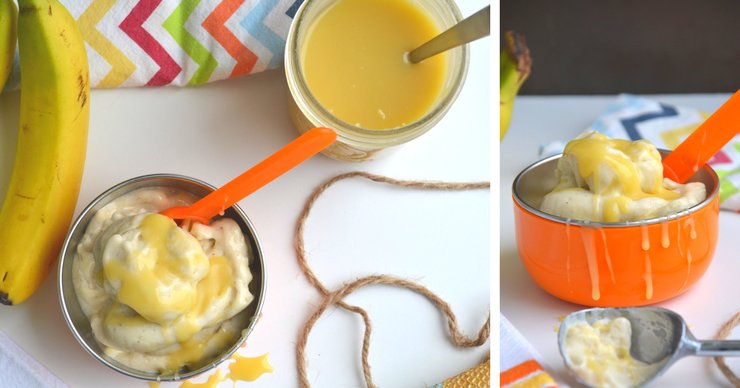
 I’ve got another great recipe that uses Perfect Supplements gelatin to share with you!

What is your favorite way to use gelatin?
Need more ideas for fun ways to add gelatin or collagen to your diet? Try these:
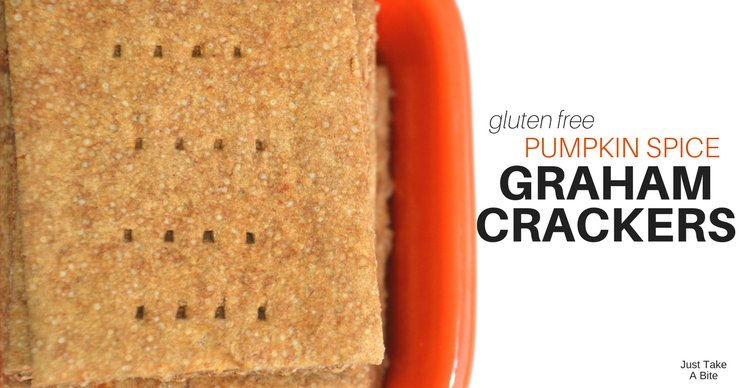


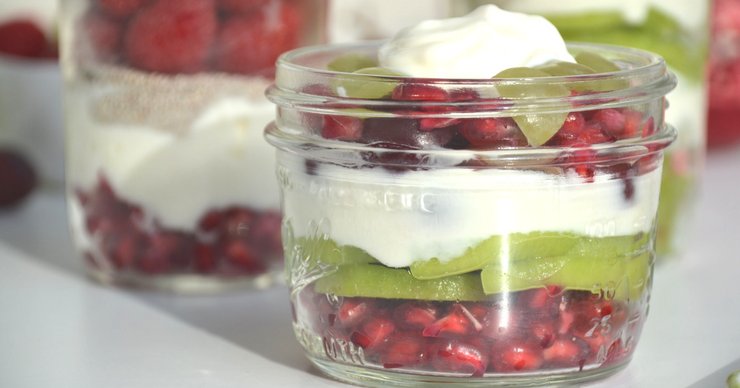
 They can be used in desserts as well. Sprinkle crushed graham crackers on top of


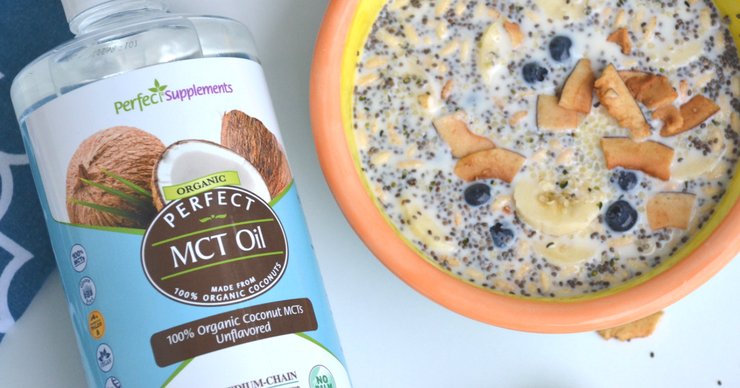
 One day I just started tossing some miscellaneous food in a bowl for him. His own instant porridge. And he loved it!
 The best source for MCT oil is
  Healthy, Prep-ahead Breakfast


 Kid-Approved Snacks