
The perfect early summer treat – combine sweet strawberries and tart rhubarb in this easy gluten-free strawberry rhubarb upside down cake!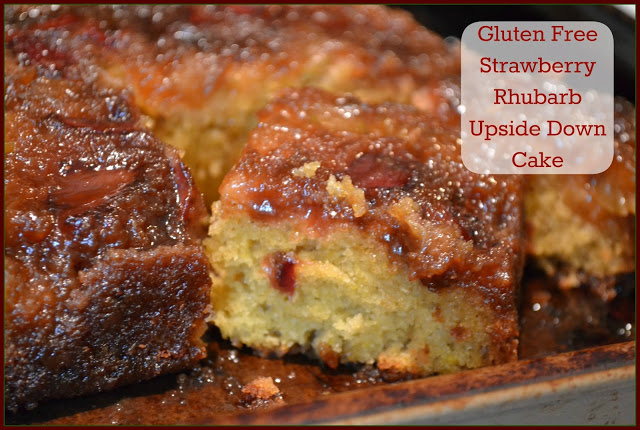
Do you enjoy rhubarb?
It seems to be one of those foods that you either love or hate. I had never tasted it until I was an adult (i.e. my family was in the “I hate rhubarb” camp).
I guess I’m the oddball of the family because I love it!
What to do with Rhubarb
I’ve made quite a few unique rhubarb dishes in the past. Some of my favorites are:
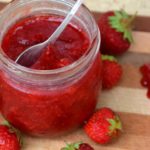
- cherry rhubarb jello
- rhubarb pecan ice cream
- rhubarb applesauce
- strawberry rhubarb cheesecake
- rhubarb quinoa breakfast porridge
- rhubarb crisp
Of course rhubarb tastes best when there is plenty of sugar added since it is so tart. So it is typically used in dessert.
Is Rhubarb Hard to Grow?
Believe it or not rhubarb is quite easy to grow. And you really only need a couple plants to get enough for a few spring treats.
We have a few rhubarb plants in our flower garden. They might actually produce enough for us to use if our chickens would stop eating them!
How to Eat Rhubarb
Since it is so tart I think rhubarb is best paired with another fruit. Our first choice is strawberries. And since they are in season at the same time it just makes sense!
Even if you don’t have a lot of rhubarb you can fill in with other fruits. You’ll still get the rhubarb flavor you’re looking for.
Gluten-Free Strawberry Rhubarb Upside Down Cake
This simple cake is super moist and has plenty of sweetness. It is a perfect early summery treat, especially paired with some homemade vanilla ice cream.
The cake recipe is a great base for desserts all summer long. You can replace the strawberries and rhubarb with a variety of fruits (blueberries, peaches, plums, etc.).
It also works well for those with food allergies. It is naturally gluten and nut free. You can make it dairy free too.
Strawberry rhubarb upside down cake is a delicious dessert that you can make all summer long with whatever fruit is in season.
What is your favorite dessert fruit combination? If you’re not sure what to do with your rhubarb give this cake a try. It’ll be a big hit.
Gluten-Free Strawberry Rhubarb Upside Down Cake
Ingredients
- 1/4 cup butter or coconut oil
- 1 cup organic brown cane sugar packed
- 2 cups fresh strawberries sliced
- 2 cups fresh rhubarb chopped
- 1 1/2 cups white rice flour
- 1/4 cup brown rice flour
- 1/4 cup tapioca flour
- 1/4 cup amaranth flour
- 1 1/2 cups organic cane sugar
- 1/2 cup butter room temp (can be replaced with coconut oil
- 1 1/4 cups milk or coconut milk, rice milk or almond milk
- 2 tsp. baking powder
- 1 tsp. baking soda
- 1 tsp. salt
- 1 tsp. vanilla
- 3 eggs separated
- 1/2 tsp. cream of tartar
Instructions
-
Heat oven to 350°F.
-
In a 9x13-inch pan melt the butter in the oven.
-
Sprinkle the brown sugar evenly over the butter.
-
Arrange the strawberries and rhubarb on the brown sugar. Press down gently.
-
Beat the egg whites with the cream of tartar until stiff peaks form.
-
Beat the egg yolks for two minutes.
-
Add the remaining ingredients to the egg yolks. Beat for two minutes.
-
Fold in the egg whites.
-
Pour the batter over the strawberries and rhubarb.
-
Bake for 50-60 minutes.
-
Immediately run knife around sides of pan to loosen cake. Place heatproof serving plate upside down on pan (I used a small baking sheet); turn plate and pan over.
-
Leave pan over cake 5 minutes so the brown sugar topping can drizzle over cake.
-
Cool 30 minutes. Serve warm or cool with whipped cream or ice cream.
-
Store covered in refrigerator.


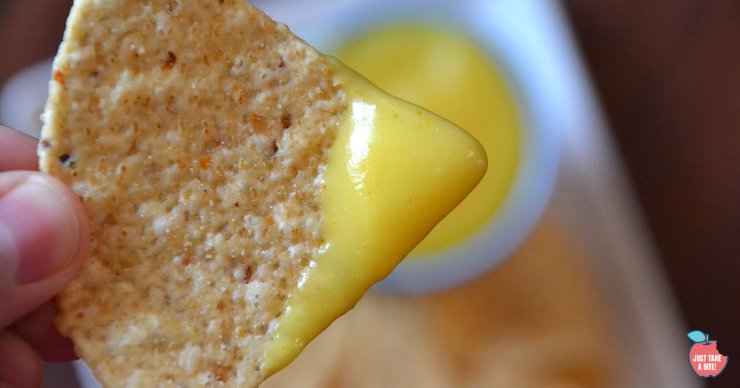

 Easy Protein on a Dairy-Free Diet
 Simple Dairy Substitutes


 Rice Milk That Actually Tastes Good