
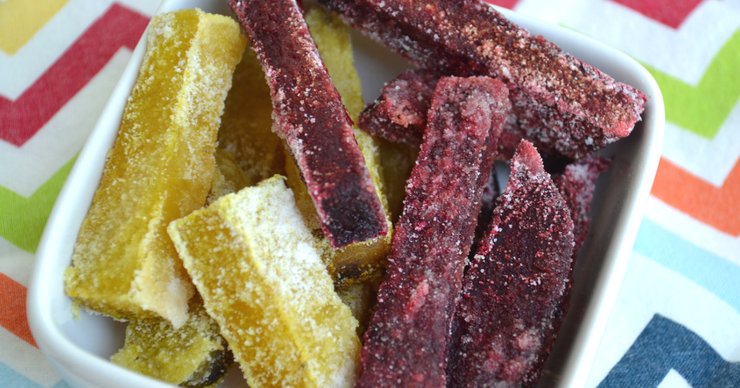
Impress your kids and avoid strange ingredients by making homemade fruit snacks! Just a few simple and nourishing ingredients create a fun and healthy snack.

One of the best decisions I made as a parent was to stop buying packaged fruit snacks. Let’s face it – they are sort of weird, food-like morsels that really are more like candy than anything.
Even the “natural” or organic versions still have some questionable ingredients. And basically zero nutrition.
Why You Should Make Your Own Fruit Snacks
My solution to this problem is always homemade.
I’ve been making homemade fruit snacks (also known as gummies) from scratch for my kids for quite some time. I get lots of requests for the recipe.
Most people are amazed at how simple it is. But beyond that, it’s amazing how healthy they are!
We used to buy organic fruit snacks once in a while as a special treat. But not anymore.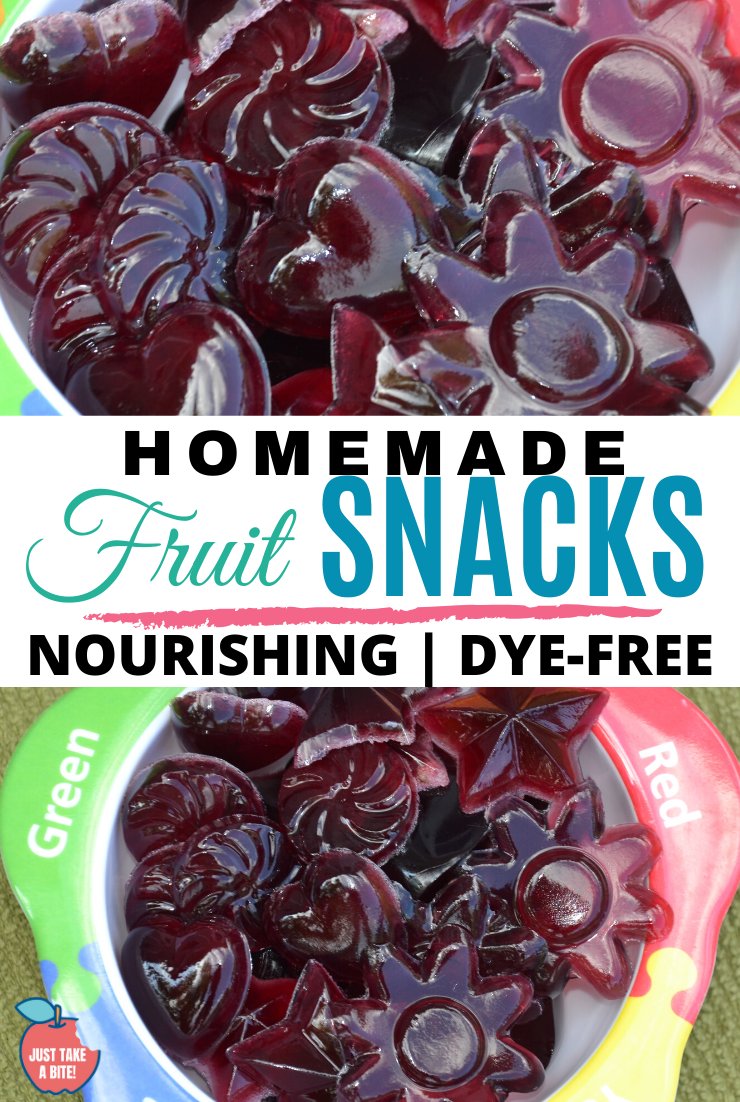
Homemade Fruit Snacks with Grass-fed Gelatin
These fruit snacks are filled with nourishing gelatin (use code TAKE10 for 10% off) which is great for gut healing. They are also very safe for almost any allergy. I love that I can even make a variety of flavors for my little guy that is allergic to multiple fruits (have you ever tried finding something fruit flavored at the store that does not contain banana, grape or pear? Impossible).
My kids will easily eat a whole batch in a week if I let them. So I often have to make a new batch almost weekly! I try to make different flavors like blueberry lemon, lemon lime, lemonade and cherry. I love having very healthy snacks on hand that my kids truly love. And they don’t have to feel like they are missing out.
Healthy Snacks for Toddlers
One of the things that surprised me is how much my toddler loves homemade fruit snacks. I just make them in a pan and cut them into small squares. It’s a great finger food! Bonus that I can pack them up for when we are out and about. No little puffs or melts with strange ingredients. Just fruit and gelatin.
Do your kids like fruit snacks?
Try replacing the store-bought version with a homemade version. You can make them in any shape and flavor. Let your kids choose which ones. They’ll think it’s great! And you can know they are eating something that is healthy and healing.
This post is linked to Allergy Free Wednesday.


- 1 cup pure juice (i.e. blueberry, cherry, lemon, lime)
- 3/4 cups sweetener (cane sugar, coconut sugar, honey, maple syrup)
- 3 -6 Tbsp. grass-fed gelatin
- 1/4 tsp. sea salt (optional)
- Combine the juice, salt and sweetener in a small saucepan. Heat slightly and mix until the sugar/honey dissolves.
- Taste the juice and add more sweetener if necessary.
- Allow the juice to cool for 10 - 30 minutes.
- Add the gelatin to the juice while gently whisking.
- Let sit for one minute.
- Heat the juice/gelatin mixture over low heat, whisking gently until the gelatin completely dissolves.
- Pour the mixture into molds or a glass pan.
- Refrigerate until solid (about 20 minutes).
- Remove fruit snacks from molds or cut into squares/desired shape from a pan.
- Store in a container in the refrigerator.
- Do not use juice from concentrate/juice that you would drink plain. Use pure juice.
- You may need extra sweetener for some flavors like lemon and lime.
- You can use one type of juice or a combination - blueberry lemon, cherry lime, lemon lime, etc.
- Using less gelatin will make a softer gummy and they will need more time to set. More gelatin will make it firmer.


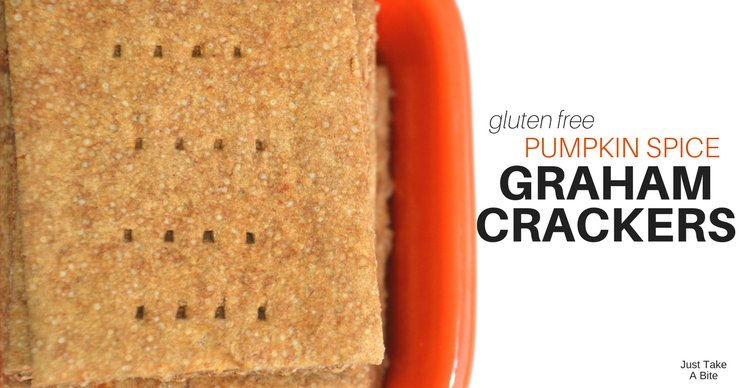


 They can be used in desserts as well. Sprinkle crushed graham crackers on top of


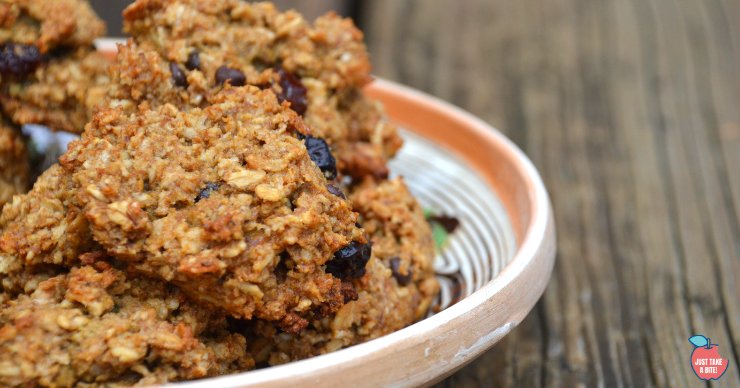
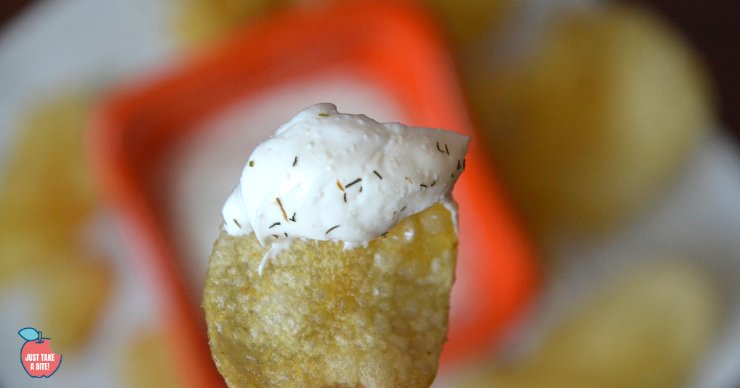
 Kid-Approved Snacks


